Buffer Overflow Lab Setup
Setup a lab for buffer overflow.
Introduction
To be able to write the buffer overflow, you will need two machines. One Linux machine that will serve as your attack machine. There will also be a 32-bit Windows 10 machine that will be the victim machine. You will also need to ensure that the machines sit on the same network so they can communicate with each other. We will be using VirtualBox from Oracle to serve as our virtualization software.
Purpose of this lab: Hands-on exploit development requires isolated, controlled environments. This lab setup allows safe practice of memory corruption techniques while avoiding contamination of production systems.
This will NOT include the installation of VirtualBox. Please refer to Oracle documentation.
Links
https://www.virtualbox.org/wiki/Downloads
https://www.microsoft.com/en-au/software-download/windows10
https://www.kali.org/get-kali/#kali-installer-images
Process
Kali Linux
Download a copy of the ISO from the Kali Official Website.

This assumes VirtualBox version 7. Click New at the top of the VirtualBox interface.

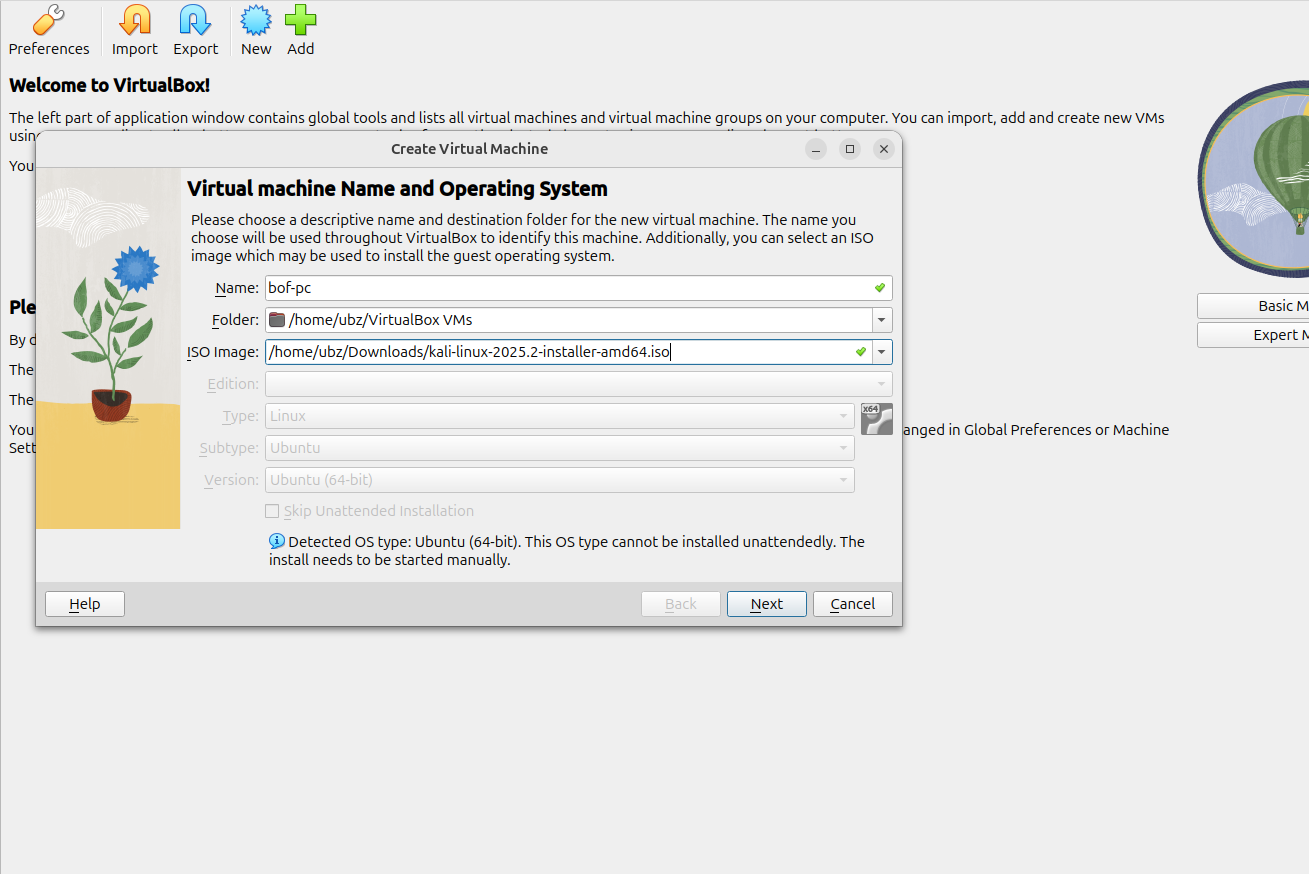
Chose a name for the virtual machine. Select the Kali ISO that we just downloaded. Choose Next.
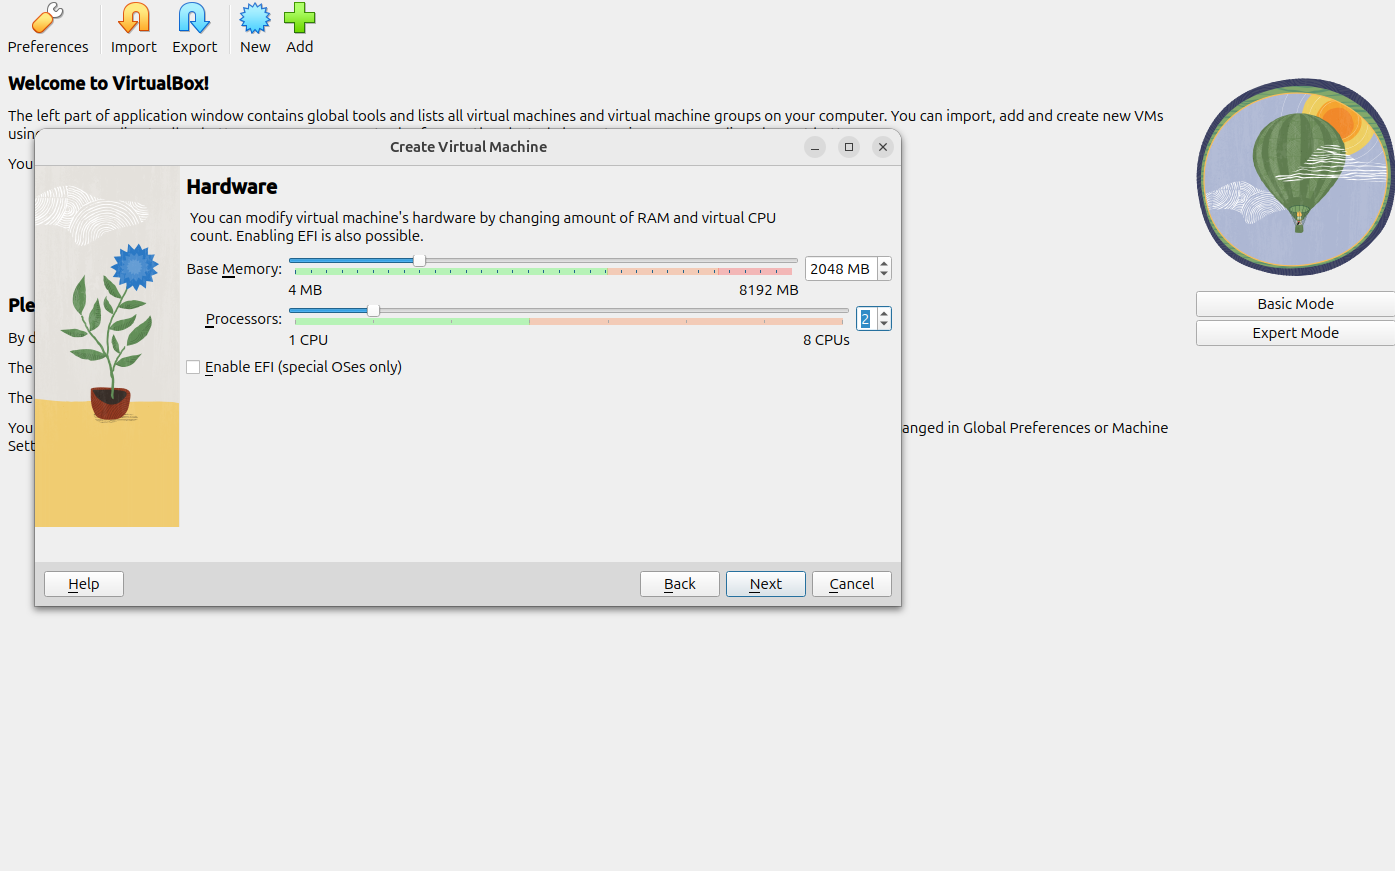
Choose an appropriate amount of memory and processors for the virtual machine. Choose Next.
Set the hard disk space requirements. Choose Next.

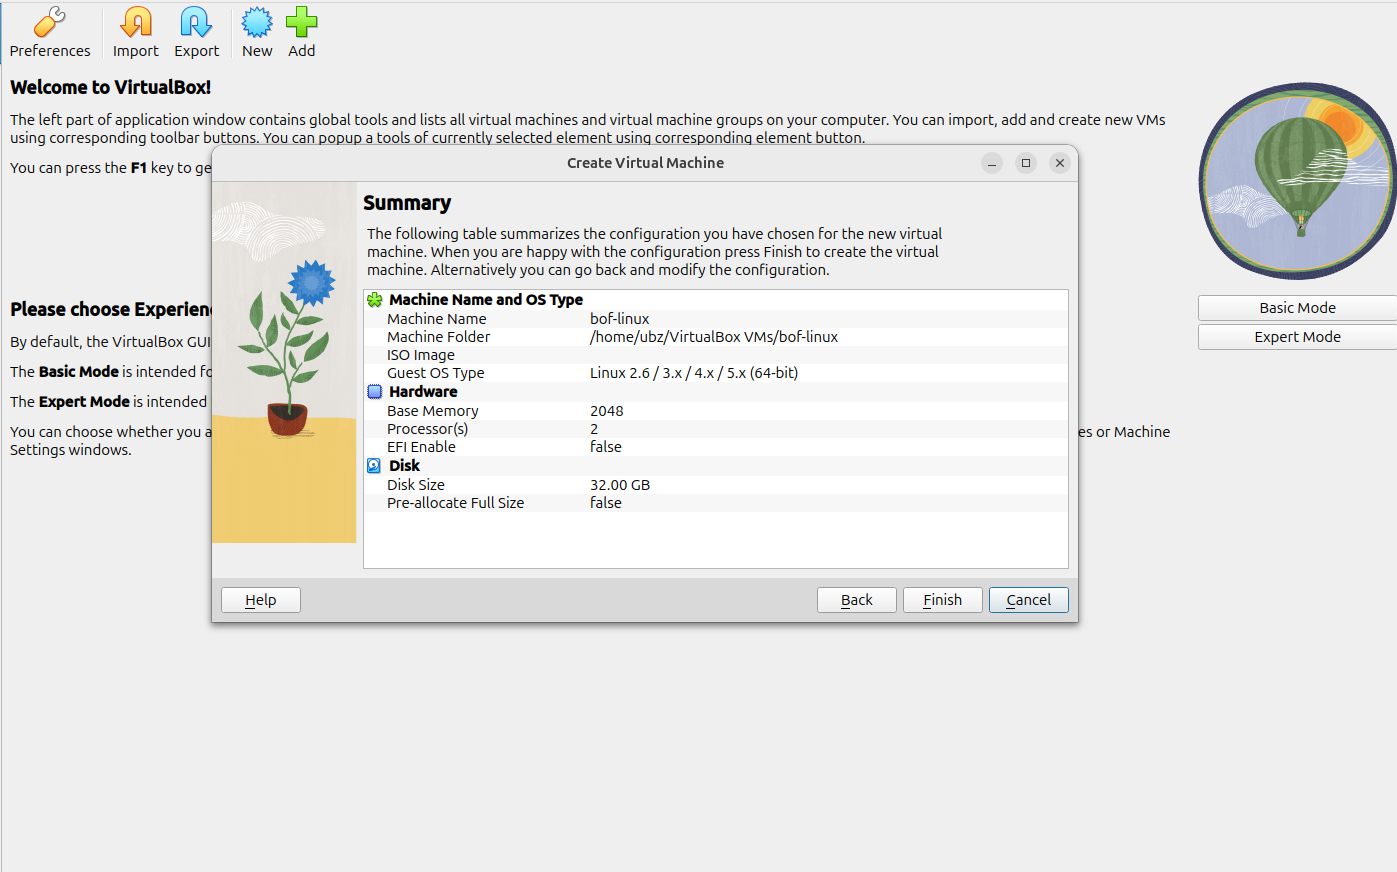
Choose Finish on the summary screen.
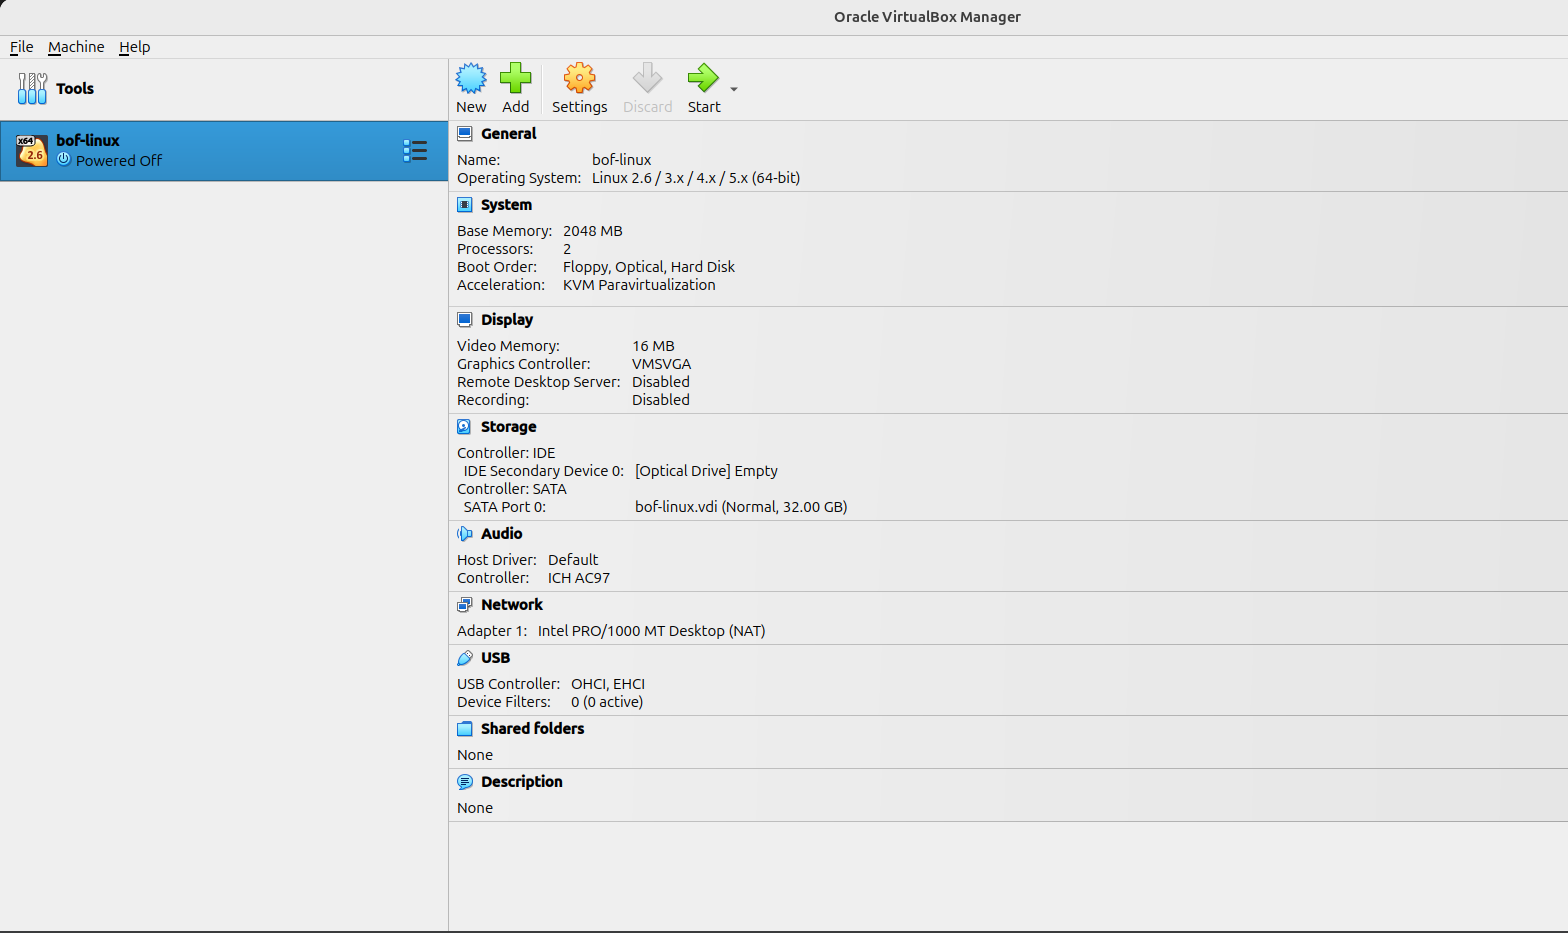
If the virtual machine doesn’t automatically start, start the virtual machine.
Choose the Graphical install option.
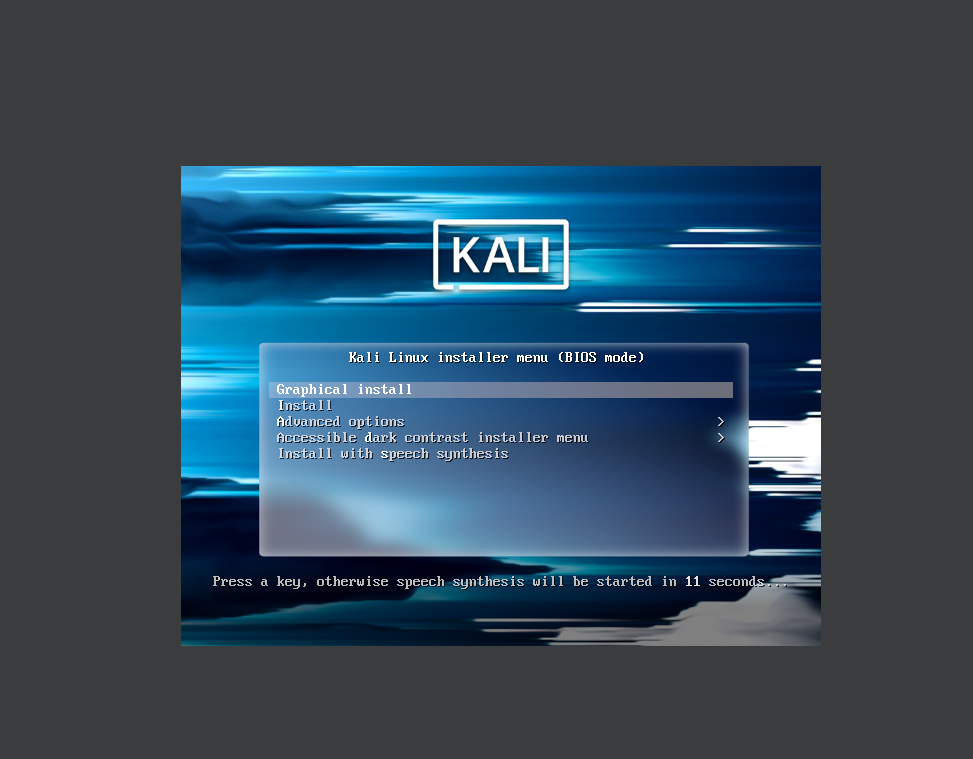
Select the language of your choice.
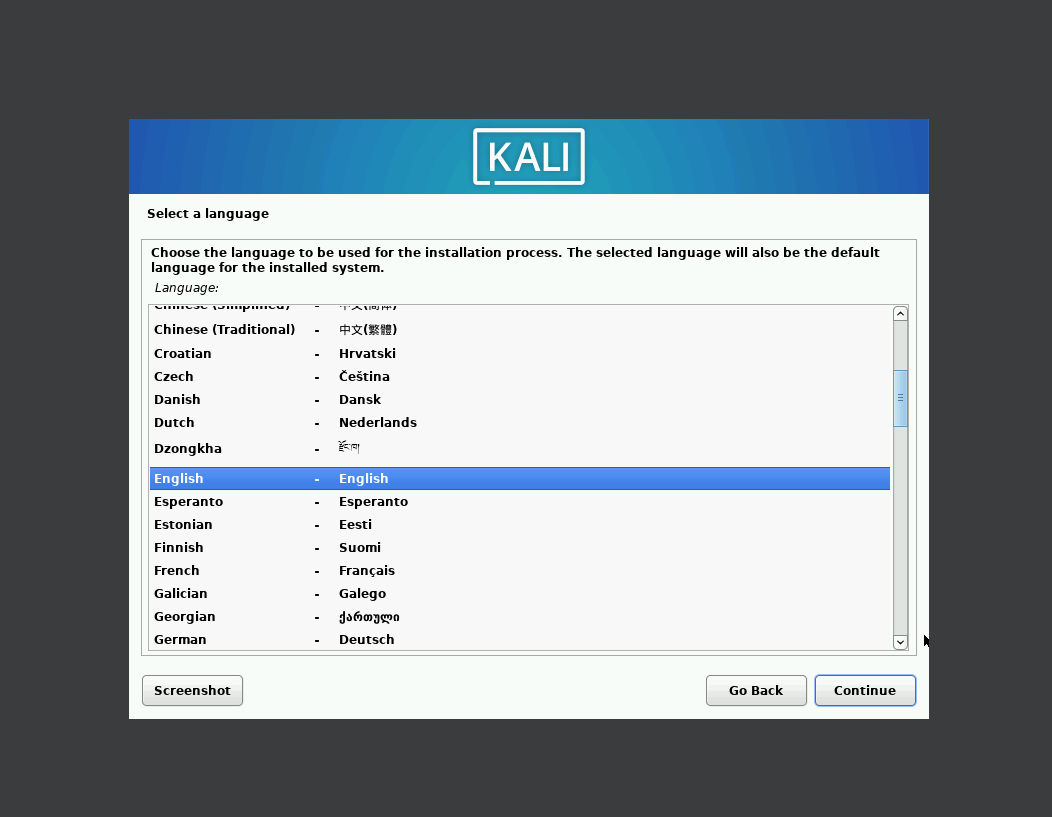
Choose your location.

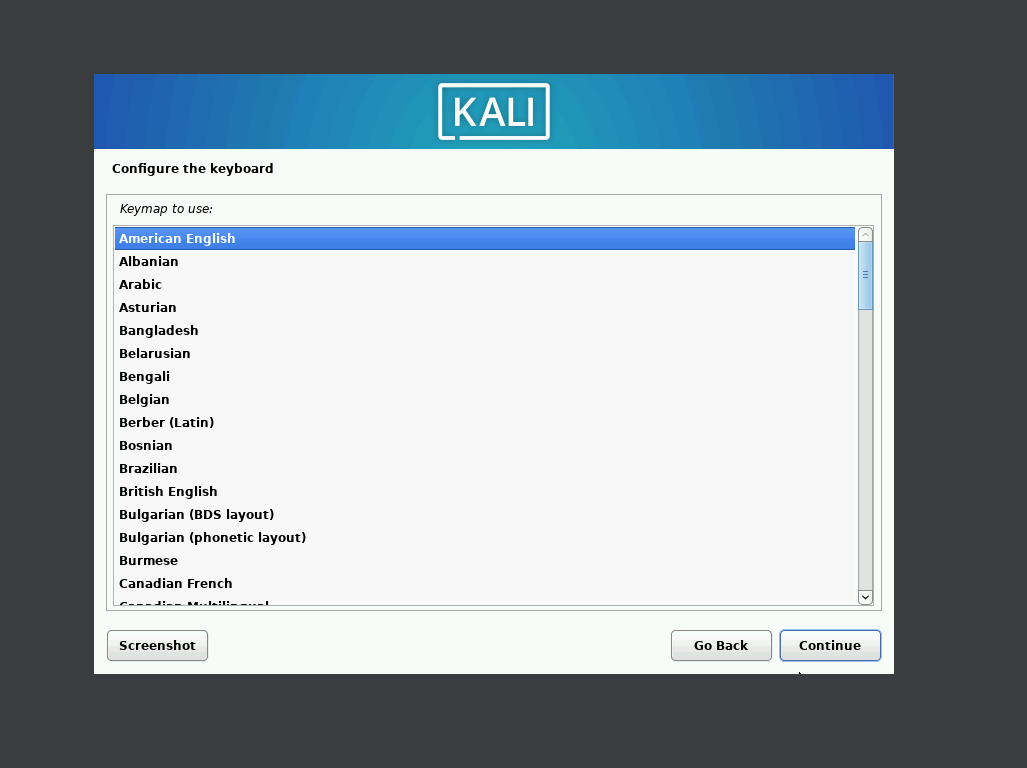
Choose the keyboard layout.
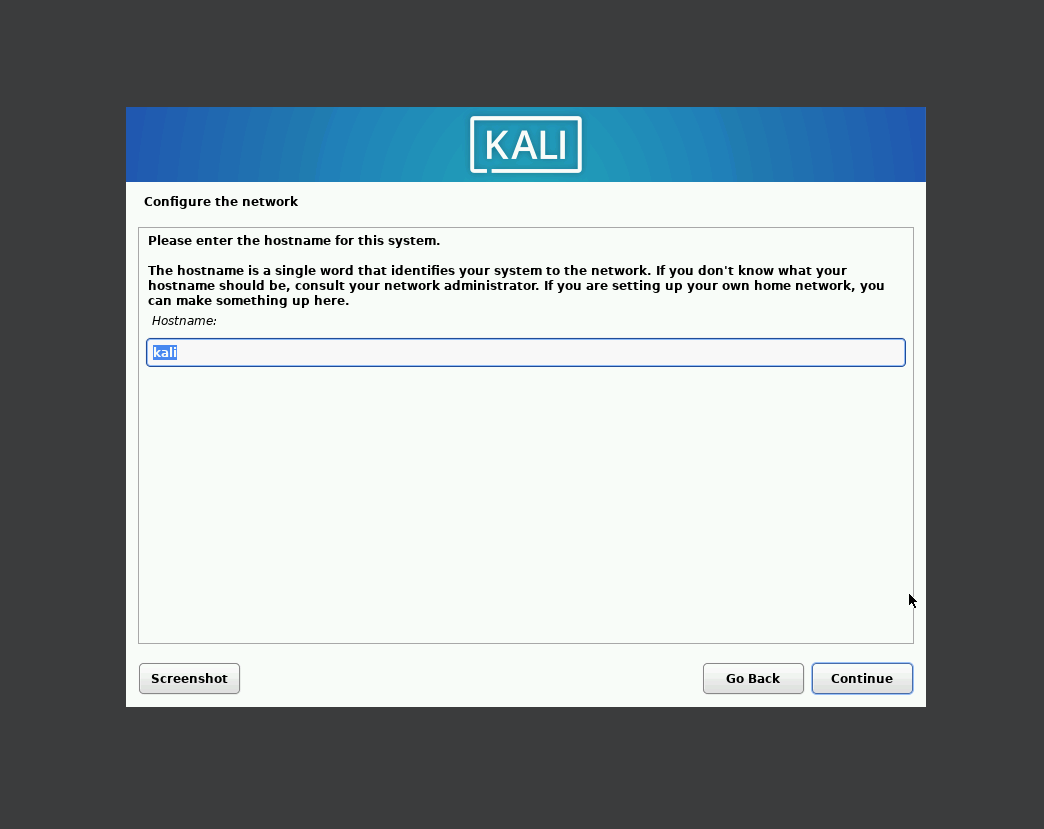
Choose your hostname. I usually go with a blank domain.
Come up with your full name and username.

Choose a password, ignore DRY, and repeat the password.

Choose your timezone.

Choose to use the entire disk.
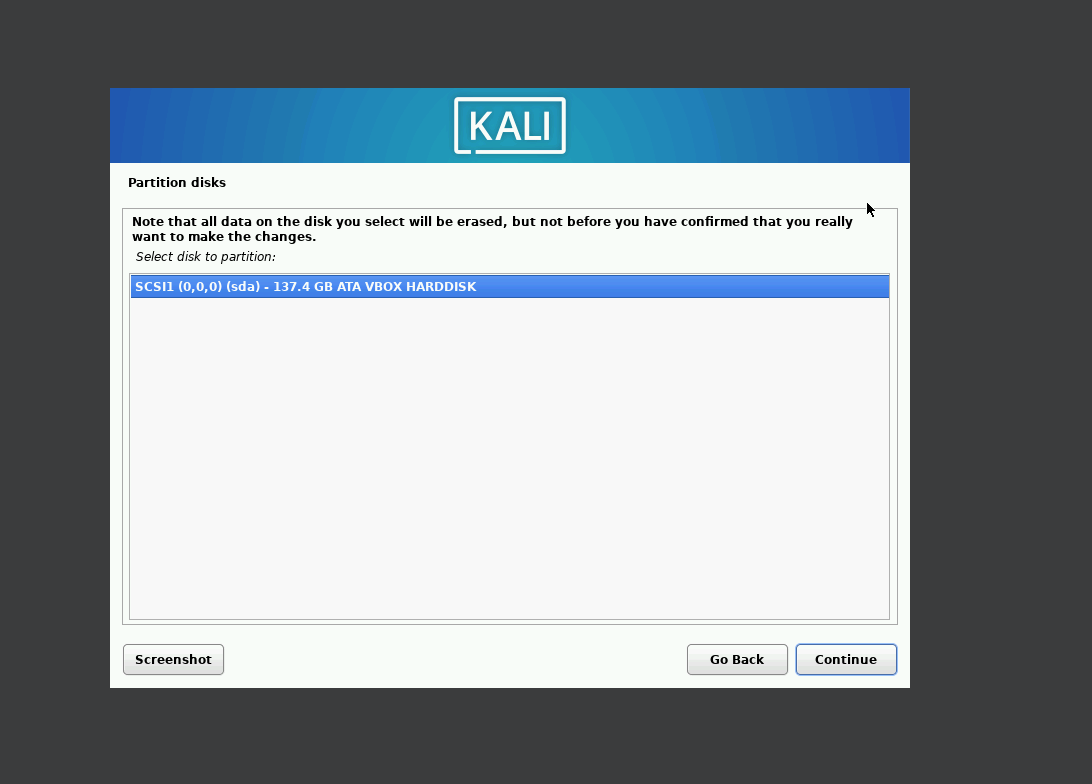
Choose to install everything in a single partition. Choose to finish the partition and save to disk.

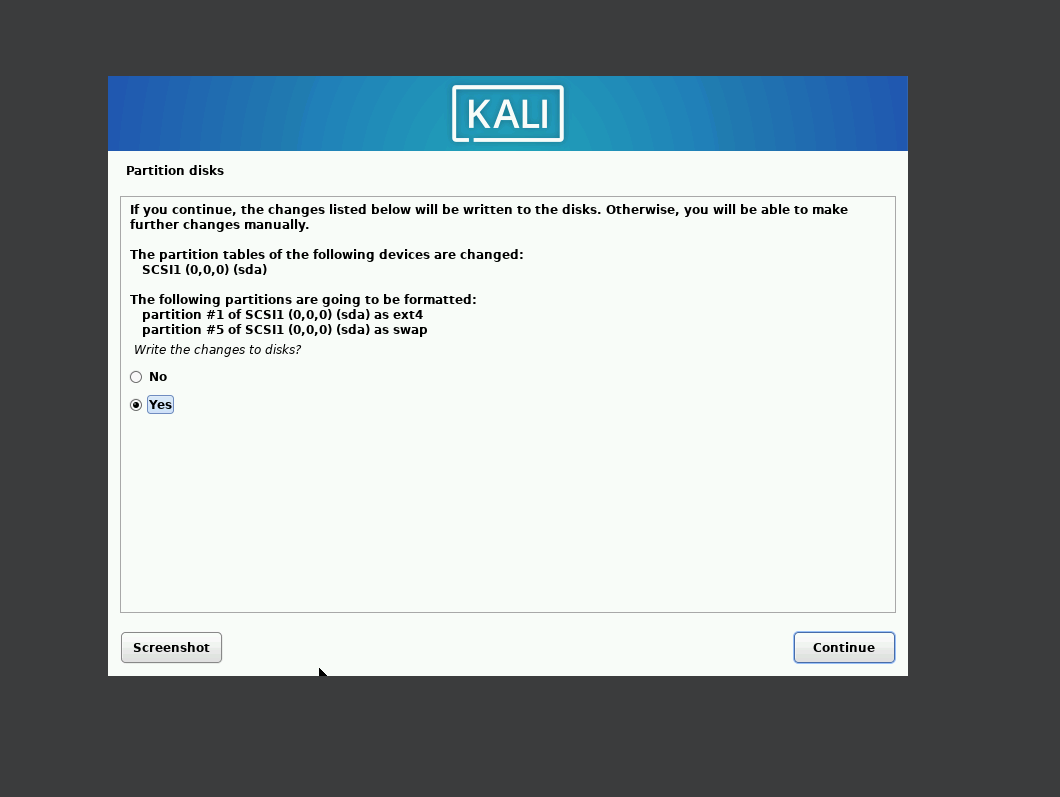
Confirm that you want to save the changes to the disk. Select ‘Yes’ radio button.
Select the desktop environment and tools to install. Wait.

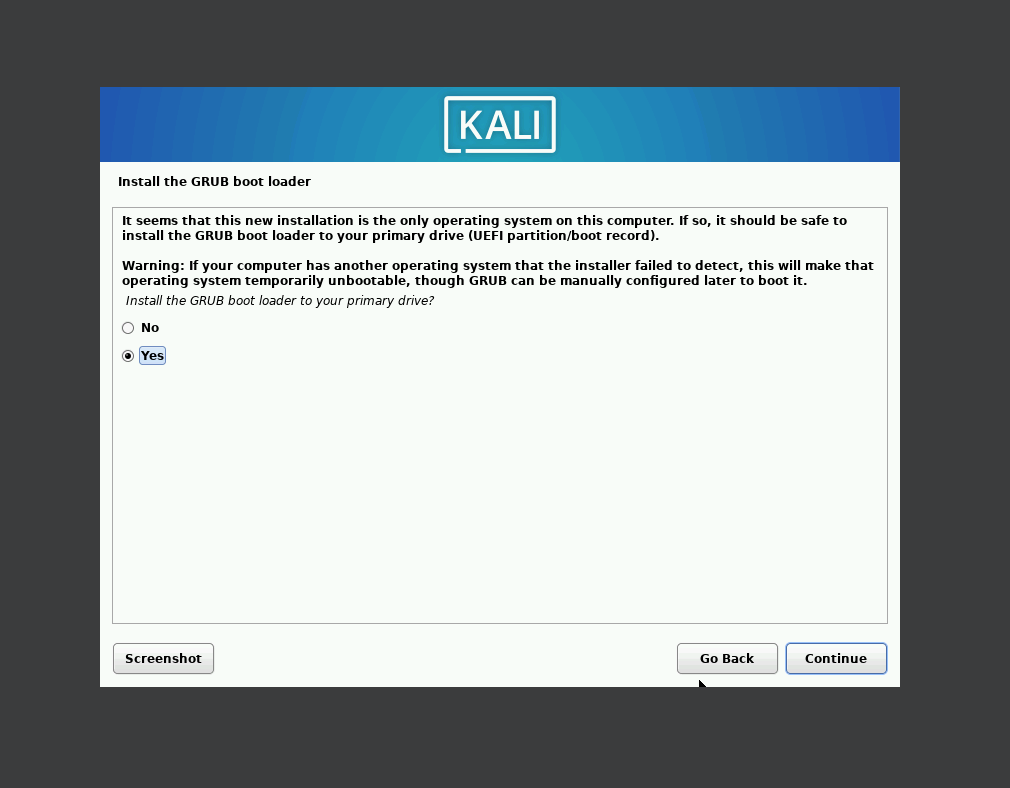
Finally. The tools has been install to the hard drive. Now, install GRUB boot loader.
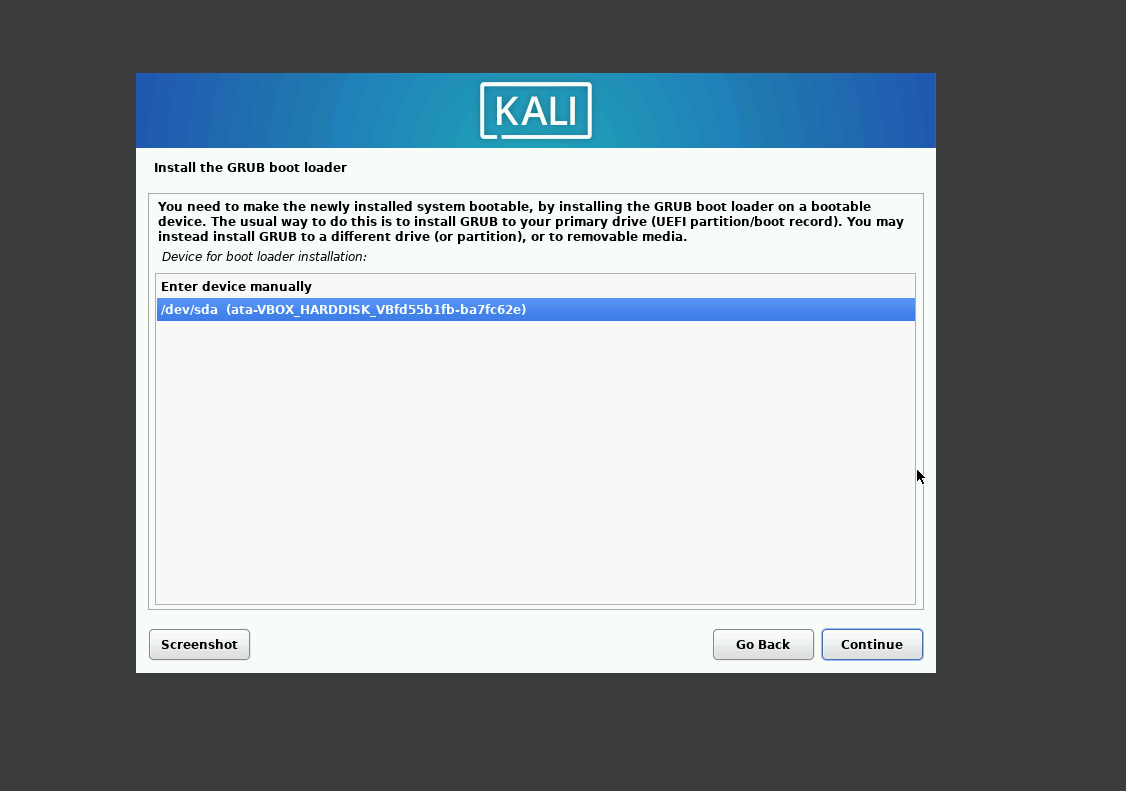
Choose the device to install GRUB to.
Click continue to reboot the machine.
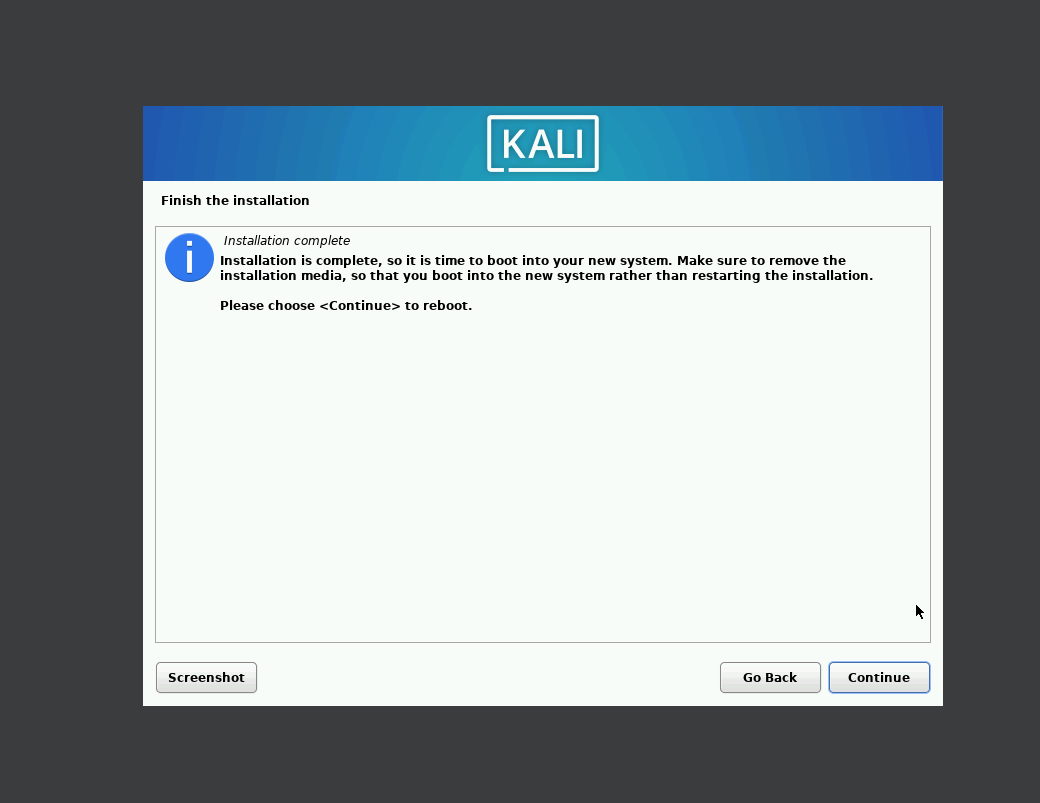
Download the keyring.
sudo wget https://archive.kali.org/archive-keyring.gpg -O /usr/share/keyrings/kali-archive-keyring.gpg
https://www.kali.org/blog/new-kali-archive-signing-key/
Update the machine.
┌──(kali㉿kali)-[~]
└─$ sudo apt -y update && sudo apt -y full-upgrade
Get:1 http://kali.download/kali kali-rolling InRelease [41.5 kB]
Get:2 http://kali.download/kali kali-rolling/main amd64 Packages [21.0 MB]
Get:3 http://kali.download/kali kali-rolling/main amd64 Contents (deb) [51.4 MB]
Get:4 http://kali.download/kali kali-rolling/contrib amd64 Packages [117 kB]
Get:5 http://kali.download/kali kali-rolling/contrib amd64 Contents (deb) [327 kB]
Get:6 http://kali.download/kali kali-rolling/non-free amd64 Packages [198 kB]
Get:7 http://kali.download/kali kali-rolling/non-free amd64 Contents (deb) [911 kB]
Get:8 http://kali.download/kali kali-rolling/non-free-firmware amd64 Packages [10.8 kB]
Get:9 http://kali.download/kali kali-rolling/non-free-firmware amd64 Contents (deb) [26.7 kB]

<snip>
Power down the machine.
Windows 10 (32-bit)
Note: Windows 10 is reaching EOL Second Note: Steps may vary based on host machine
Download the Windows 10 installation media tool from the Microsoft download page.
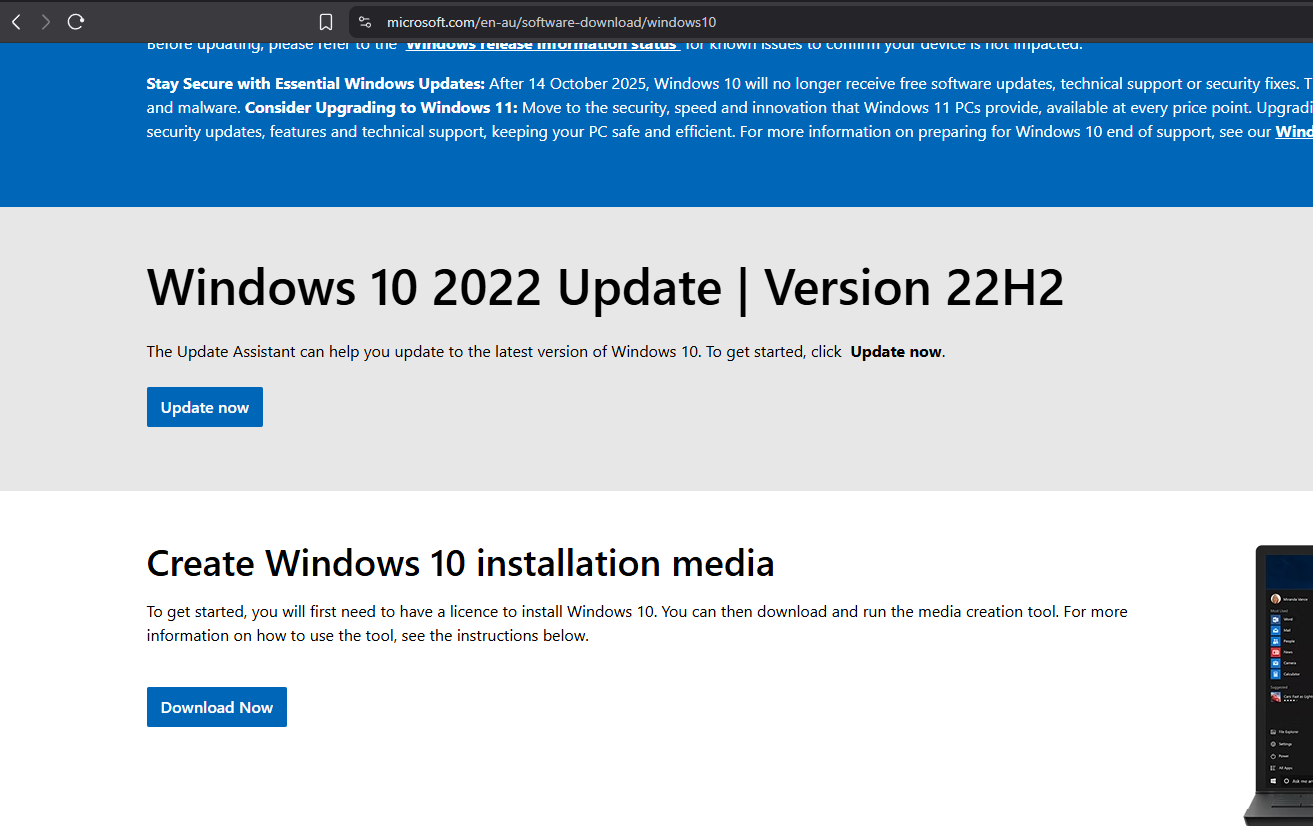
Run the MediaCreationTool_22H2 and click ‘Yes’ on the UAC prompt. Accept the License terms if you accept the terms.

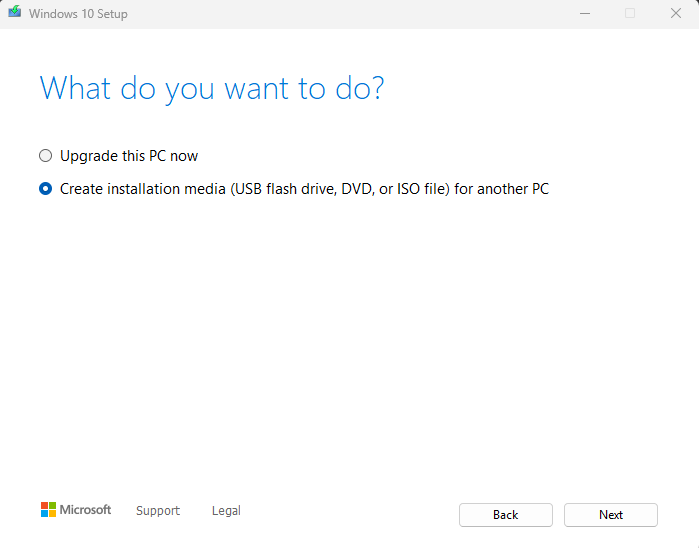
Chose the radio button for to create an iso.
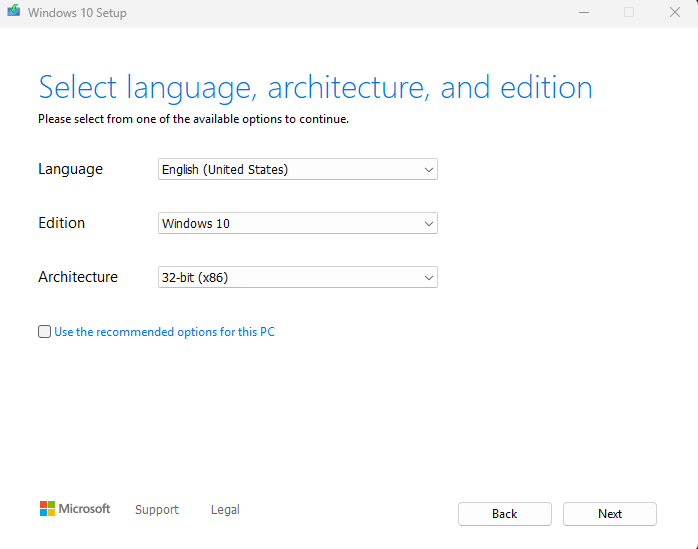
Unselect ‘Use the recommended options for this PC’ and select ‘32-bit (x86)’ option for the Architecture.
Choose the radio button for ISO.
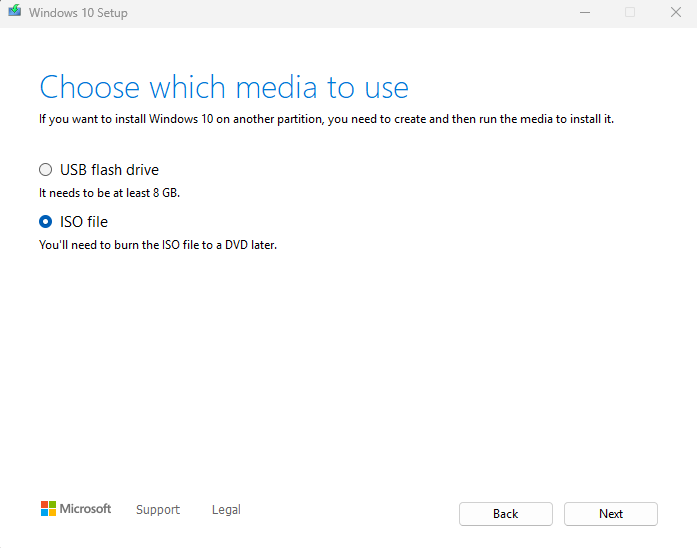
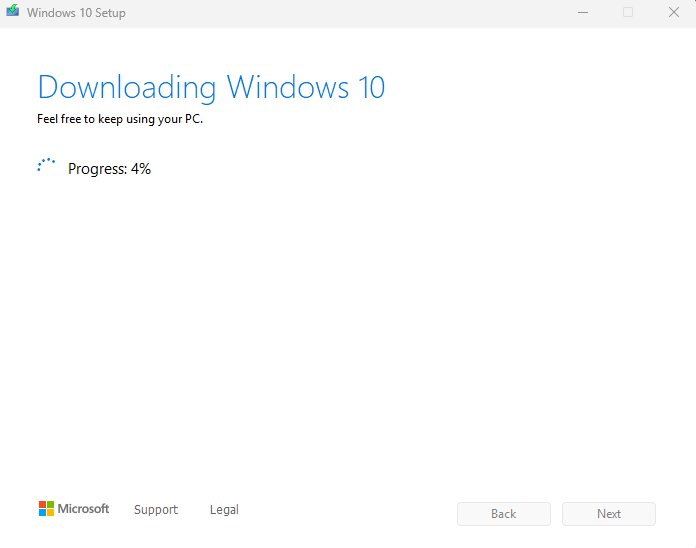
Choose the file name and save location for the ISO. Please wait because it will take some time. Click Finish to wrap it up.
Click New at the top of the VirtualBox interface.

Chose a name for the virtual machine. Select the Windows ISO that we just created. Select Skip unintended installation. Choose Next.

Choose an appropriate amount of memory and processors for the virtual machine. Choose Next.

Set the hard disk space requirements. Choose Next.

Click Finish to end the set-up.
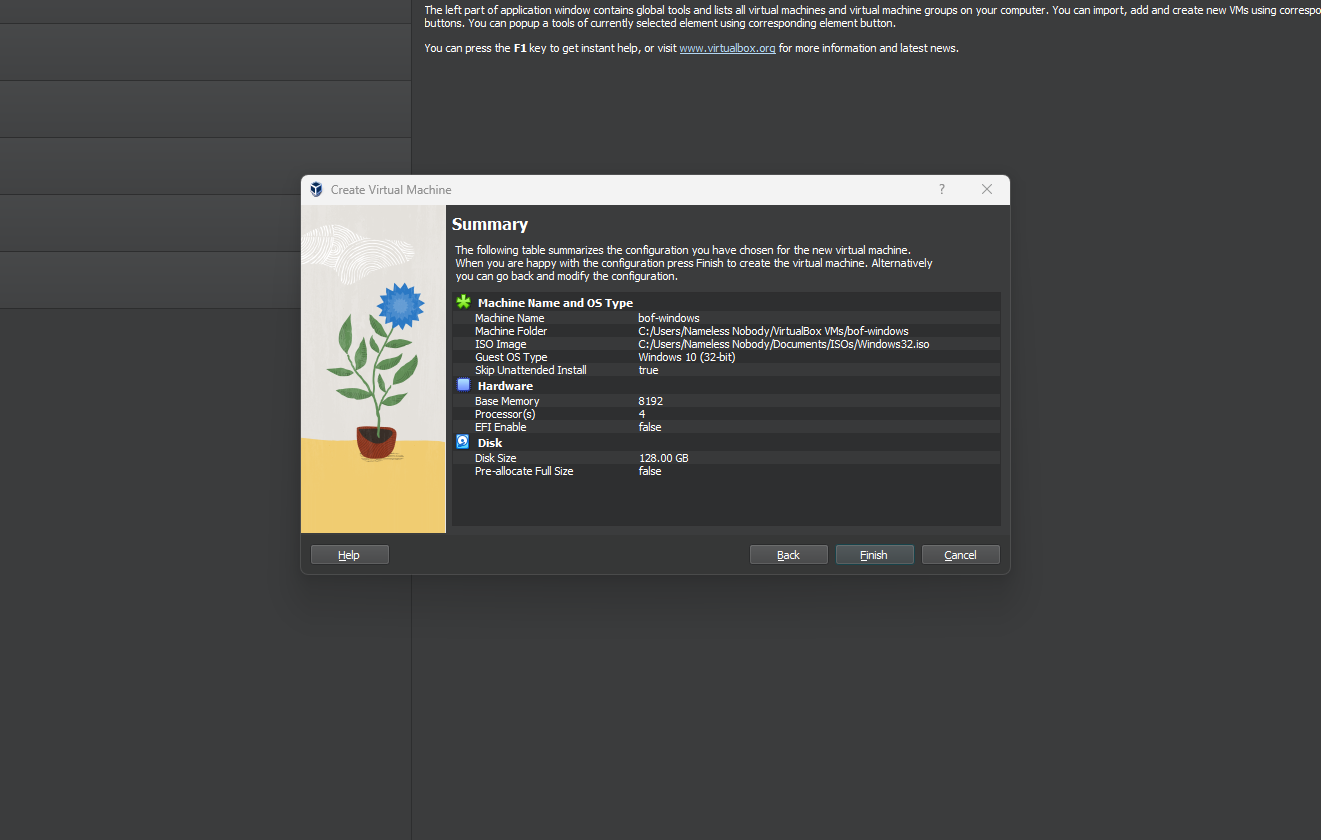
If the virtual machine doesn’t automatically start, start the virtual machine.

Click on the Next button.
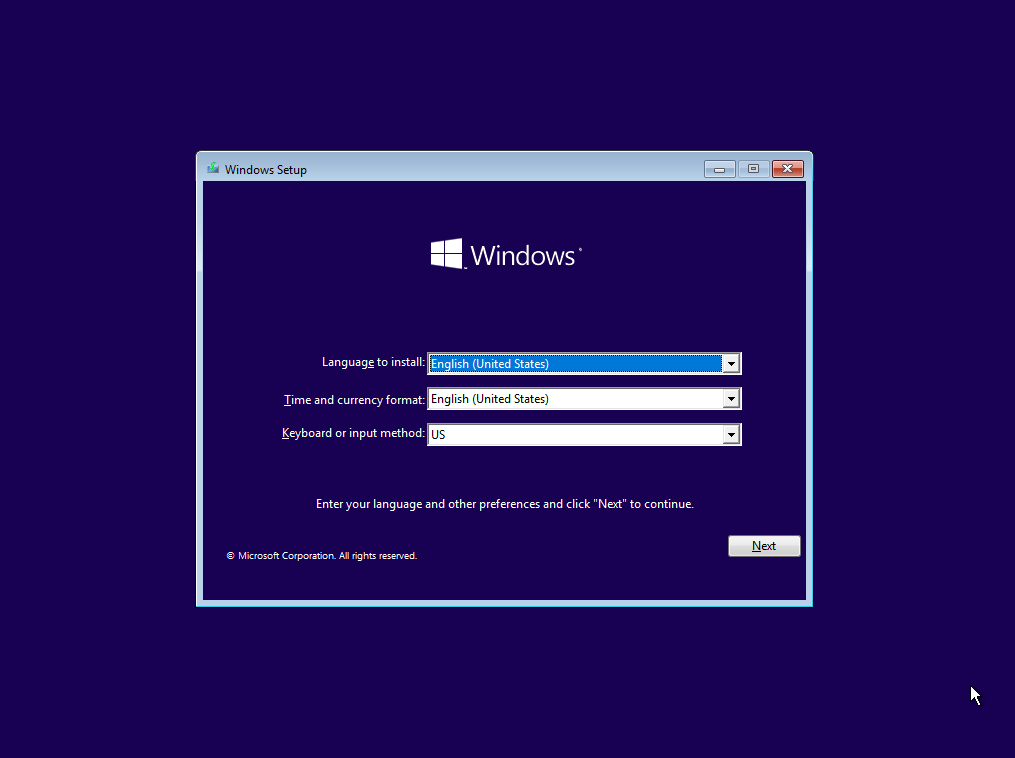
Click on the Install Now button.

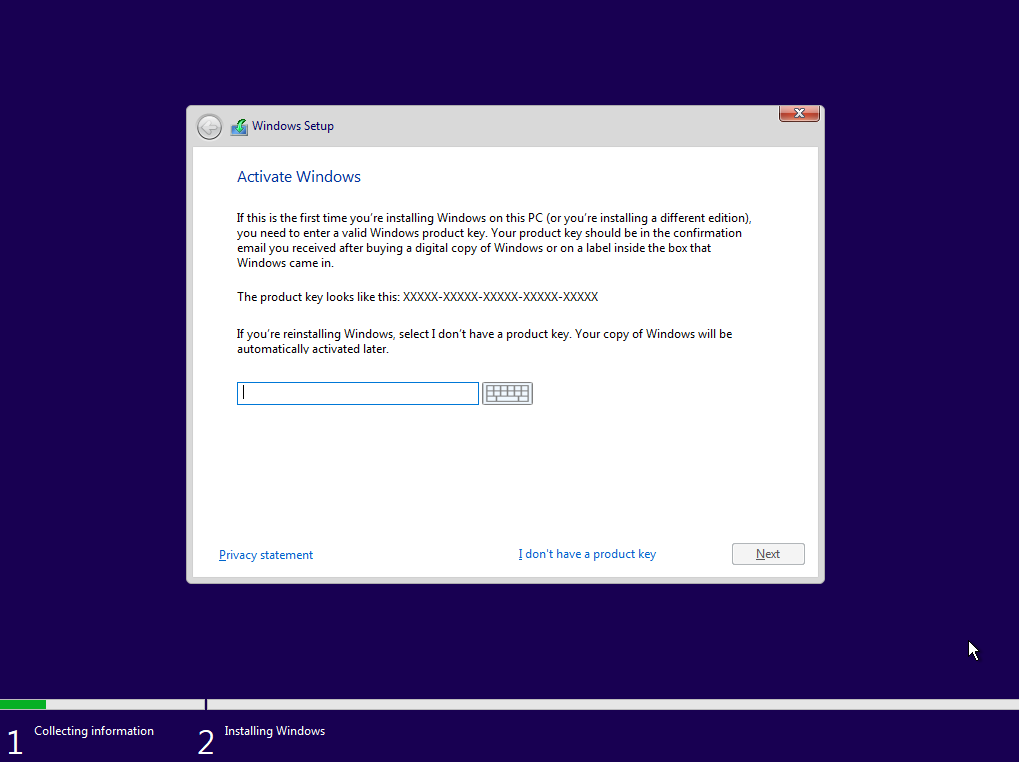
Click on ‘I don’t have a product key.’
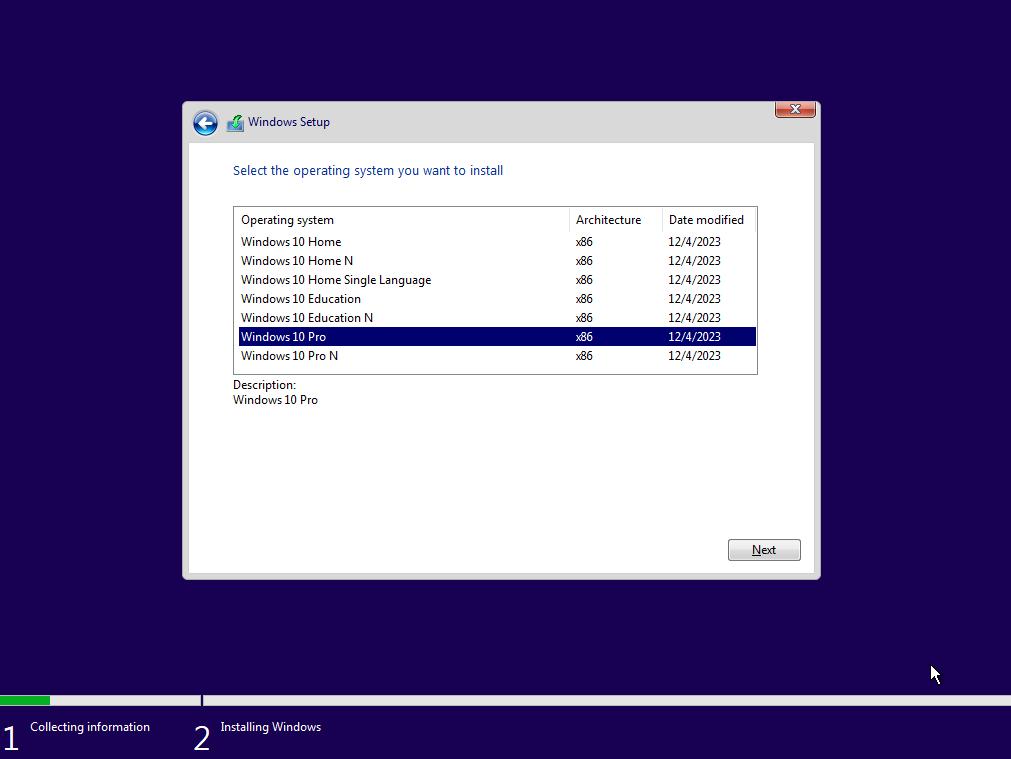
Select a version of Windows that matches the ‘victim’ machine.
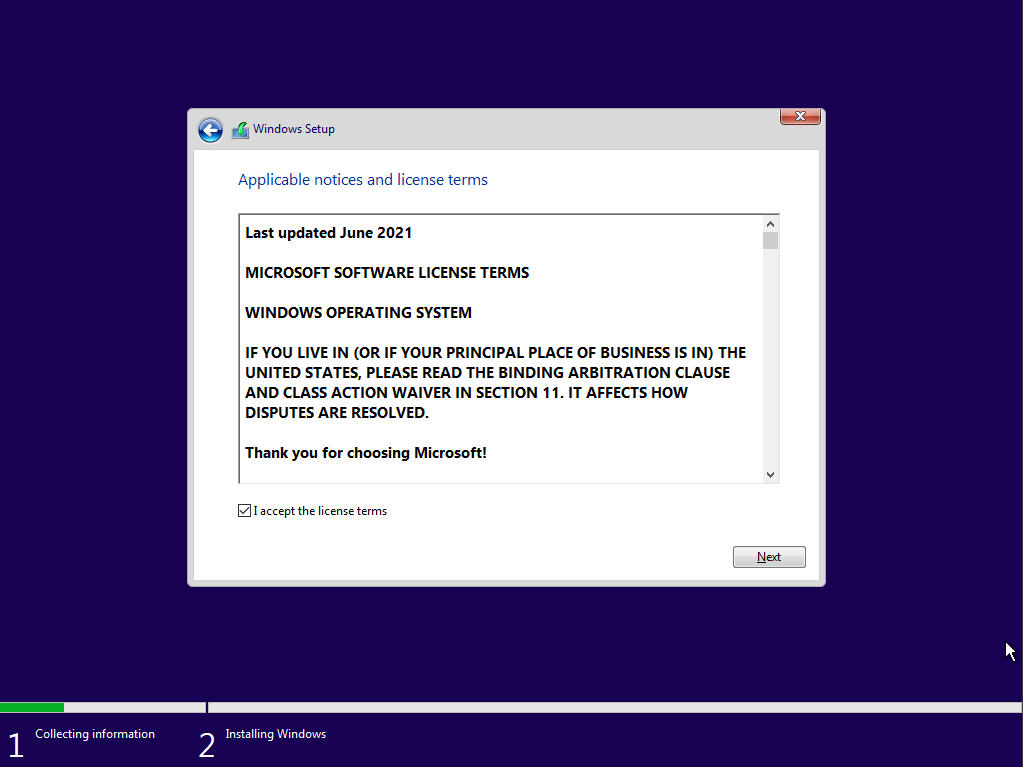
Accept the license terms.
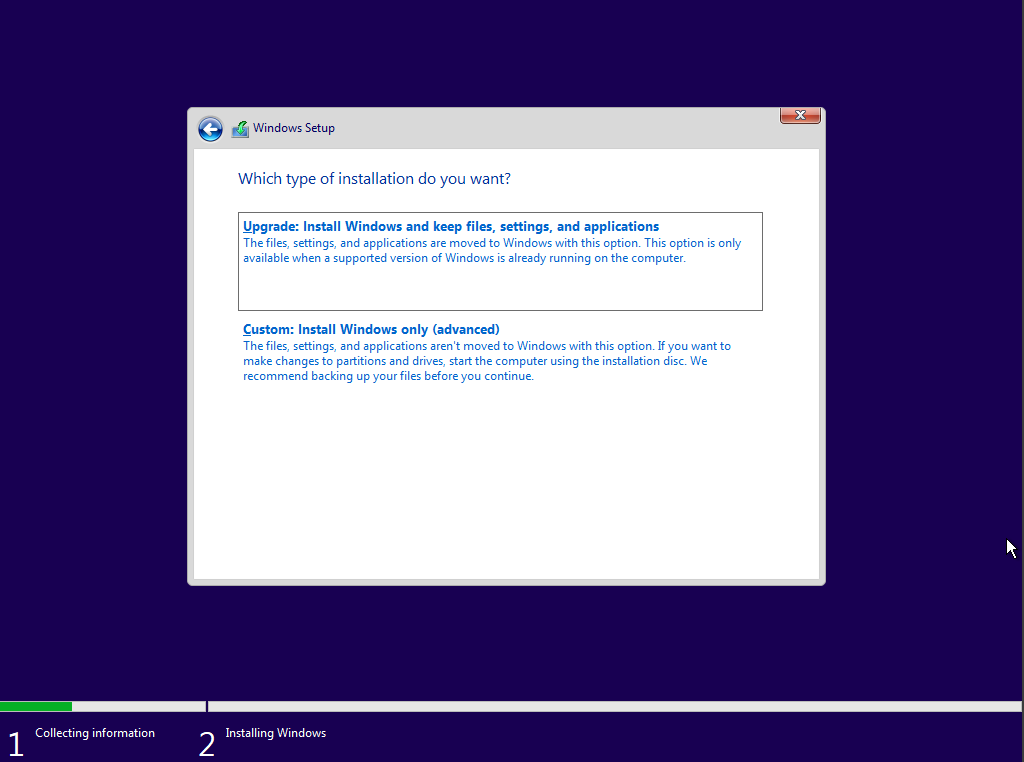
Choose the custom install option.
Select the new button to create the partitions.
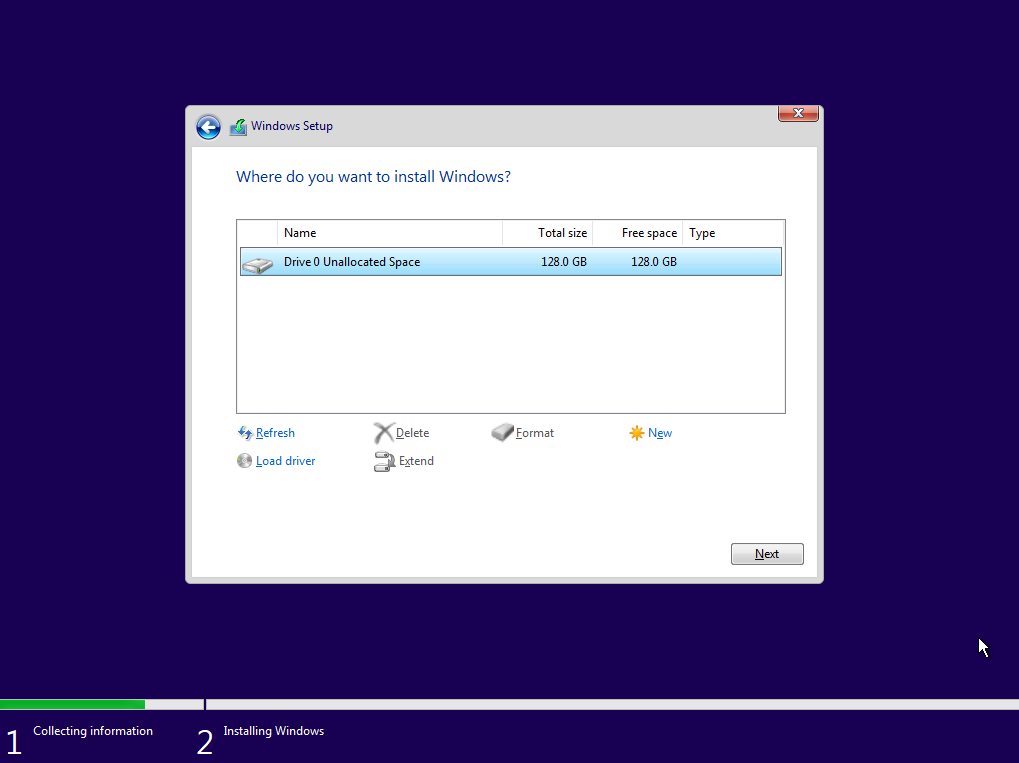
Click Apply to set the partition size. Click OK on the resulting pop-up. Highlight the primary partition and click next. It will take awhile and restart automatically.
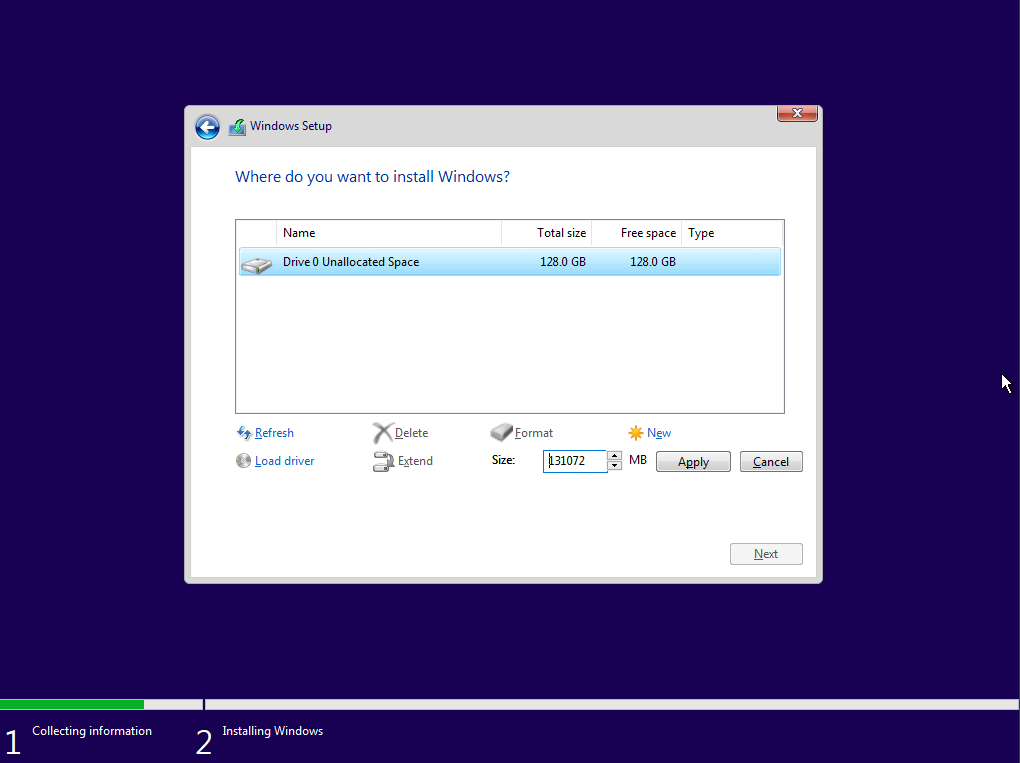
Select the Region.
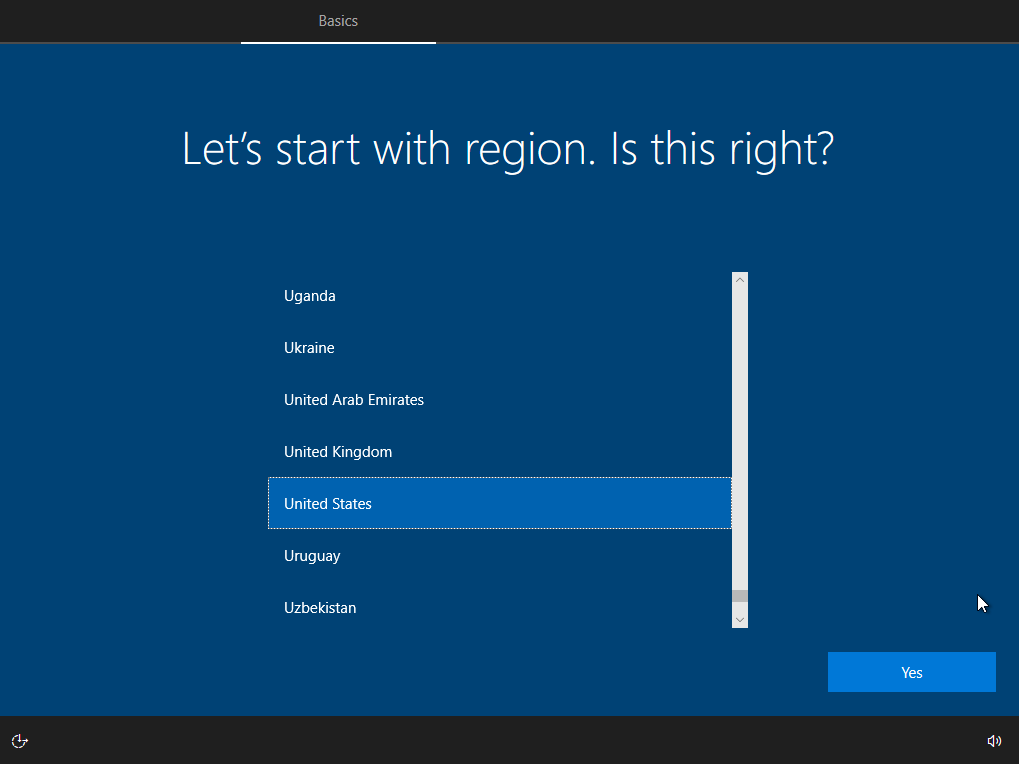
Select the Keyboard. Skip the second layout.

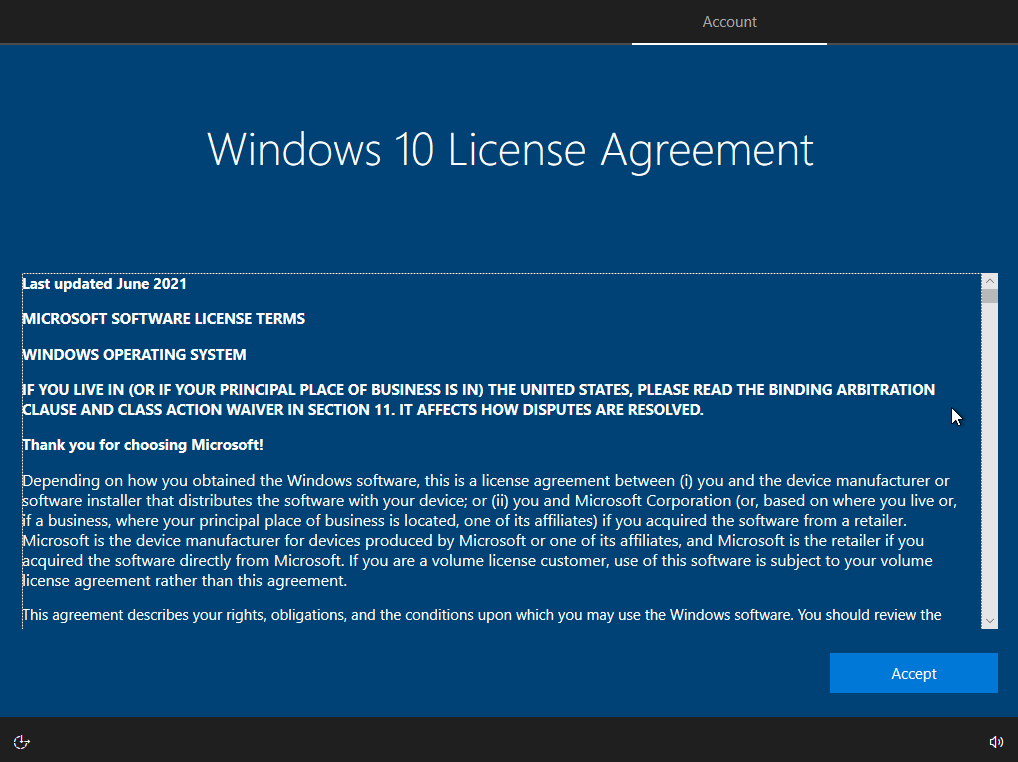
Select the license agreement…again.
Right-click the two computers in the lower right-hand corner and select Connect Network Adapter to disable the network.
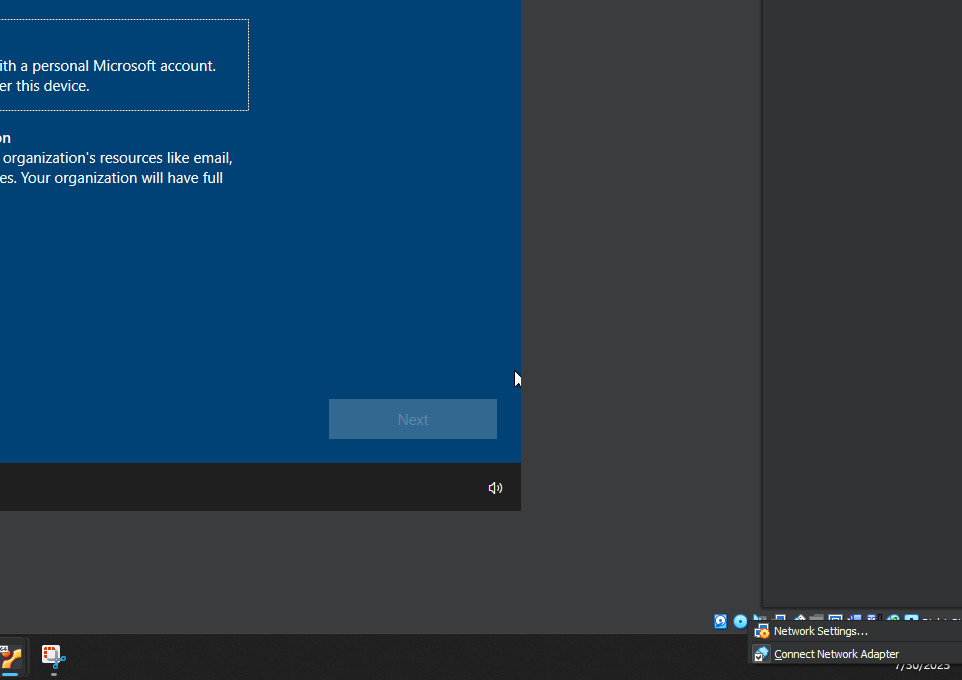
Select the Set up for personal use option.

Choose the username.
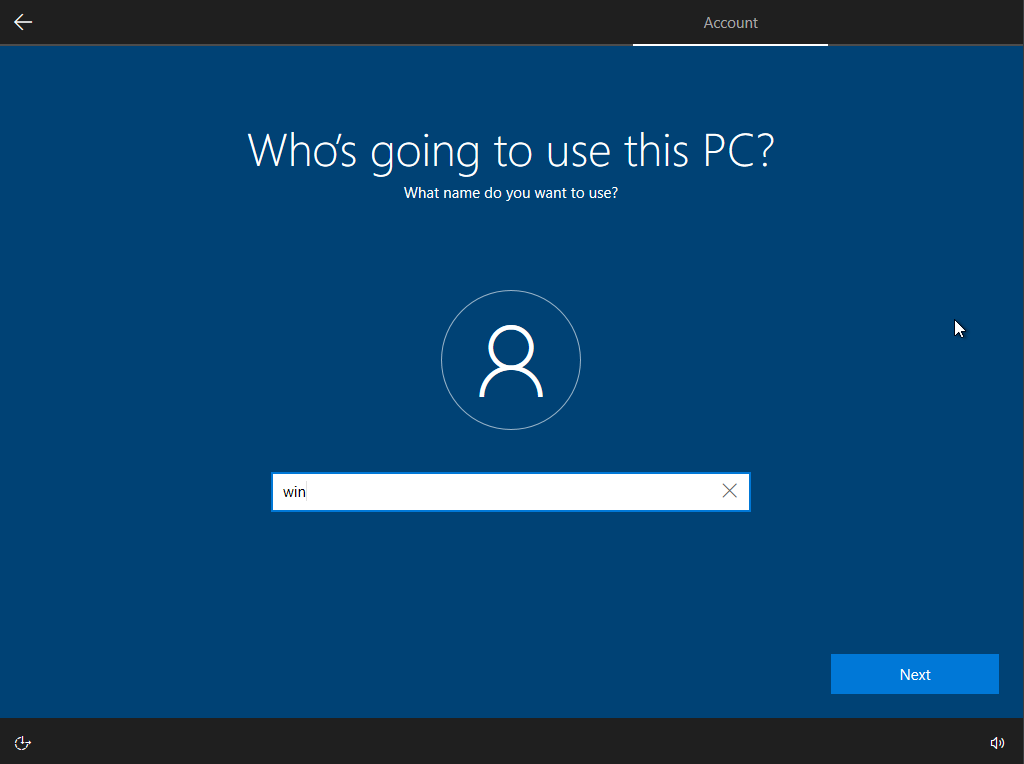
Choose a passowrd. Click Next. Re-enter the password.

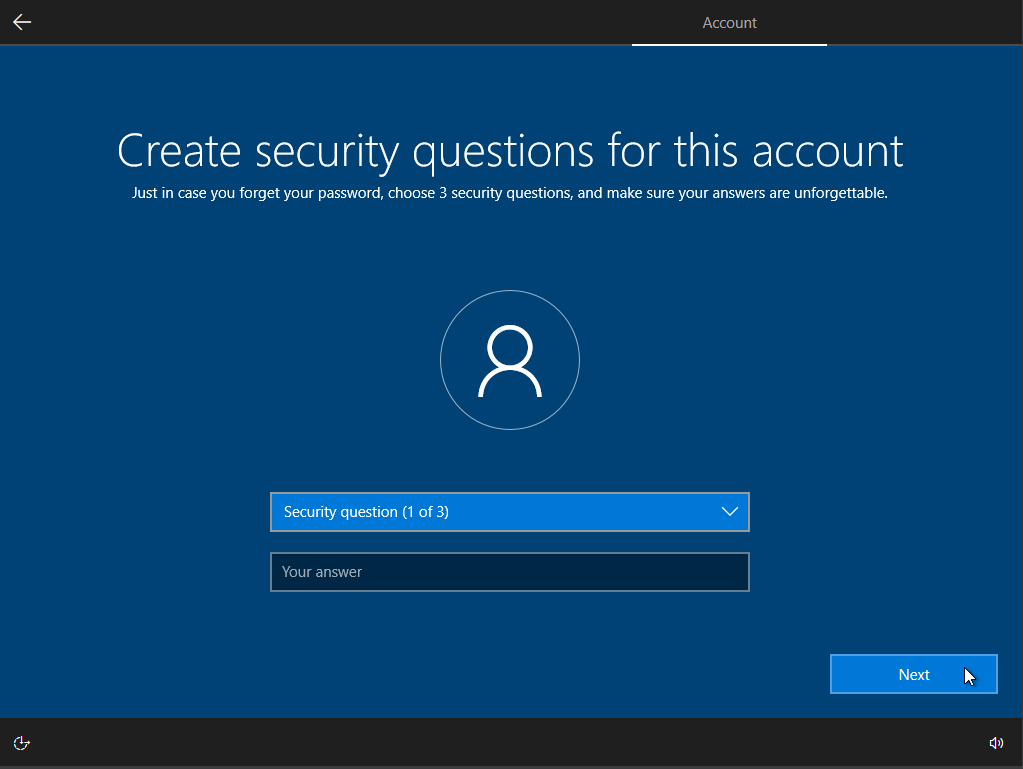
Choose answer for the security questions.
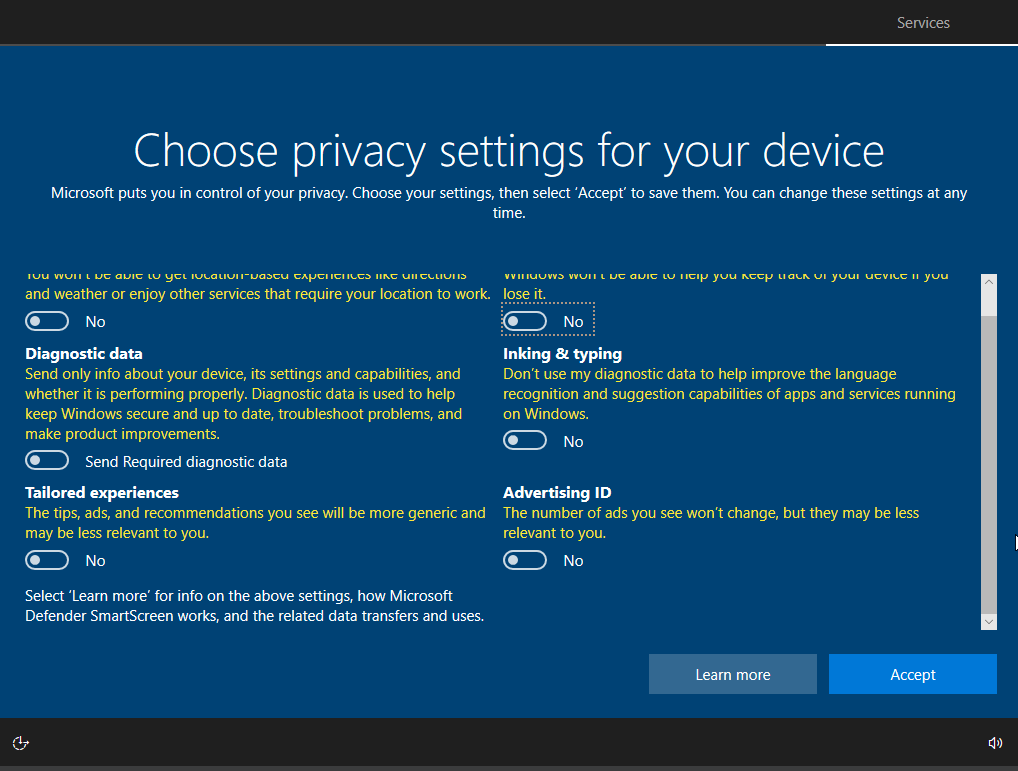
Turn off all the tracking type of options. Select Not Now for the Cortana option.
What for it to finish installing and repeat the network option from above to turn the networking back on. For the pop-up box click on all the continues and Coninue Without Data until it goes away.
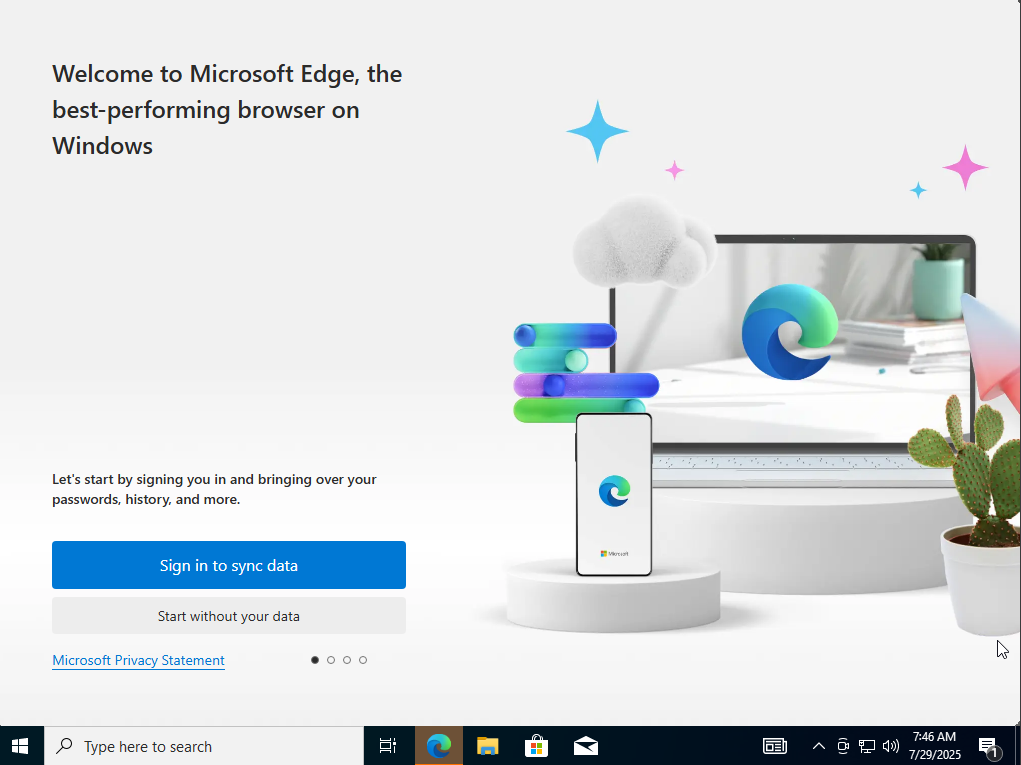
Install Google Chrome. This is optional. You can use Edge, if you want to. You can leave other browswers behind. Because if your browsers don’t browse, and if they don’t browse, then they are no browser of mine!
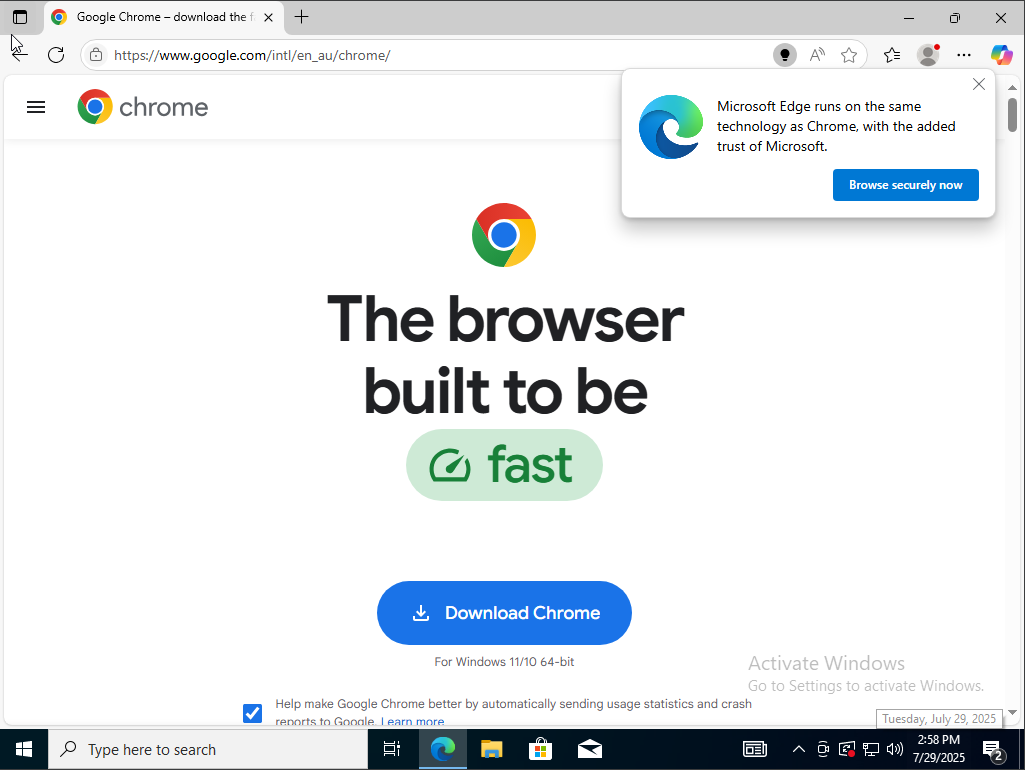
https://www.google.com/intl/en_au/chrome/
Download the Windows SDK installer so we can install WinDBG. WinDBG is my debugger of choice. You can use whichever you prefer.
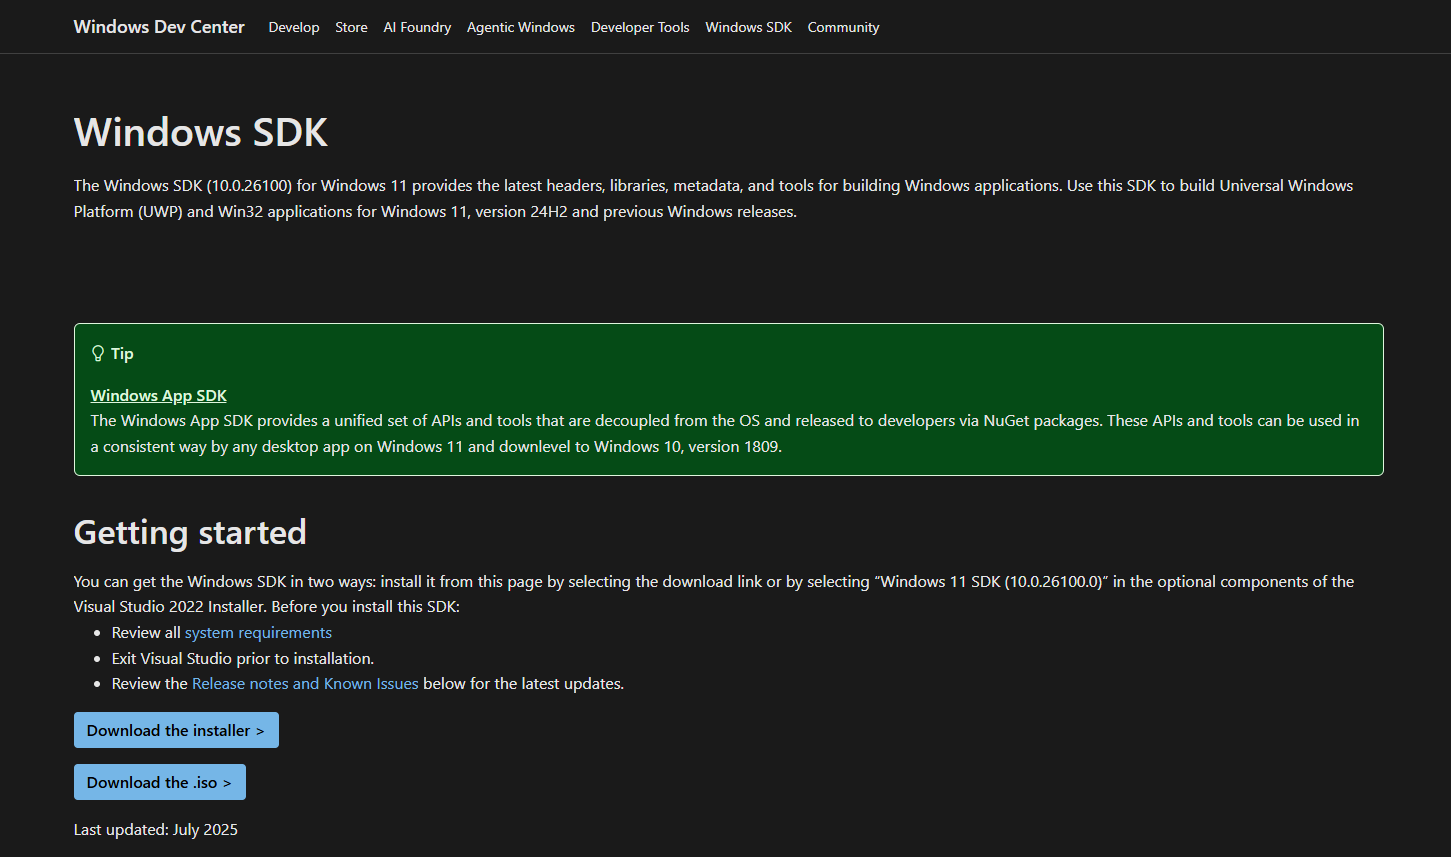
https://developer.microsoft.com/en-us/windows/downloads/windows-sdk/
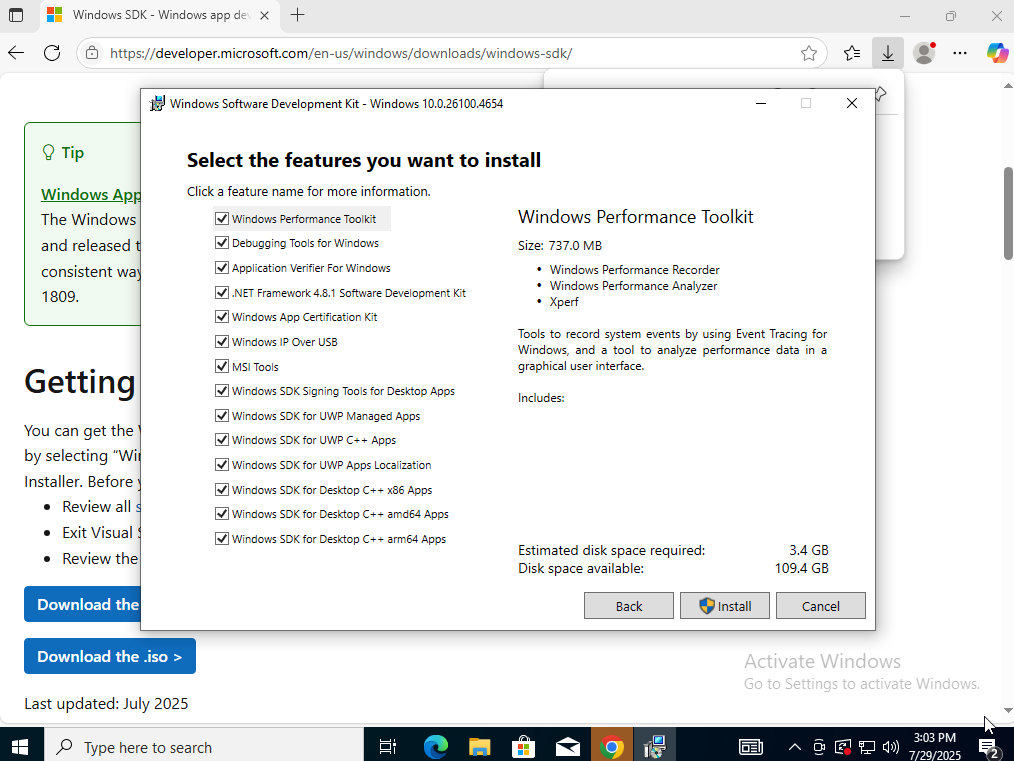
Launch the installler. Choose all of the default options. When you get to the install options, I usually just install everything.
Choose it insert the VirtualBox Guest Additions ISO.

Navigate to the ISO we just inserted. Run the option for x86 since we are on a 32-bit system. A reboot will be required so just shut down the machine so we can set-up networking.

Networking
Click on the hamburger button on top and click on the networking option.
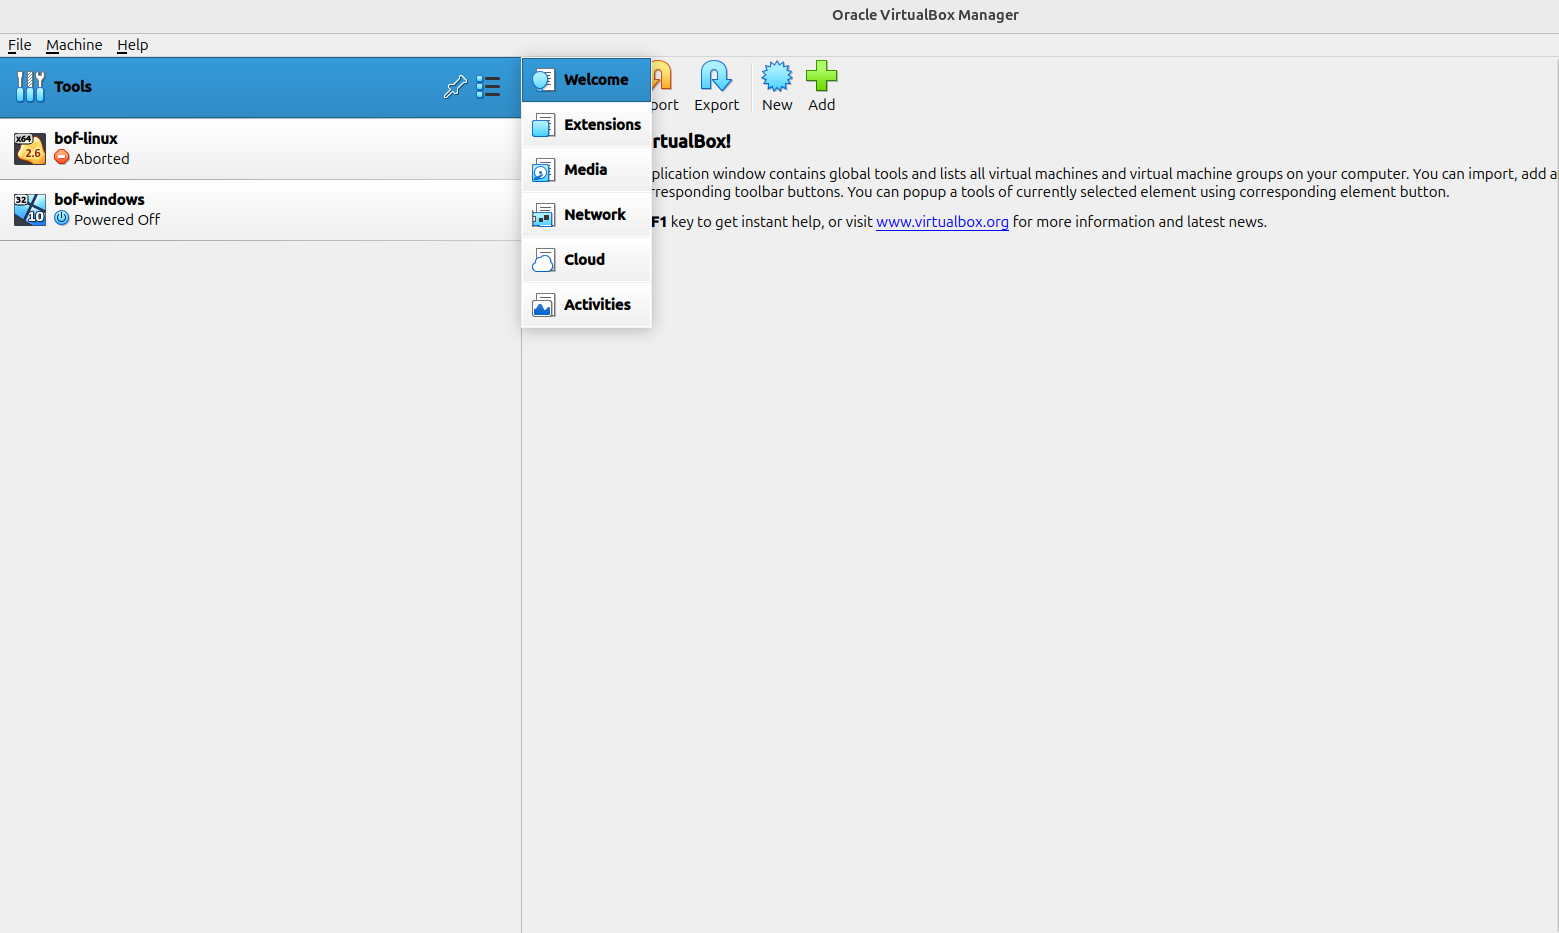
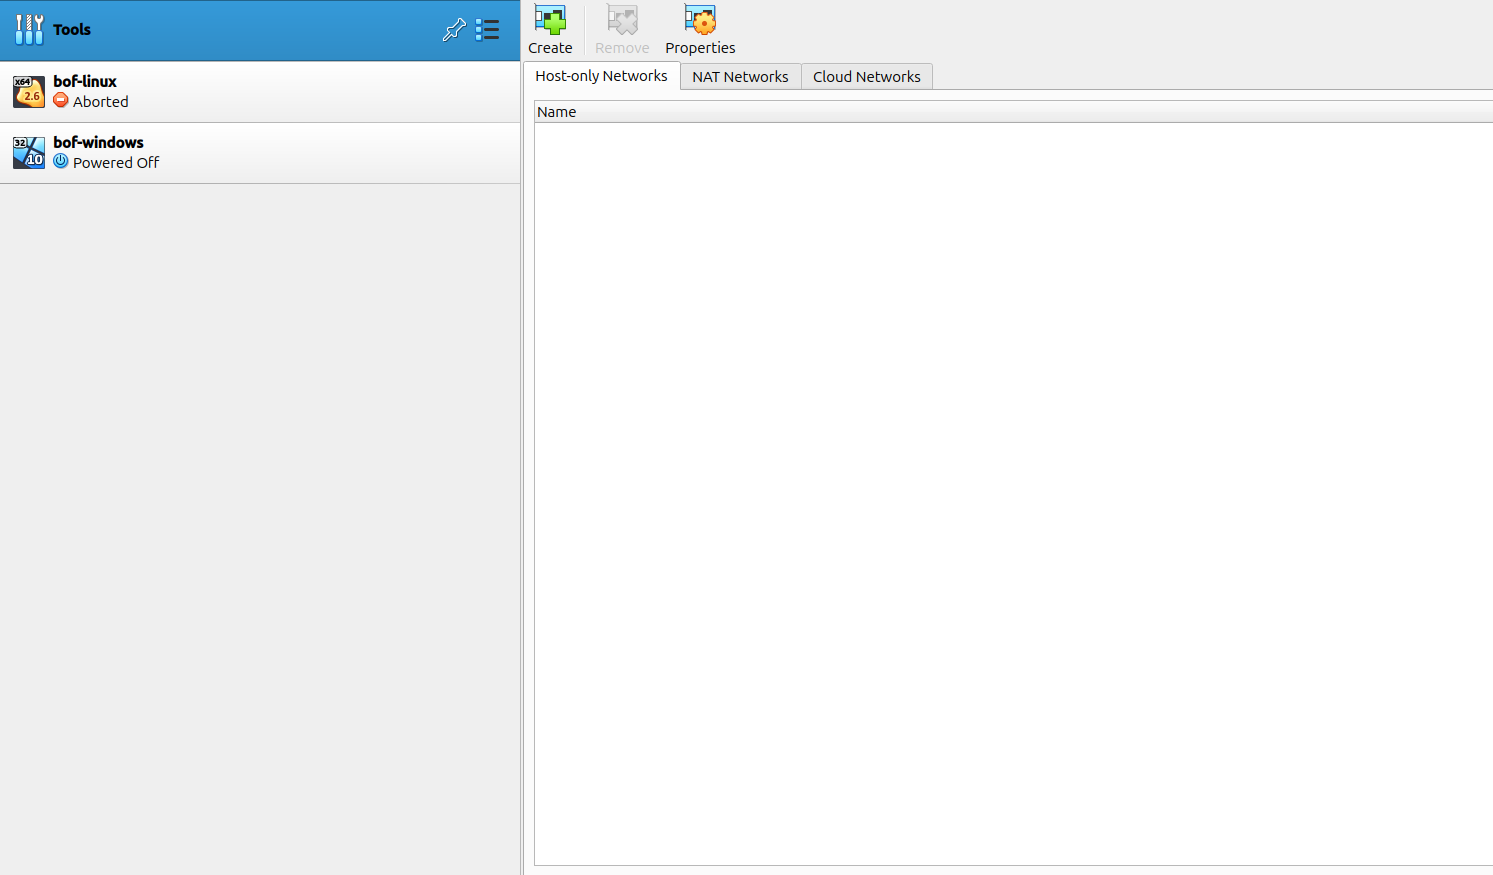
Click the Create button to create a Nat Network.
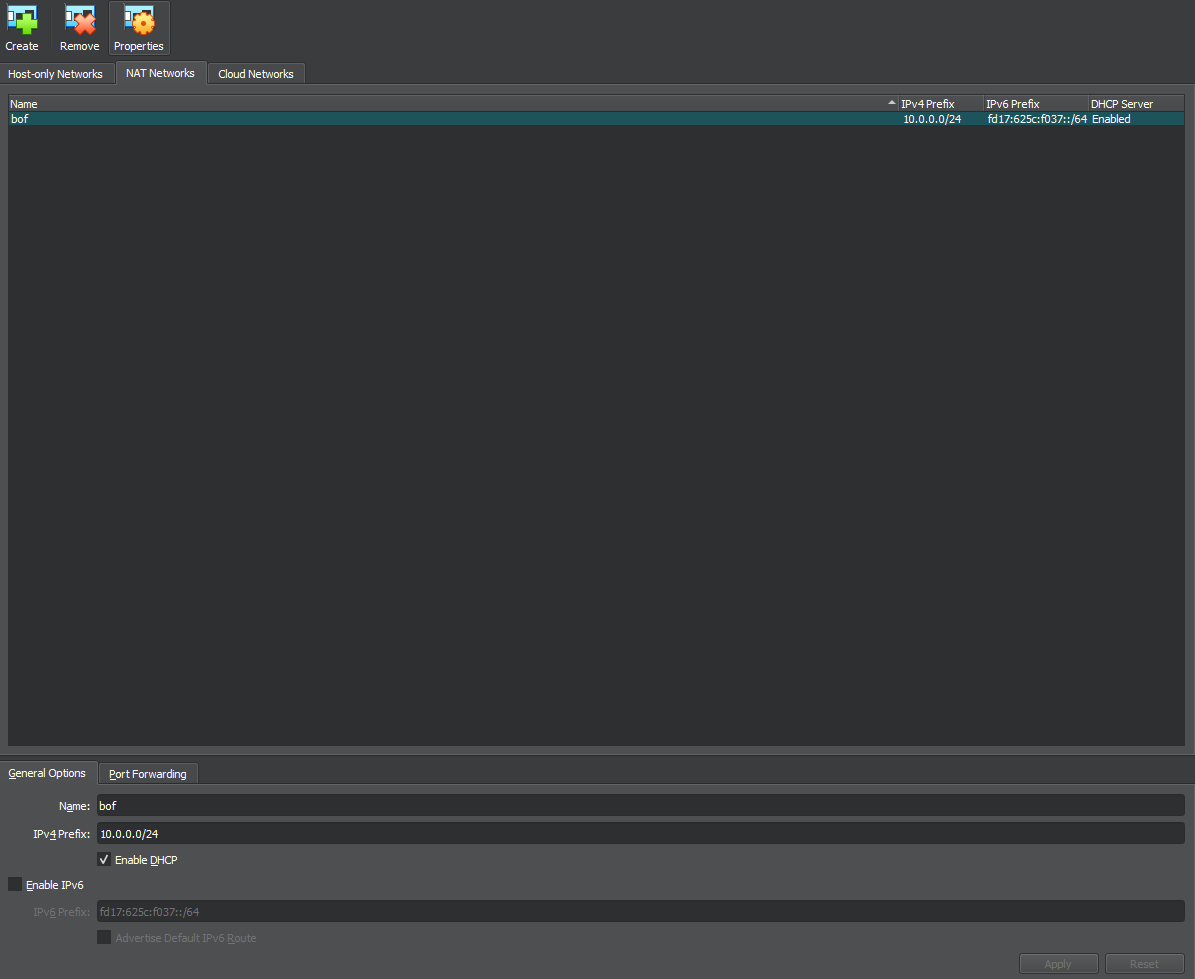
On the NAT Networks, set the server information with IP range that you can differentiate from the normal network.
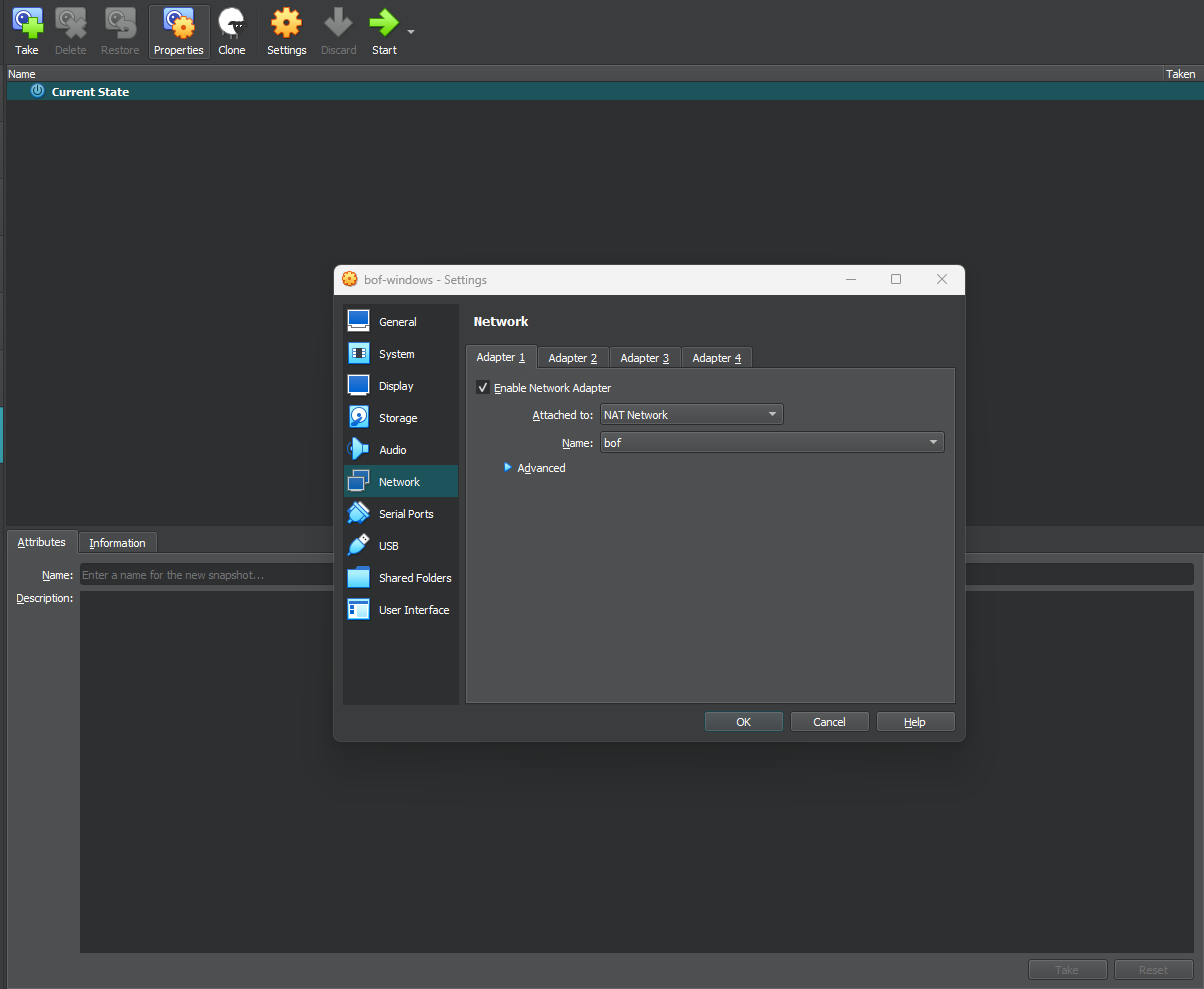
On the Settings screen, set the Linux virtual machine Network to NAT Network and choose the network we just created.
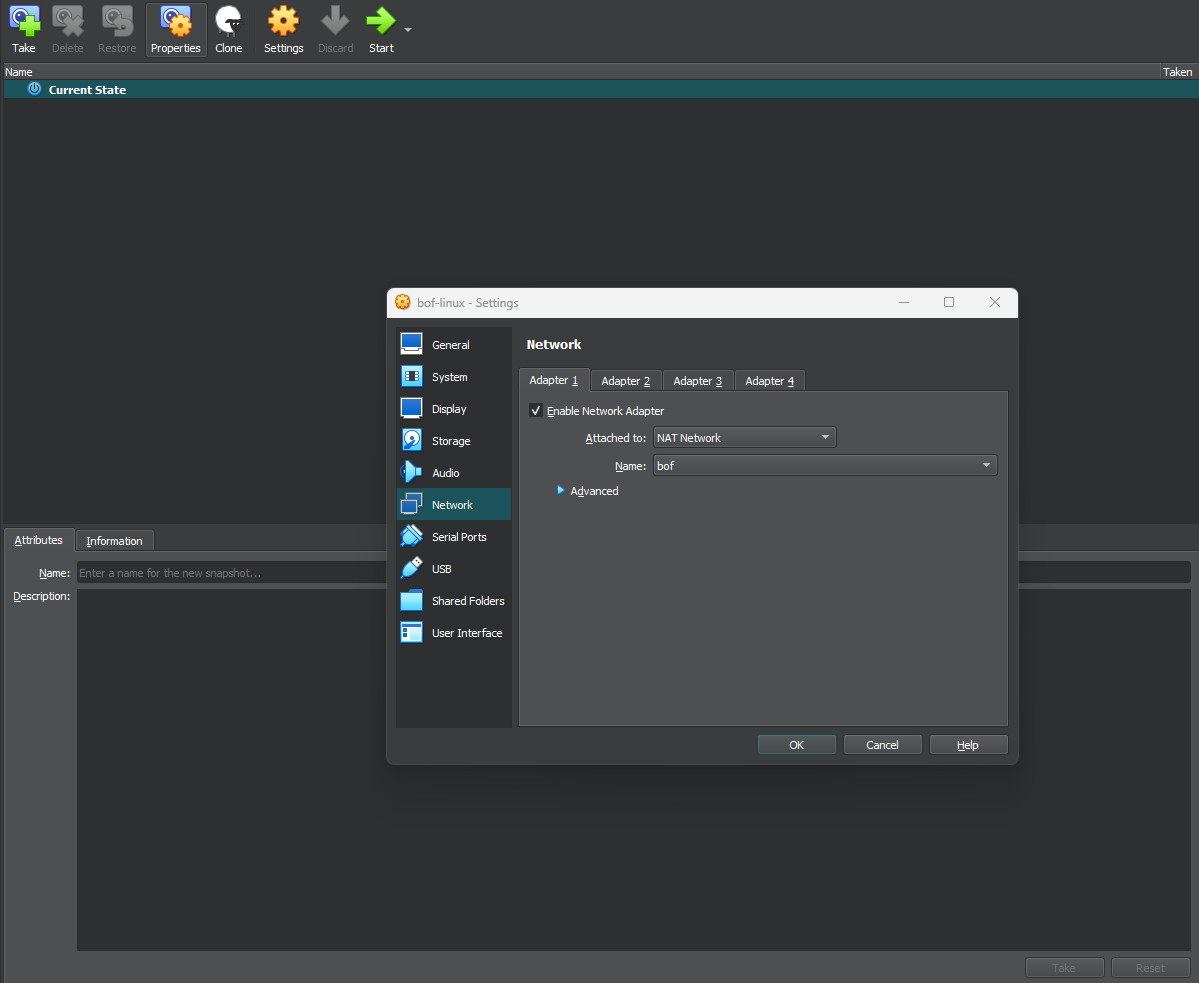
On the Settings screen, set the Windows virtual machine Network to NAT Network and choose the network we just created.
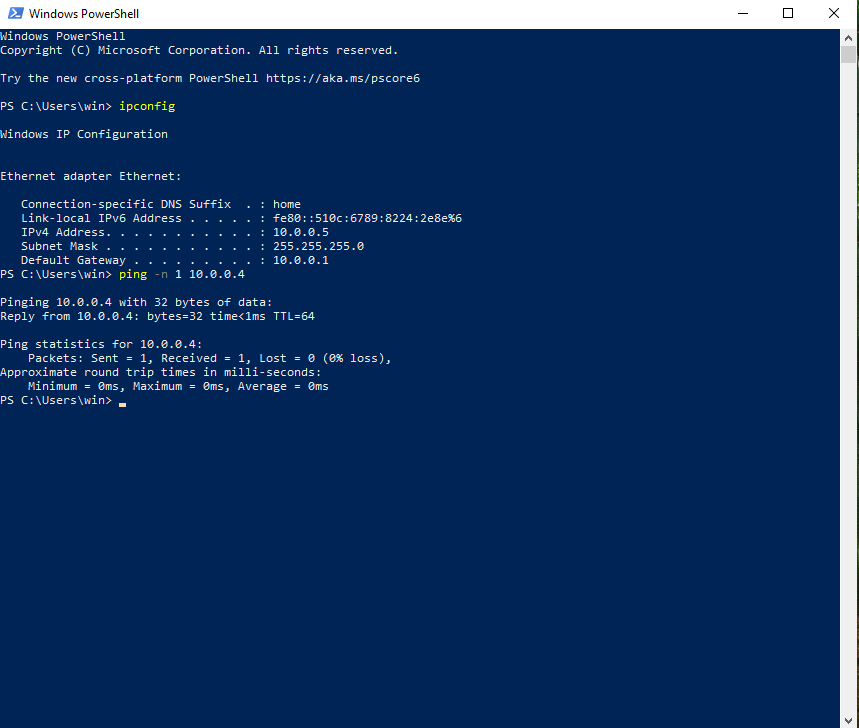
From the Windows machine, ping the Linux machine to make sure that you can connect to it.
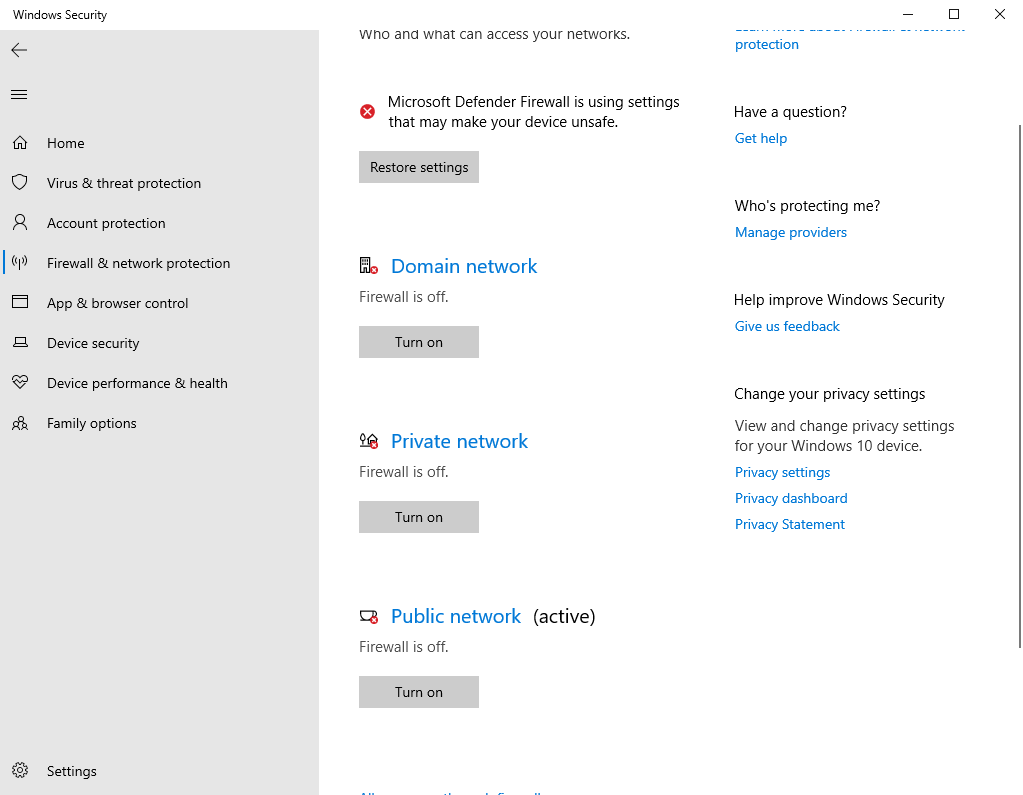
On the Windows Security screen, disable all of the firewalls.
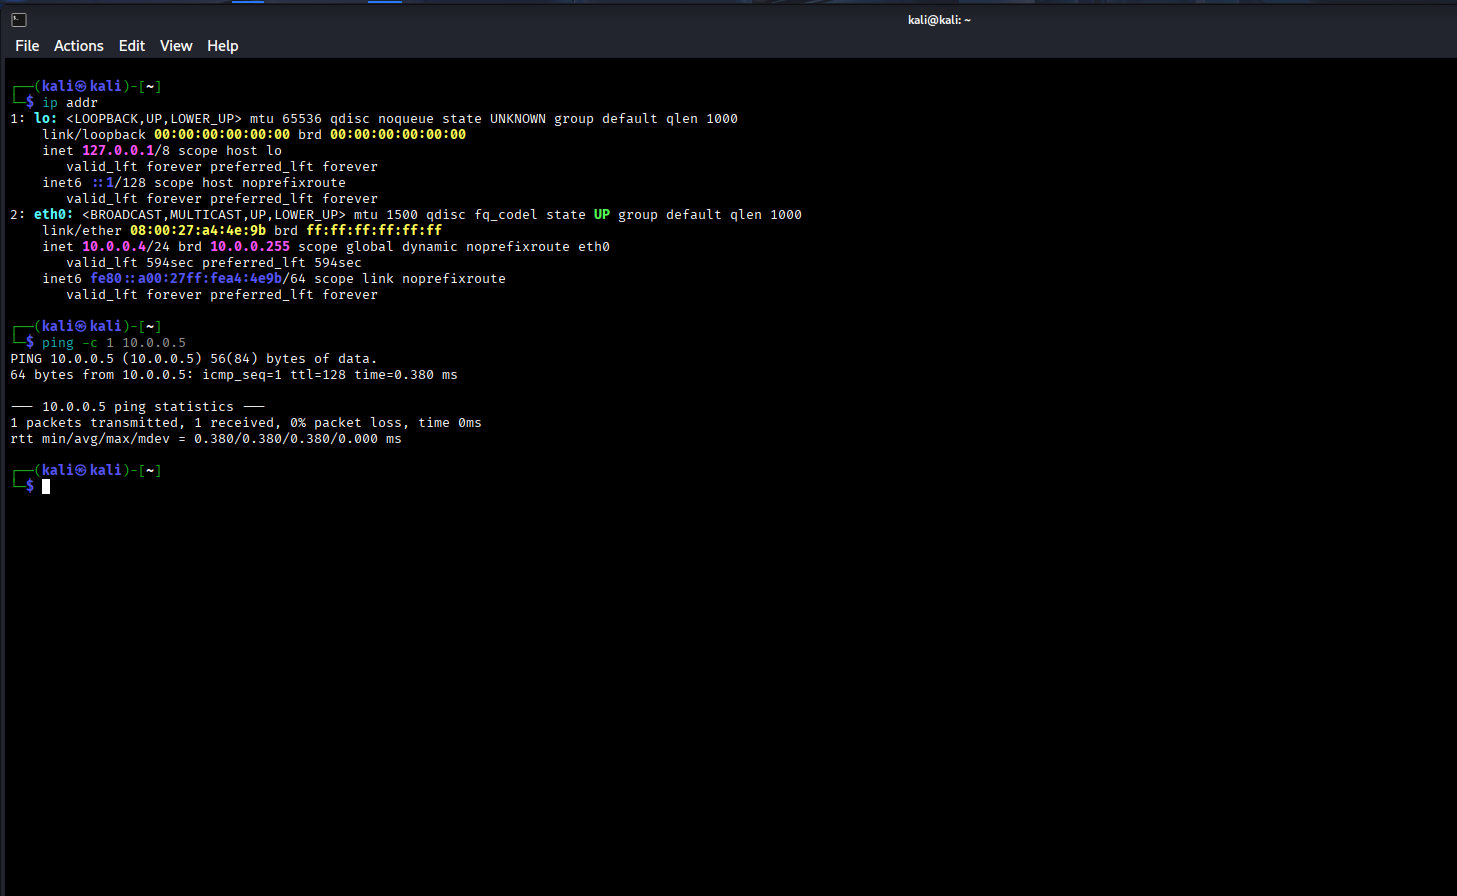
From the Linux machine, ping the Windows machine to make sure that your connect to it.
And with that, we should be good to go to set up the vulnerable software and get started.