Domain Set-up
Setup a domain for testing purposes.
Introduction
I recently registered for Certified Red Team Professional (CRTP) course. To aid in my studies, I decided to set-up a personal domain lab to play and test the different methodologies from the course.
Why build this lab: Understanding Active Directory from both attack and defense perspectives requires hands-on infrastructure. This domain setup enables testing offensive techniques (CRTP) while preparing for future defensive capabilities (SIEM/XDR integration).
I eventaully plan on adding a SIEM and XDR for purple team adventures. Maybe expand it out with more machines to simulate something like the PWK lab. Either way, that will be different posts. This will just be basic set-up.
Links
https://www.microsoft.com/en-us/evalcenter/evaluate-windows-server-2019
https://www.microsoft.com/en-us/evalcenter/evaluate-windows-10-enterprise
Process
Windows Server 2019
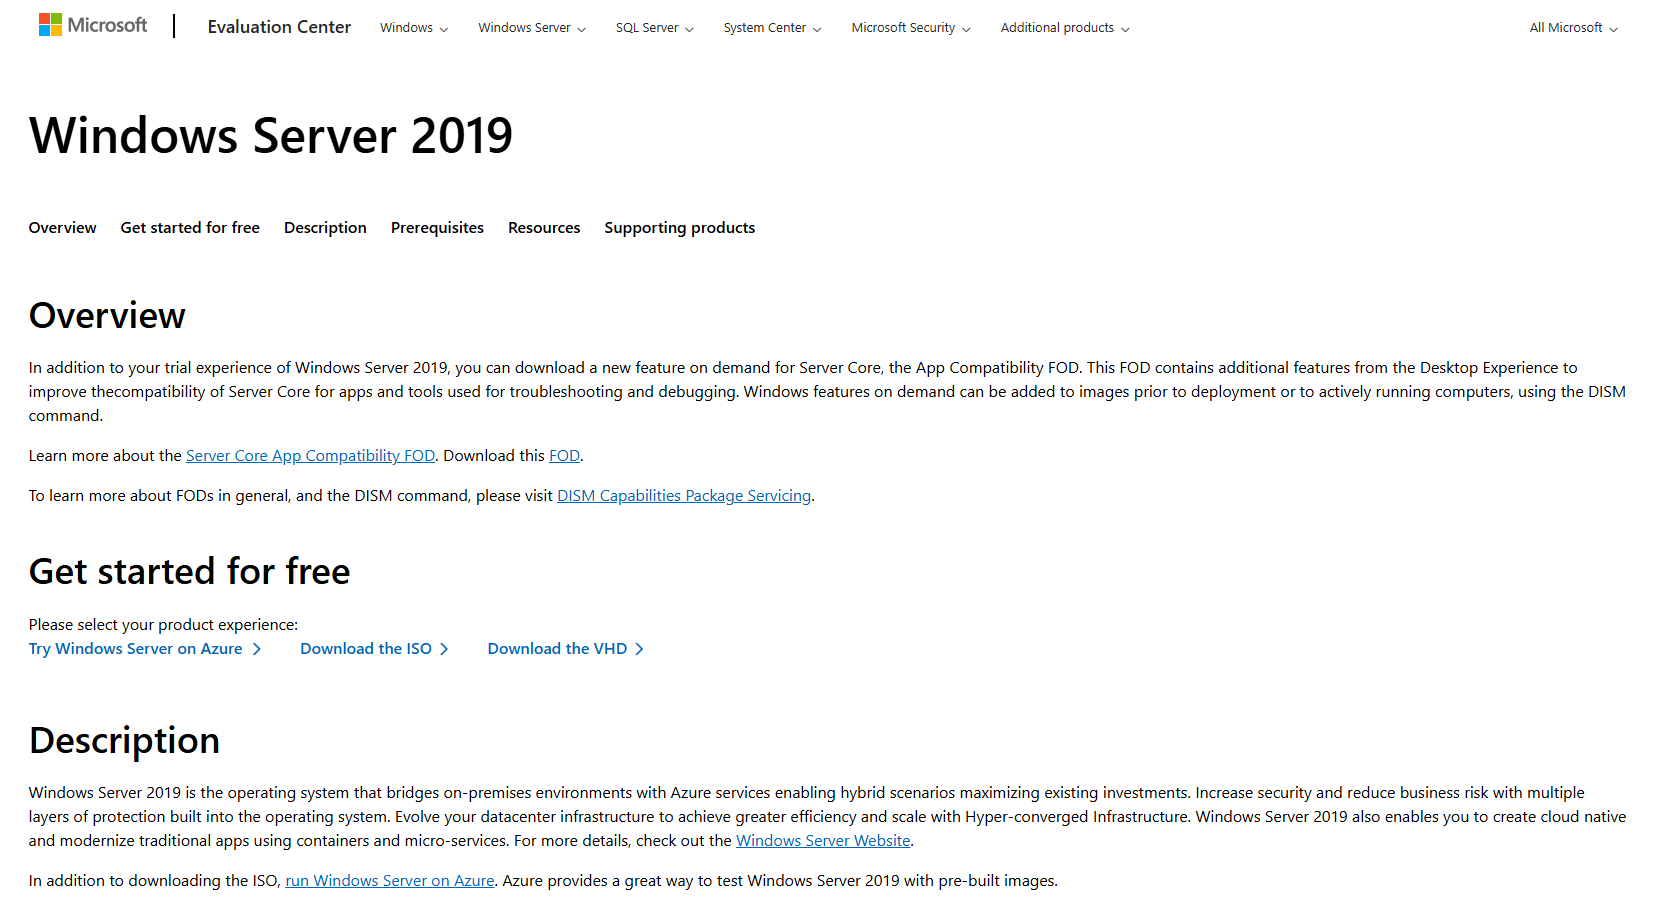
Download a copy of Windows Server 2019 ISO. You can snag a copy from their download page.
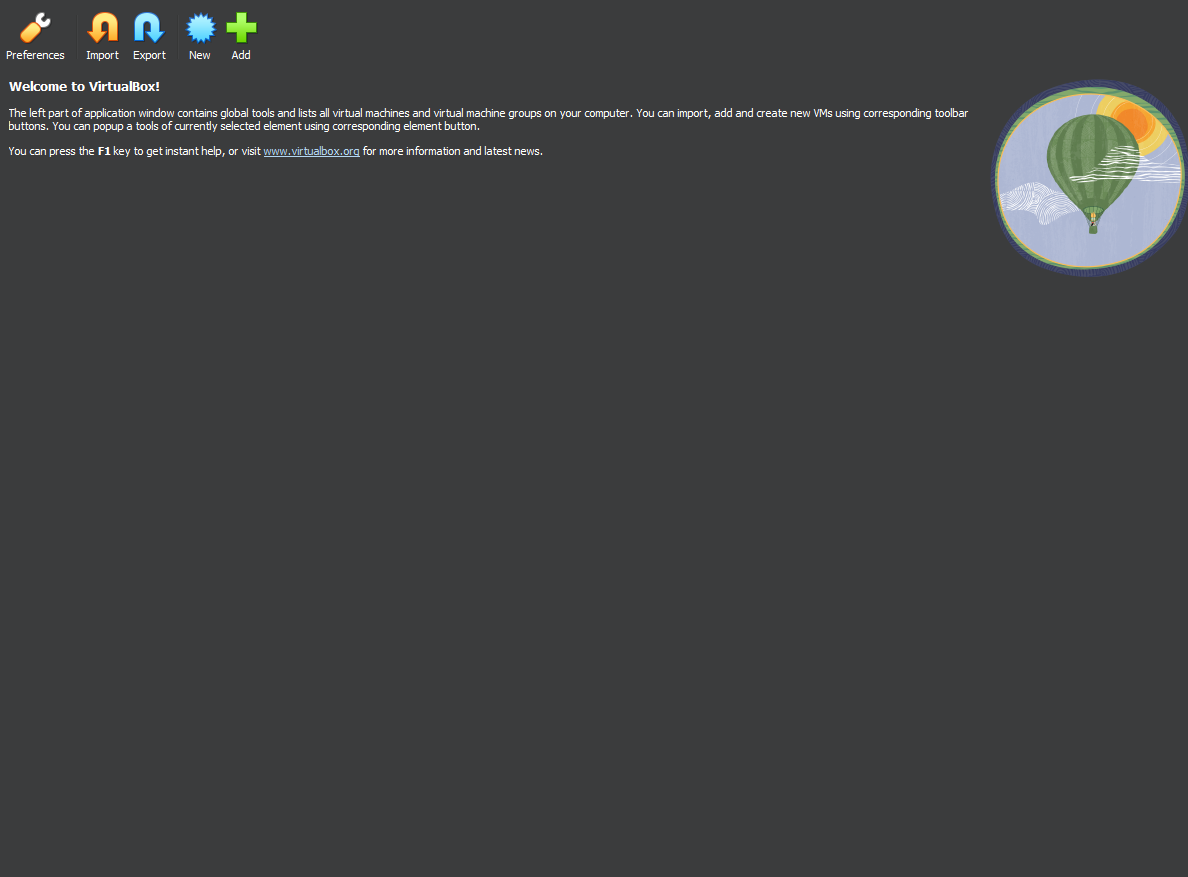
Boot up VirtualBox and click ‘New’ to create a new virtual machine.
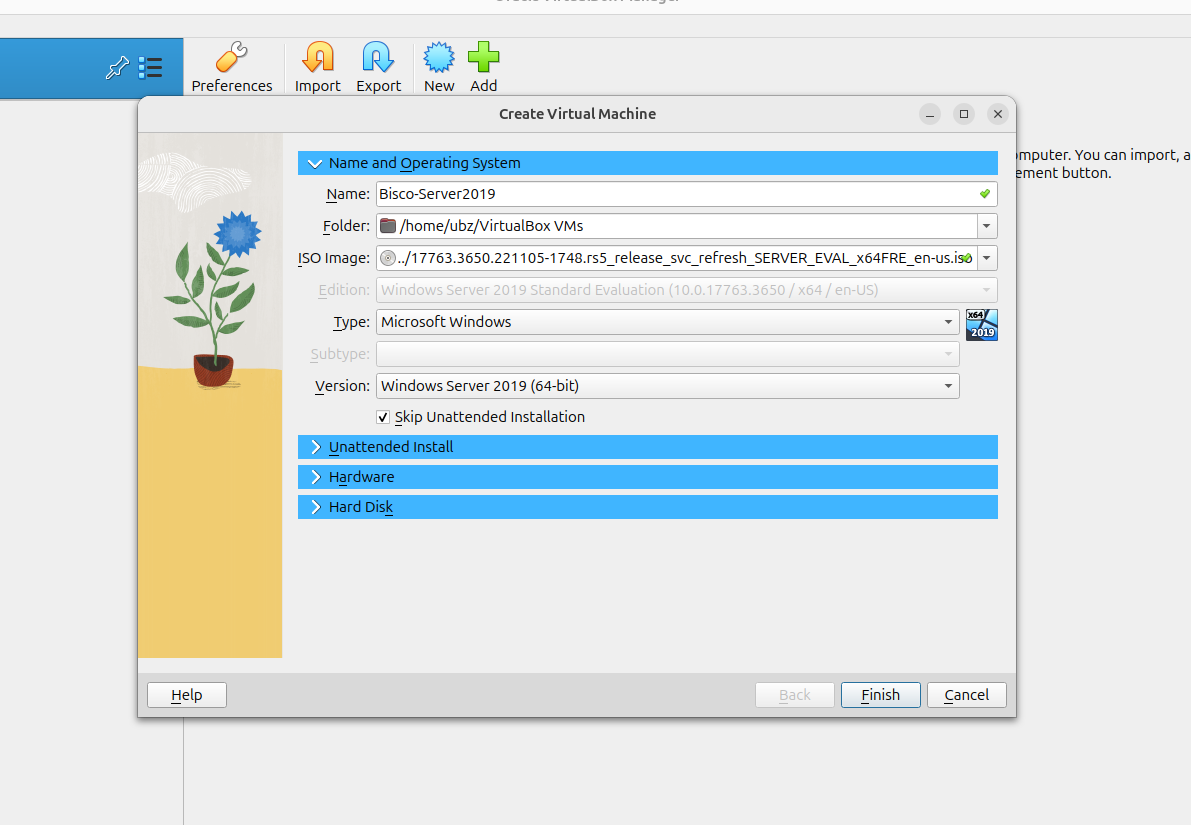
Choose the ISO that we just downloaded.
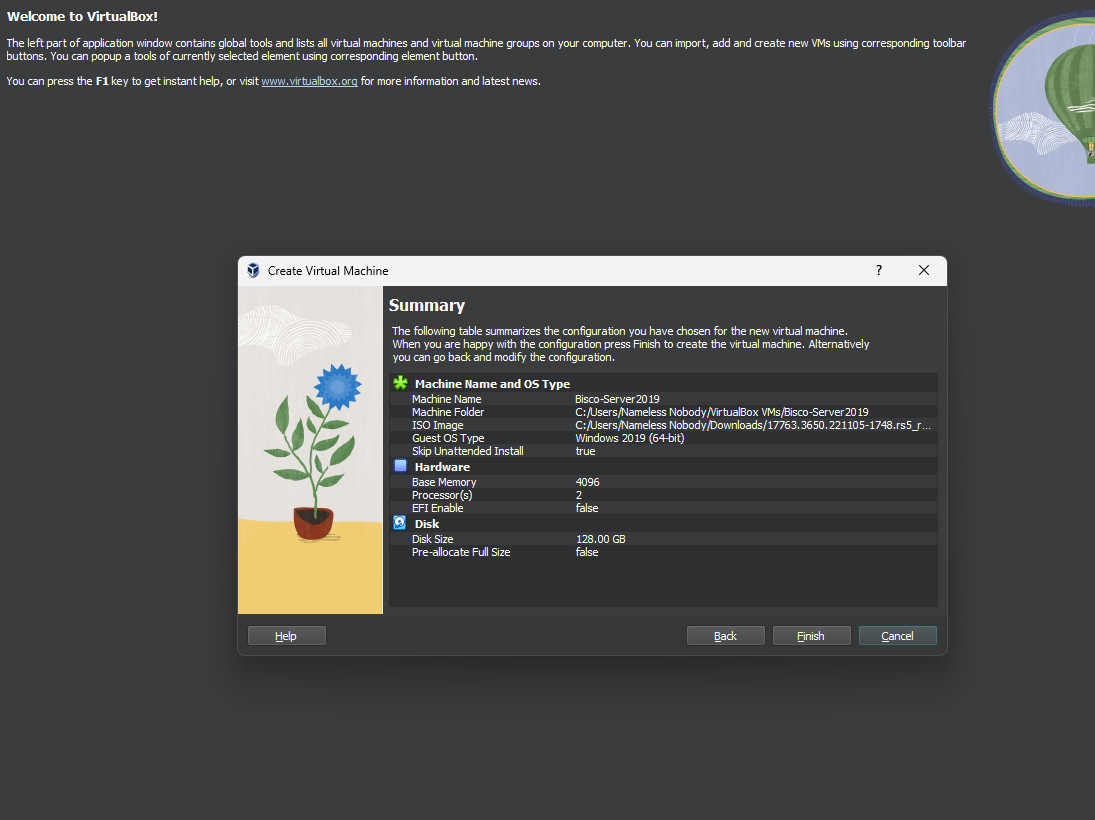
Set the hardware requirements for the server. Please note, depending on your host machine hardware, your available resources might be different.

Set the disk space requirements.

Click Finish to finish the creation process.
At the top of the interface, click the hamburger button. Select the Network option.

Create a NAT Network so the whole domain can sit on a single network and communicate. We won’t change to this network until after install so we can connect to the internet. Changing to Bridged Network should also work for our purposes.

Since you can also use Bridged, switch to Bridged connection.

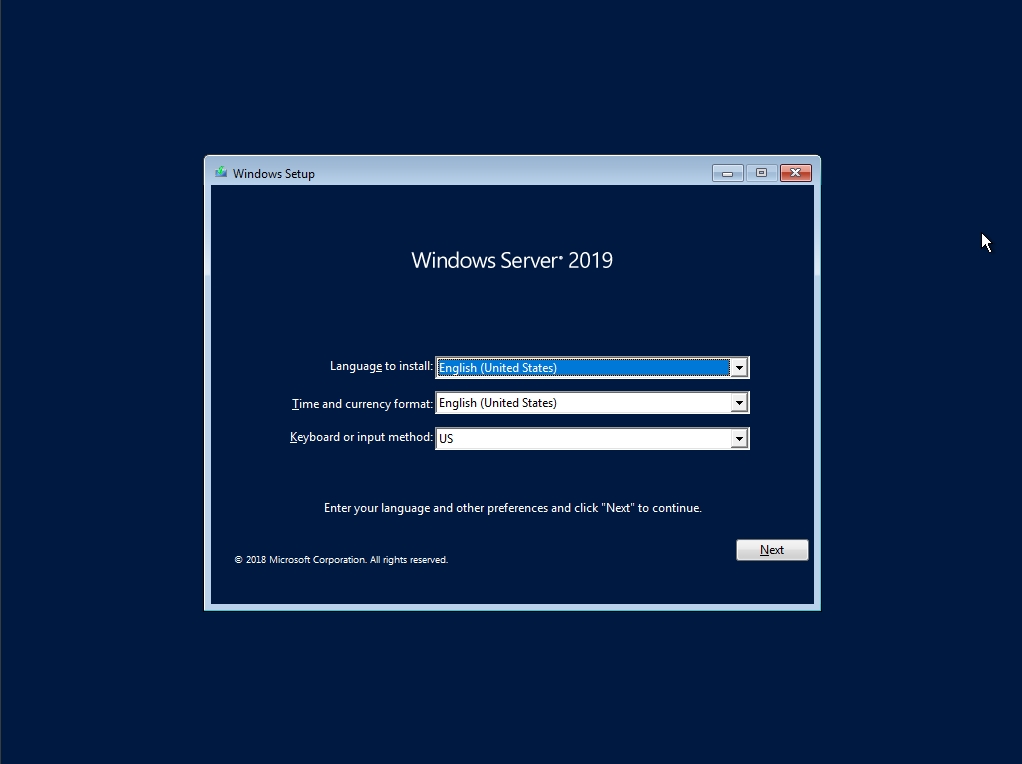
Boot up the virtual machine, choose your language, and click Next.
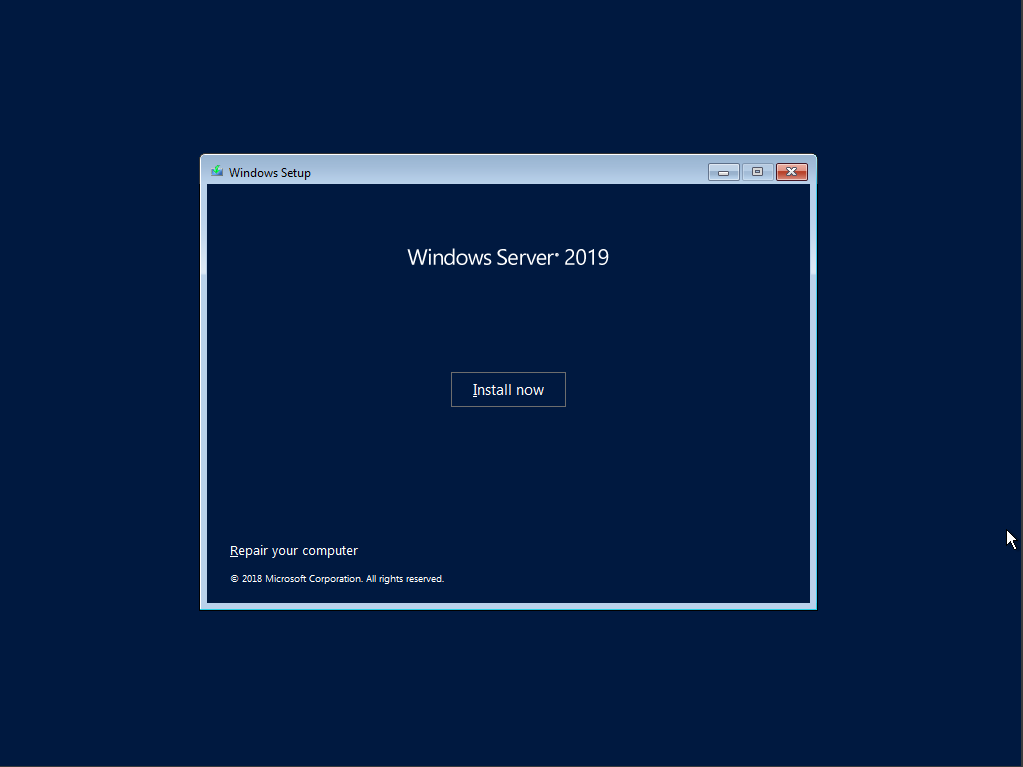
Click the Install button to start the installation process.
Select the Windows Server 2019 Standard Evaluation (with the Desktop) version. Click Next.

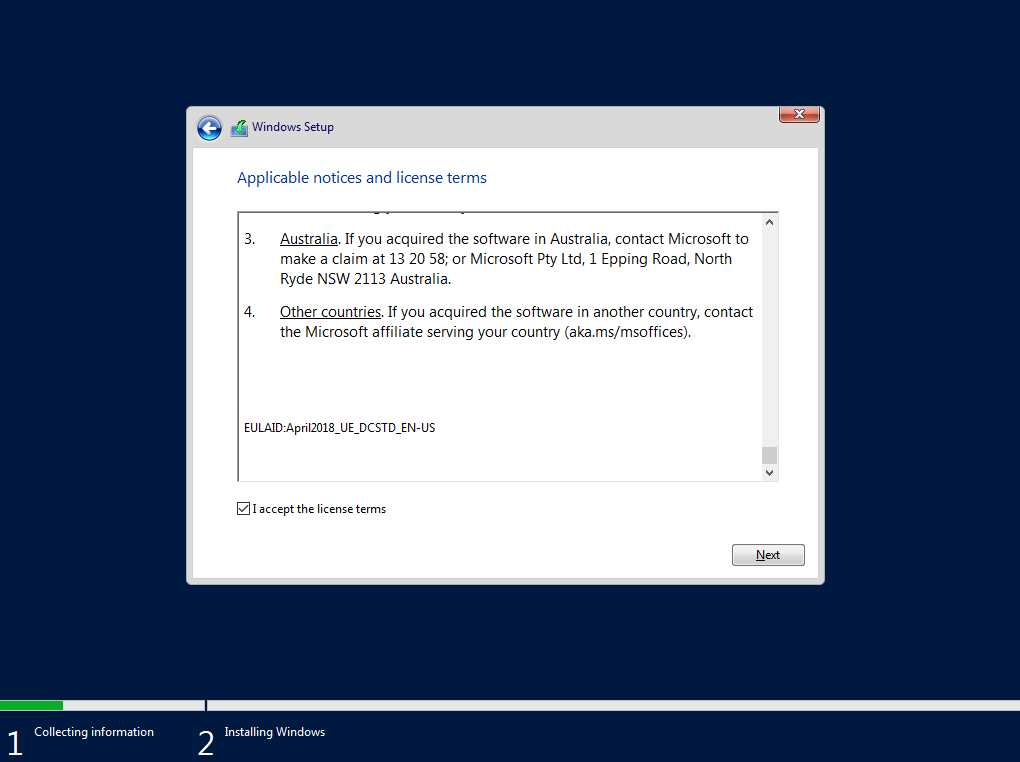
Read the license terms, accept them, and click Next.
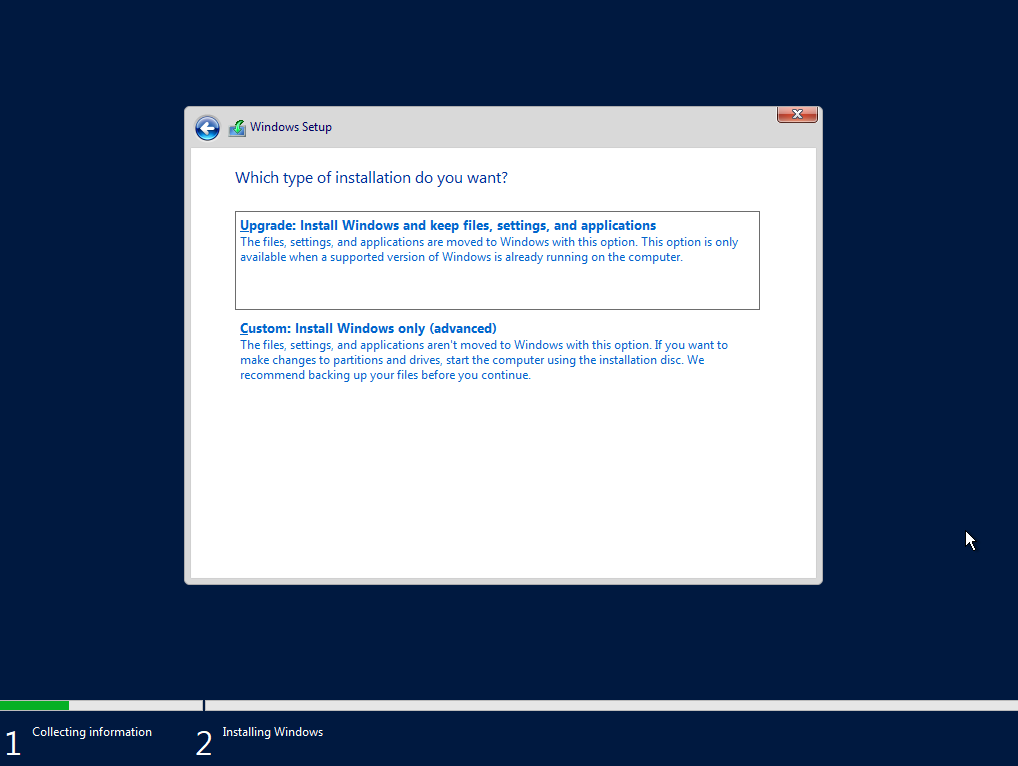
Select the Custom: Install Windows only (advanced) option. You can’t upgrade since there is nothing to upgrade.
On the hard drive screen, select the Drive 0 Unallocated Space option and clicked Next.

This is the point the Microsoft installer should initiate. So, it is basically a waiting game, at this point.

Set the password for the built-in administrator account. Follow proper password best practices. Please note, Administrator:Administrator is not appropriate.

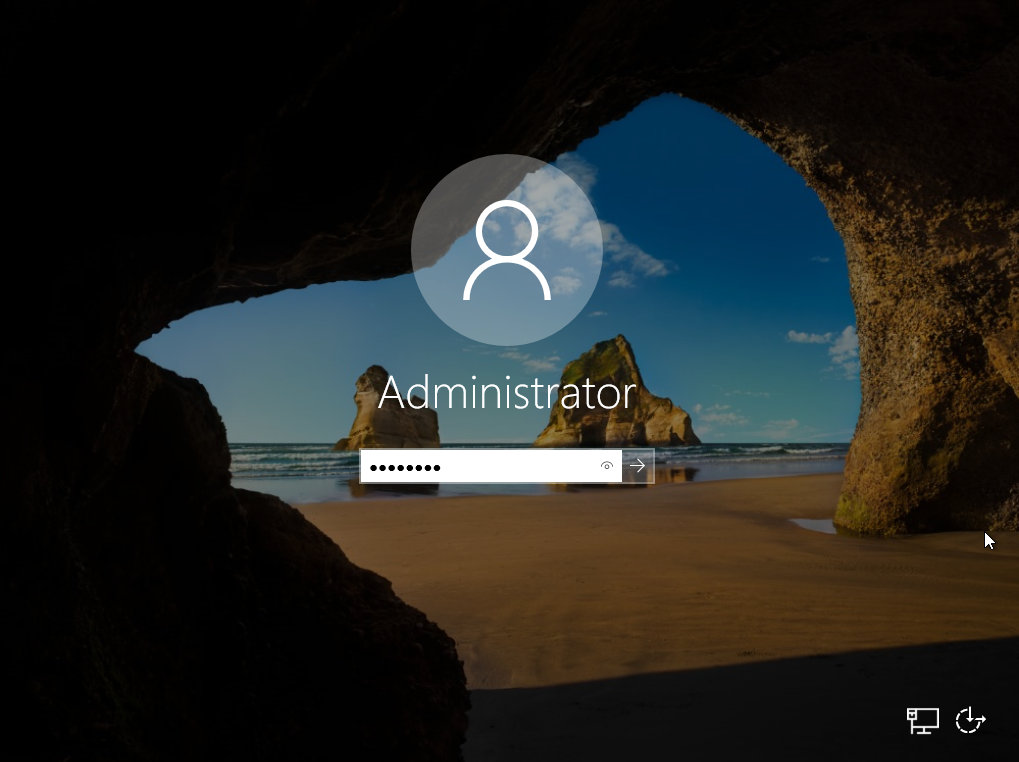
Authenticate into the server with the Administrator account.
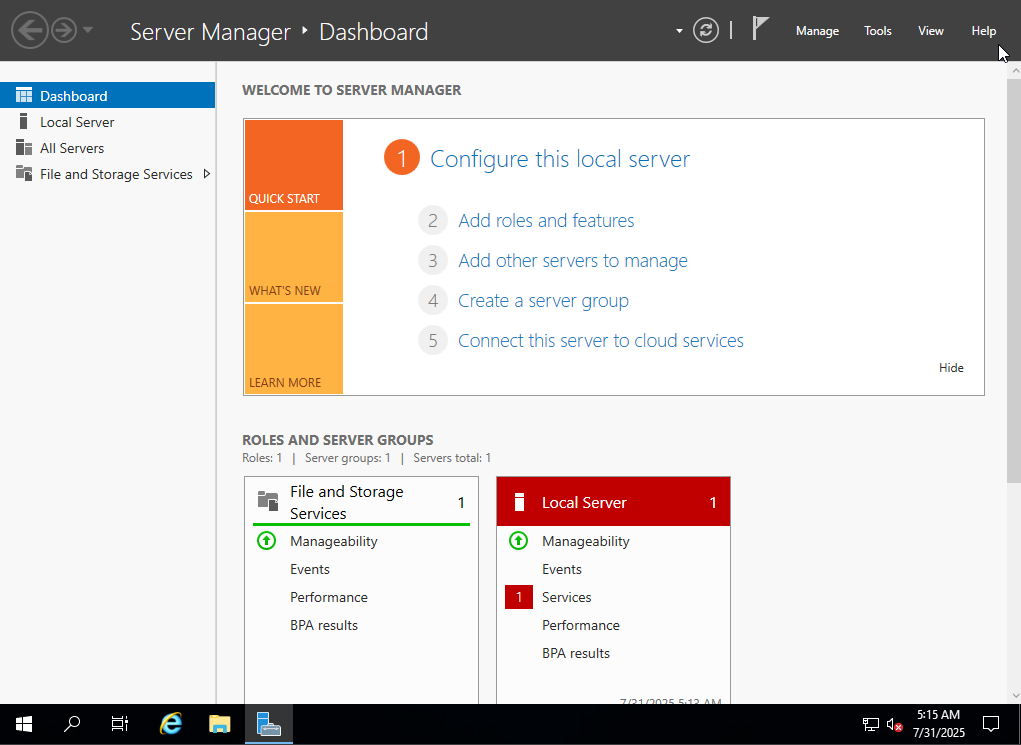
Click Add roles and features.
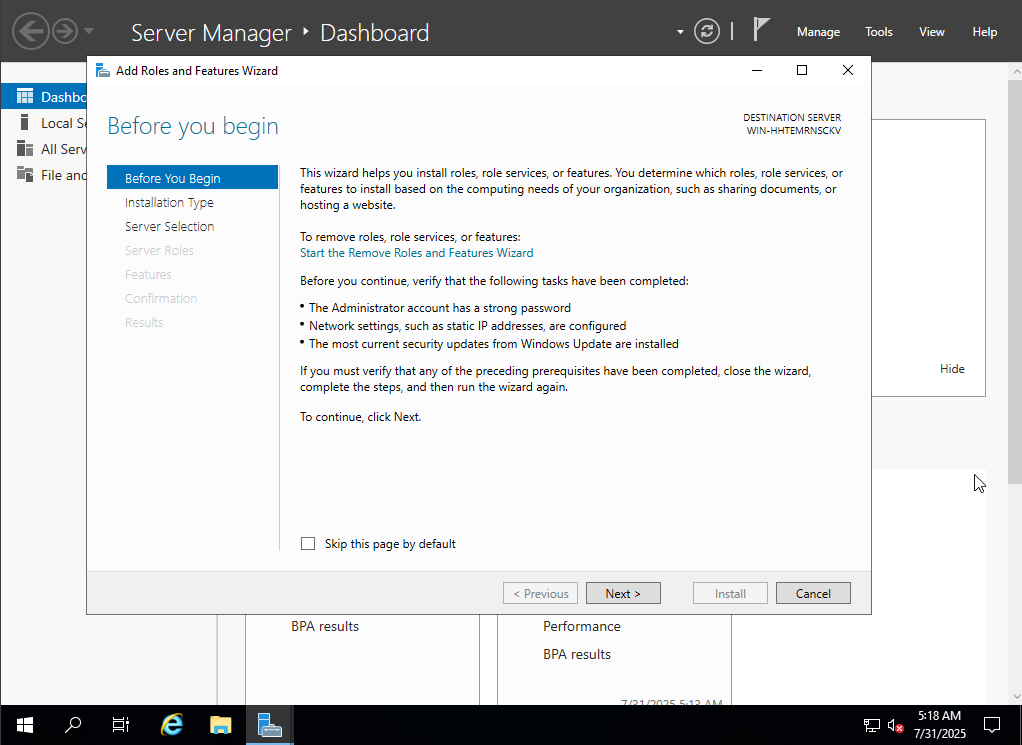
Totally read the Before you begin screen and when you are ready…click Next >.
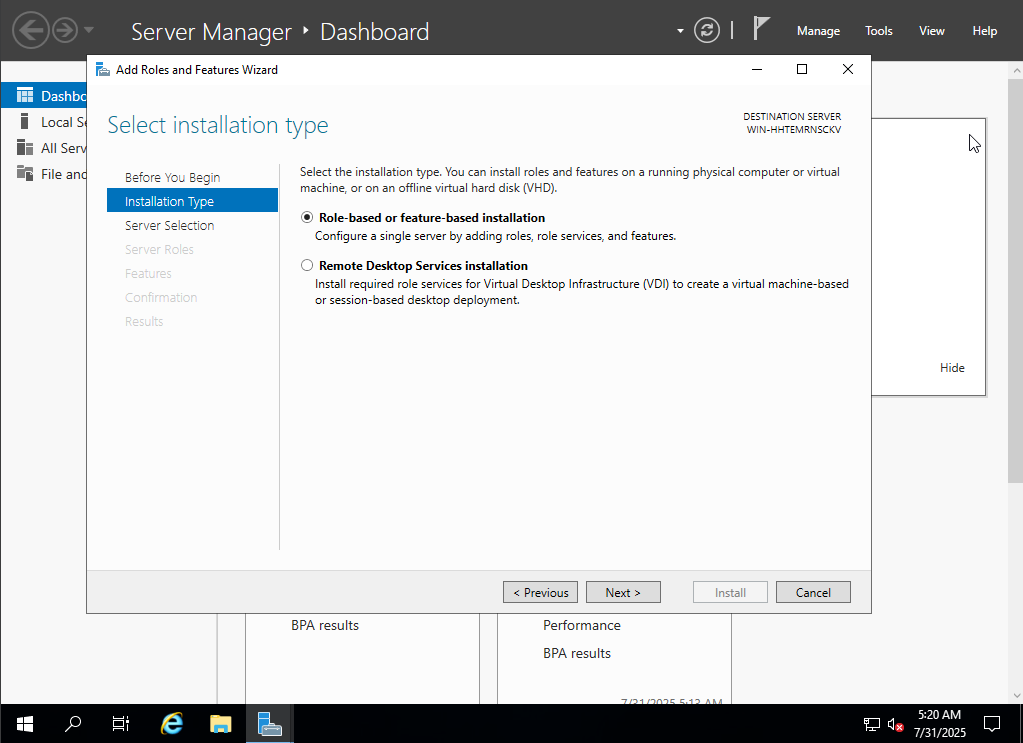
Choose the Role-based or feature-based installation radio option.
Select the new server that we just created.

Click on the check box for Active Directory Domain Services.
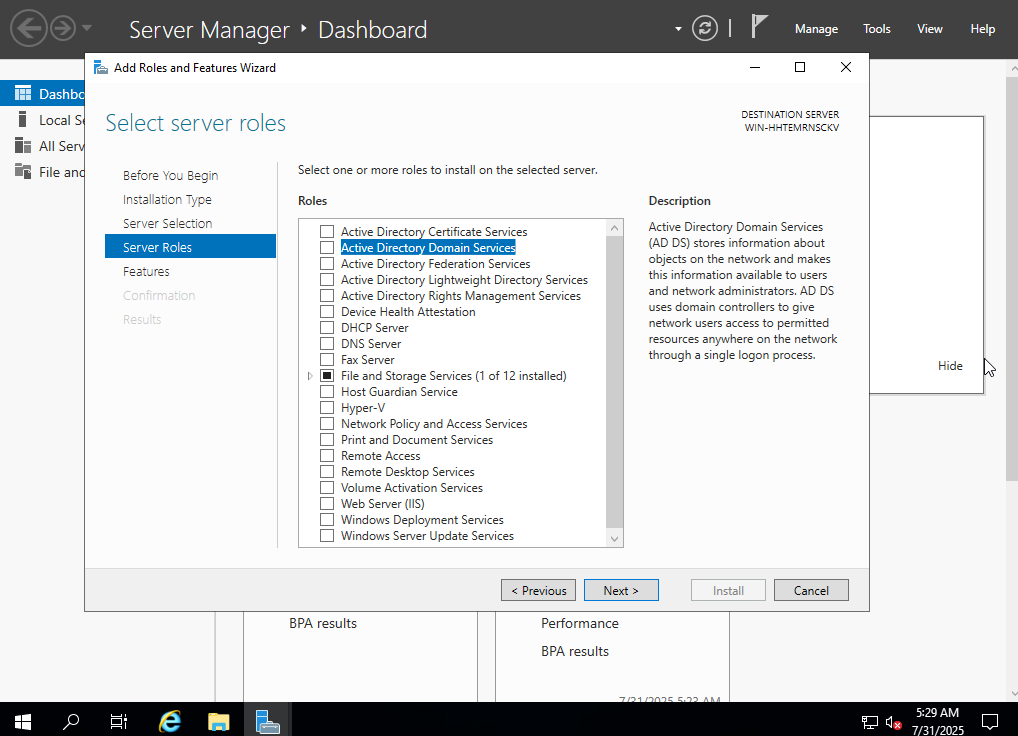
On the prompt that pops up after checking, click on the Add Features button.

Choose the checkbox for DNS Server.
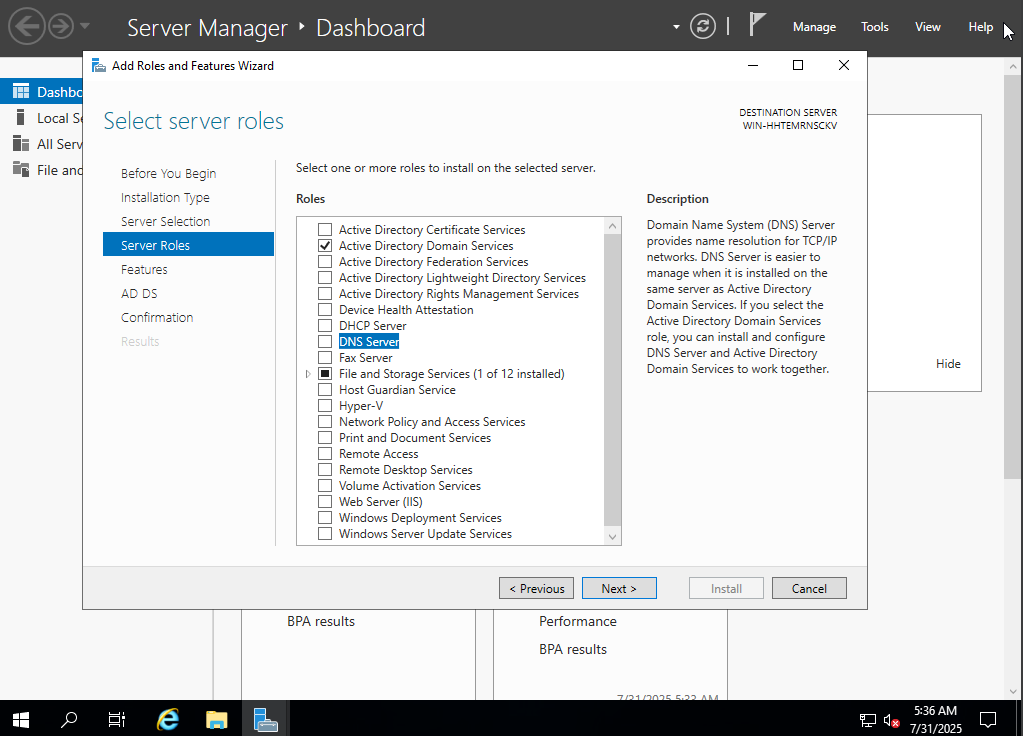
Another prompt will when you check DNS Server, click on the Add Features button.

You can click Continue through the Static IP address warning. In a production environment, you should probably resolve it. But this is a hacking lab, so we should be ok.
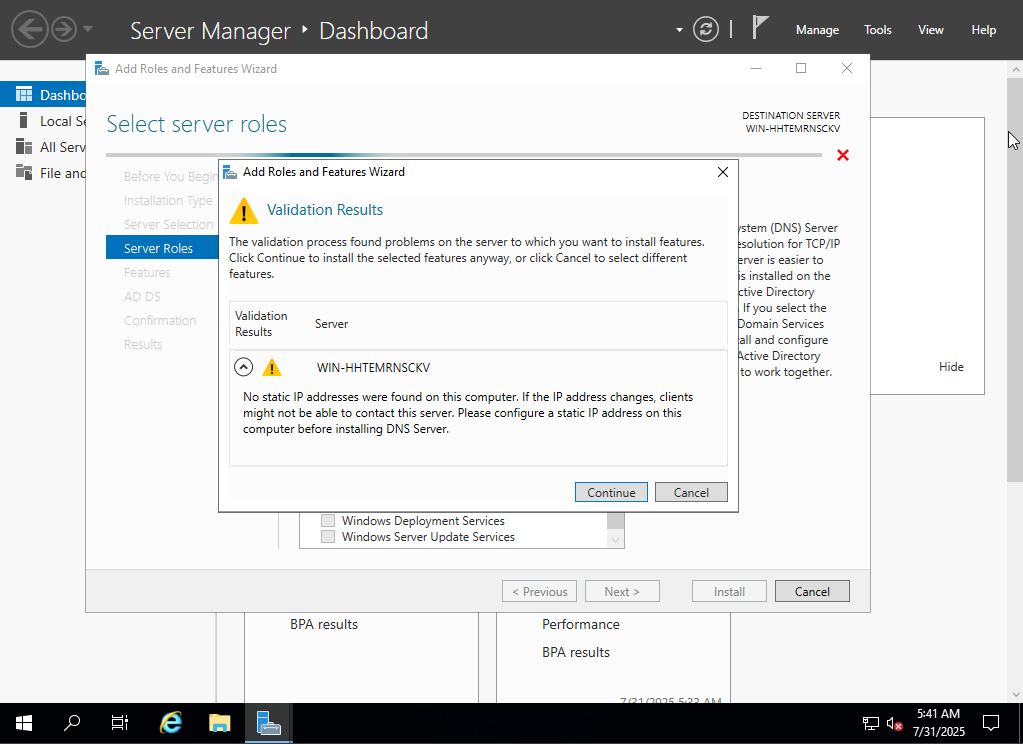
Click Next until you get to the Confirmation screen. Click the Checkbox for the Restart the destination server automatically if require option and Yes on the pop-up box. Click the Install button.

Allow the installation to complete and close out the box.
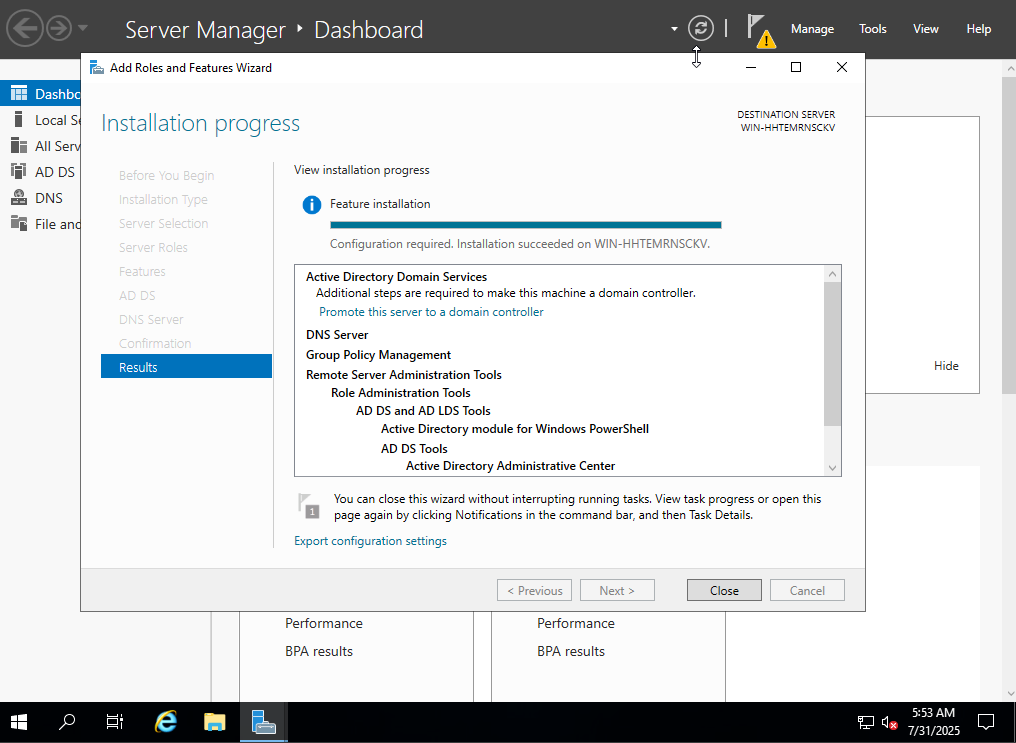
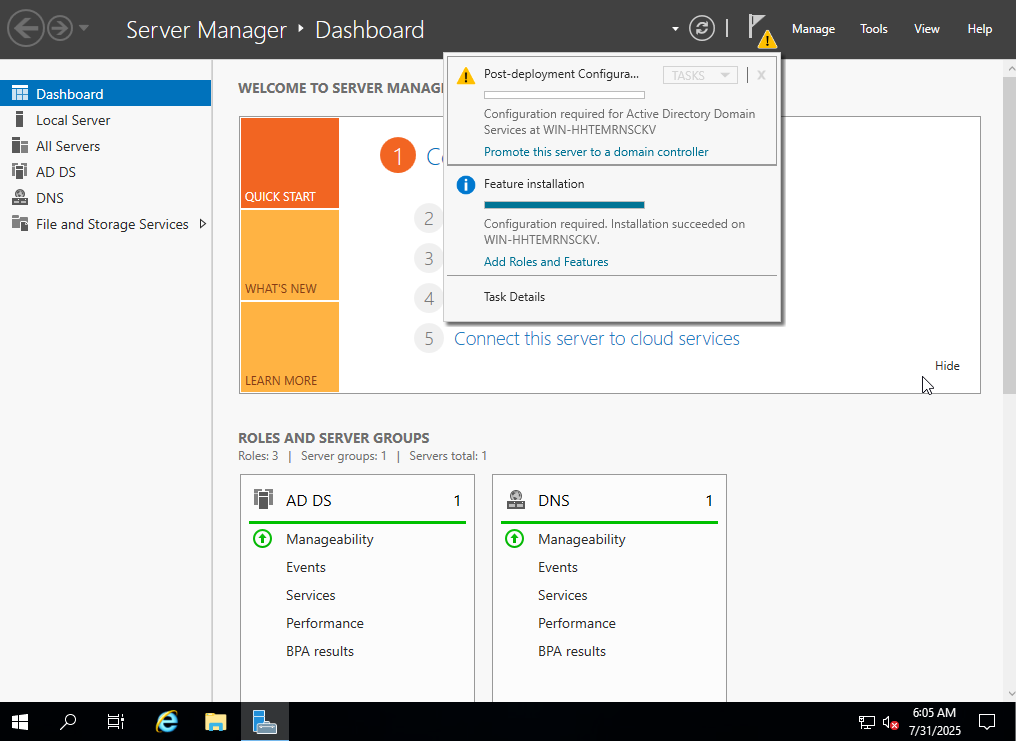
Notice the Yellow exclamation point over the notification icon. Click on it.

Click on the option to Promote this server to a domain controller.
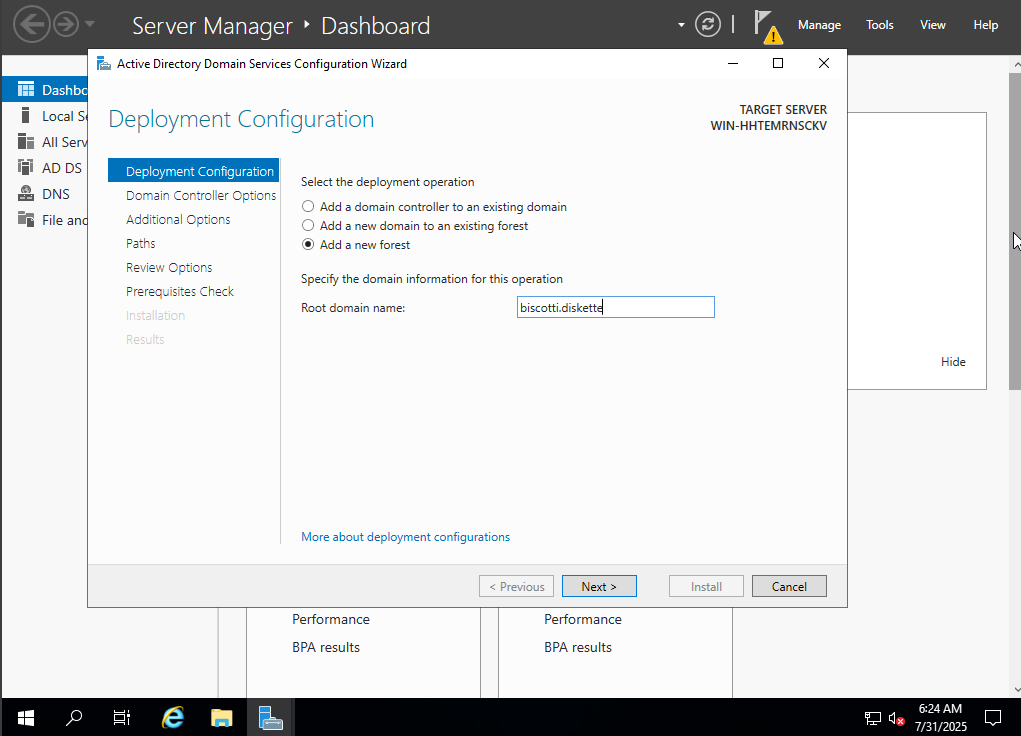
Select the radio button to choose Add a new forest. Choose a Root domain name.
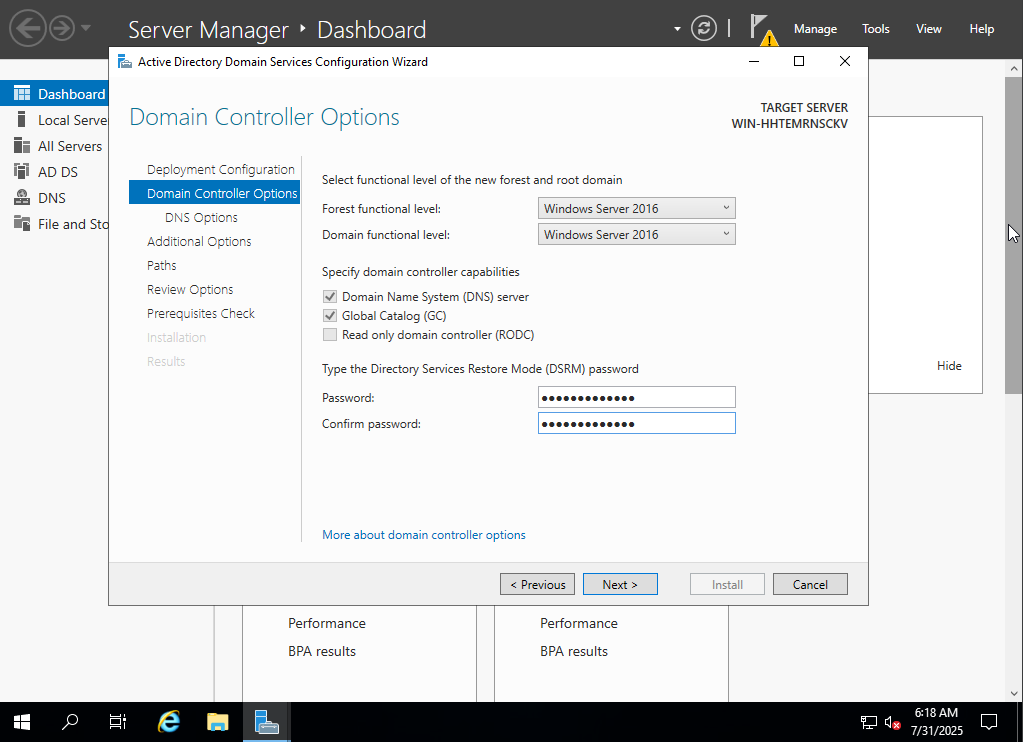
Set the DSRM password.
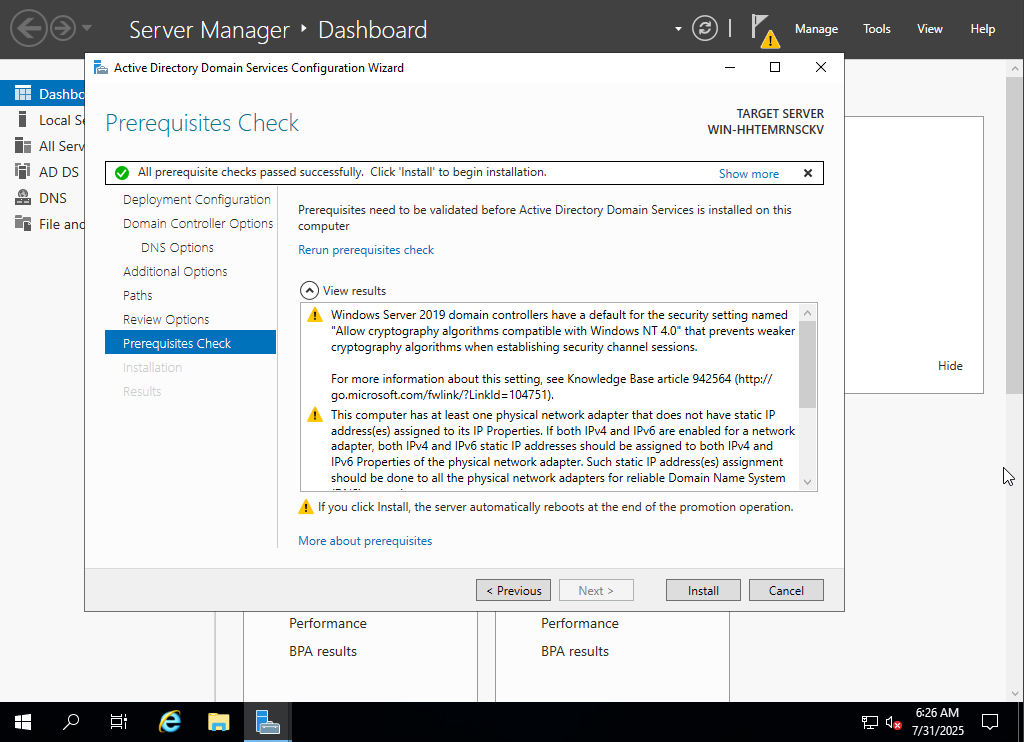
Click on Next until you get to the Prerequisites Check. If everything passes with the green check, you can click Install. Please note, that the machine will reboot because you told it to when installing the server features.
When the computer comes up, you should then see the domain in front of the Administrator name.

This should wrap-up the domain controller for now. Now, time to add a Windows 10 machine to our new domain.
Windows 10
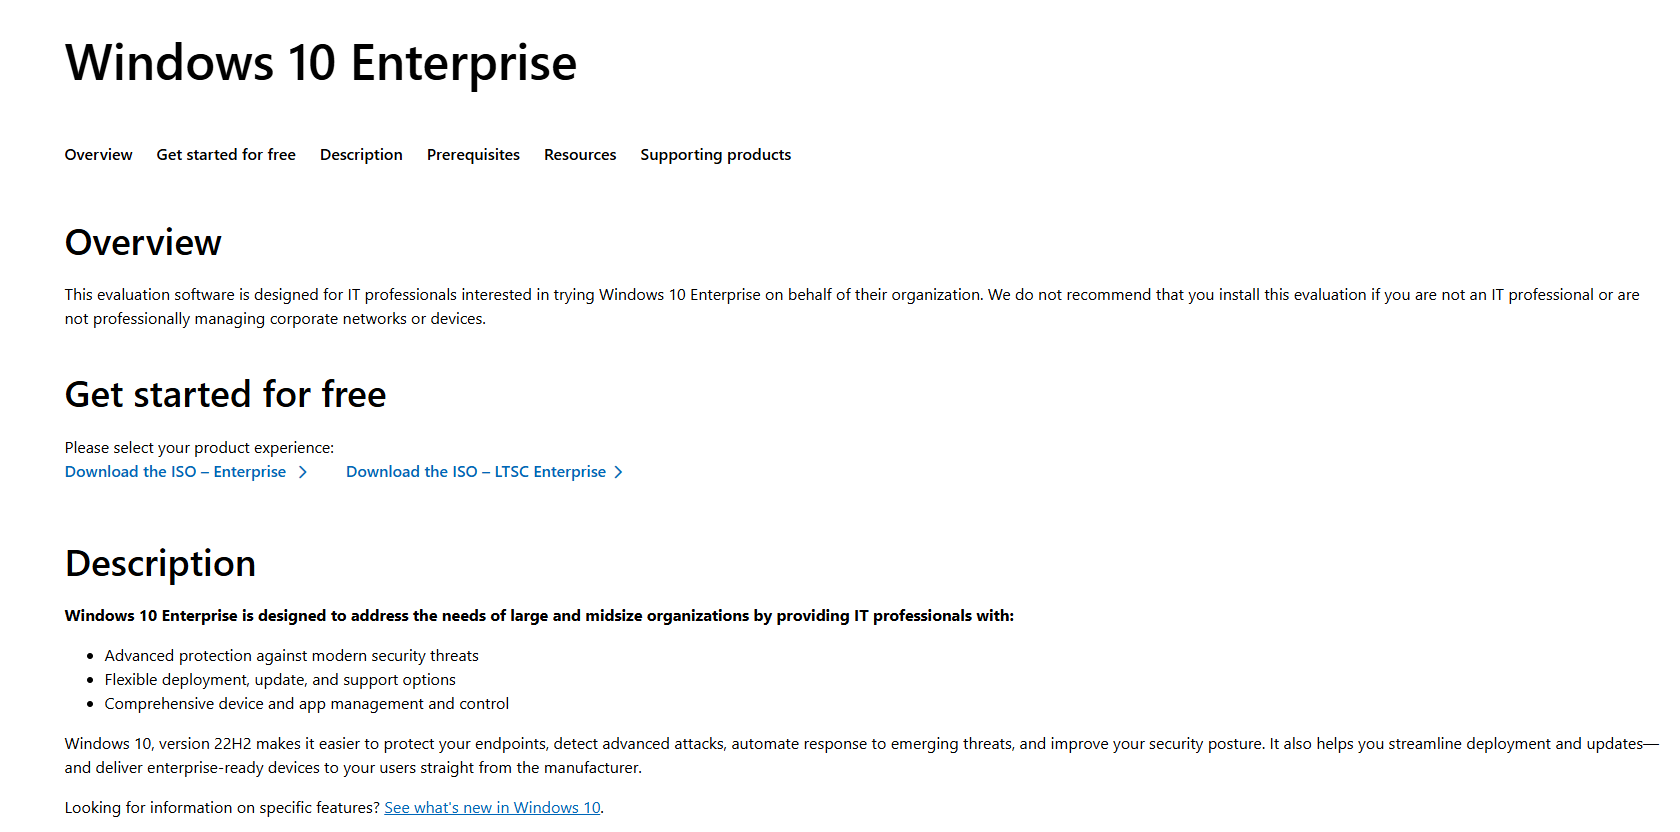
Download an evaluation copy of Windows Enterprise edition. You can get the ISO from their download page.
Boot up VirtualBox and click ‘New’ to create a new virtual machine.

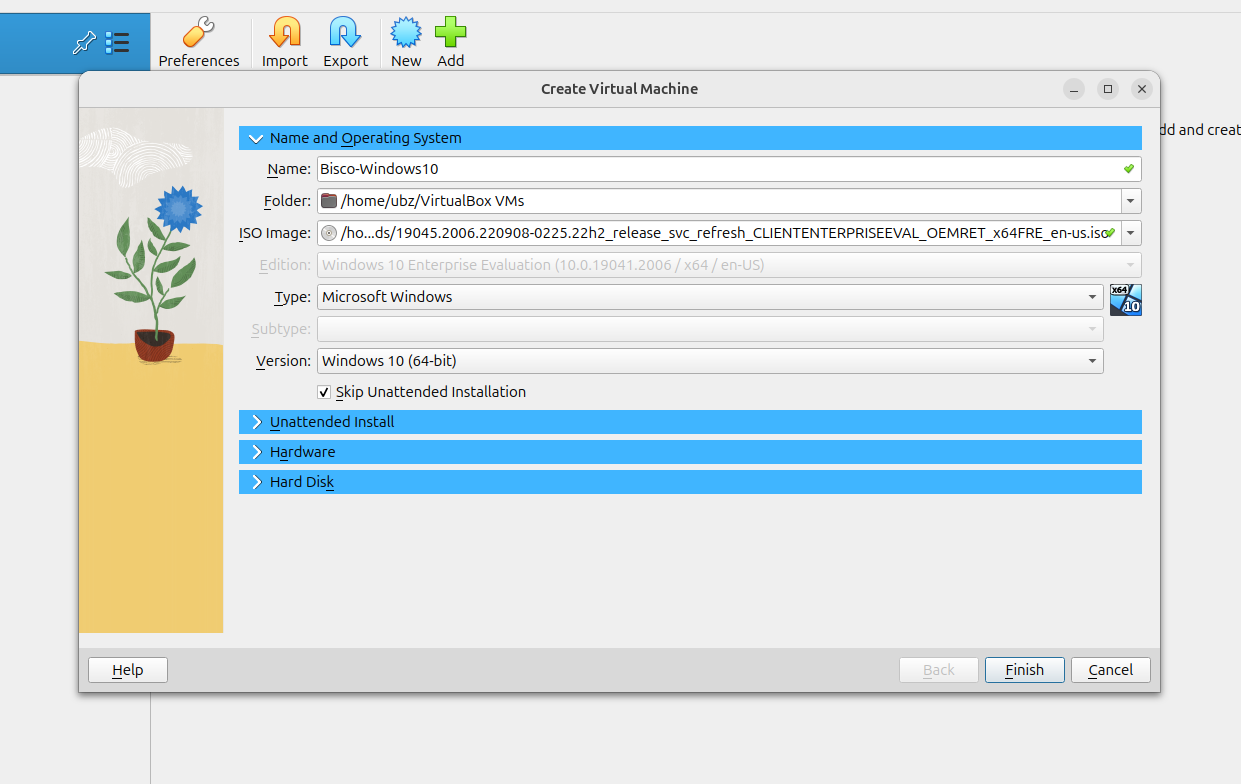
Choose to the ISO that was just downloaded.
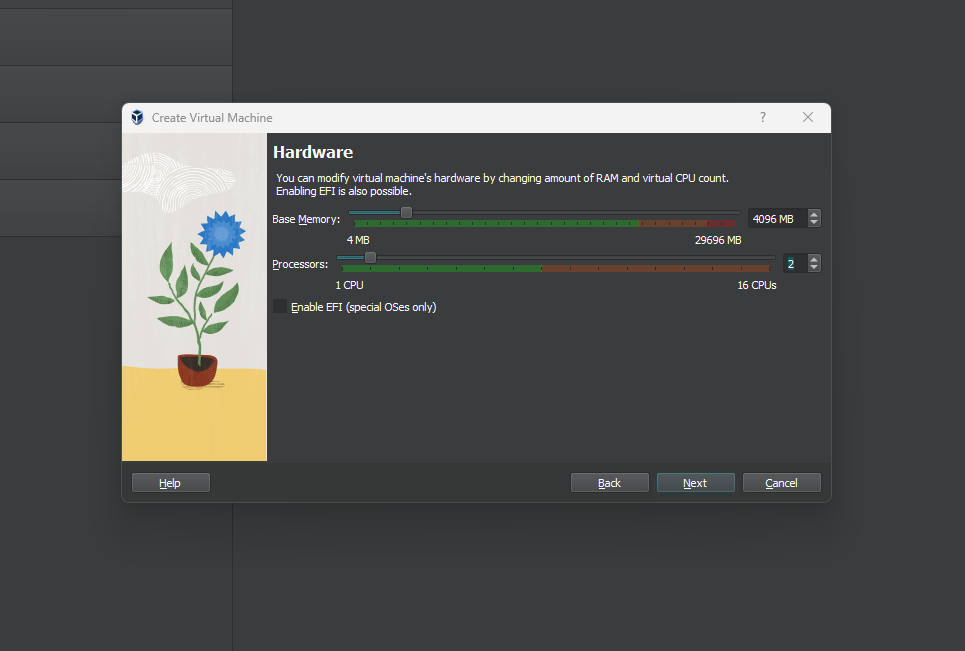
Set the memory space. This will vary based on resources available on your host machine. Set something appropriate for your situation.
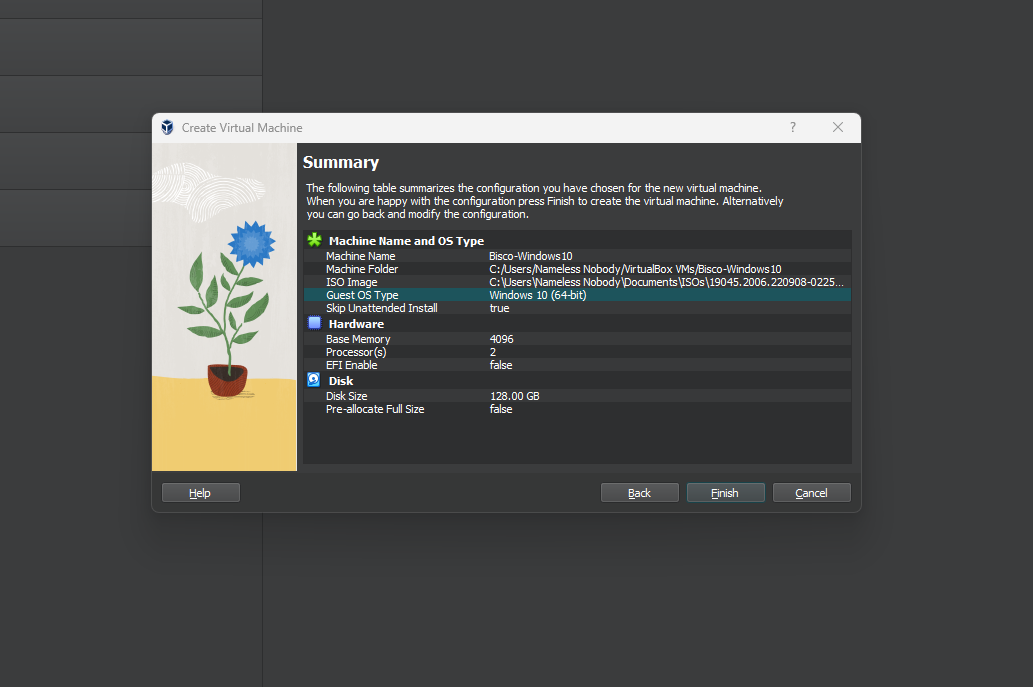
Set the hard disk space for your virtual machine.

Click Finish to finish the set-up process.
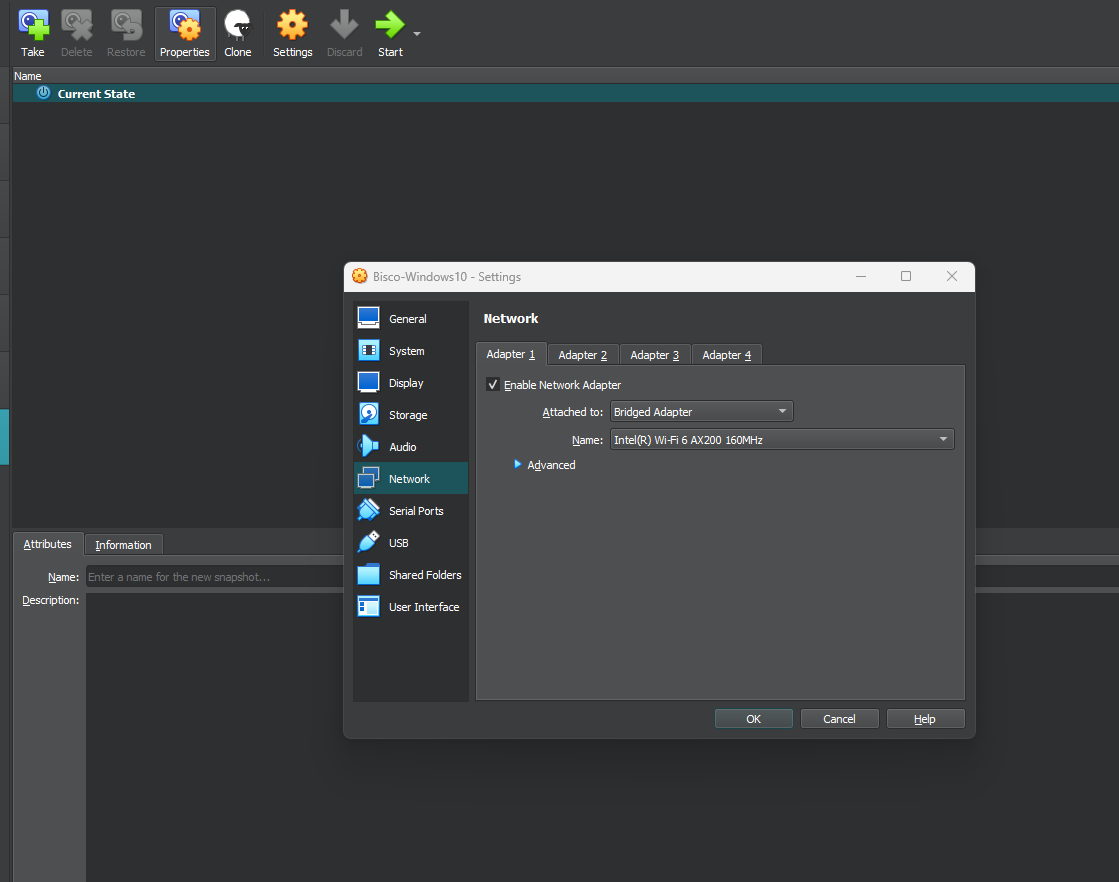
Set the Network in the Settings menu to either Bridged Adapter or the NAT Network we created earlier.
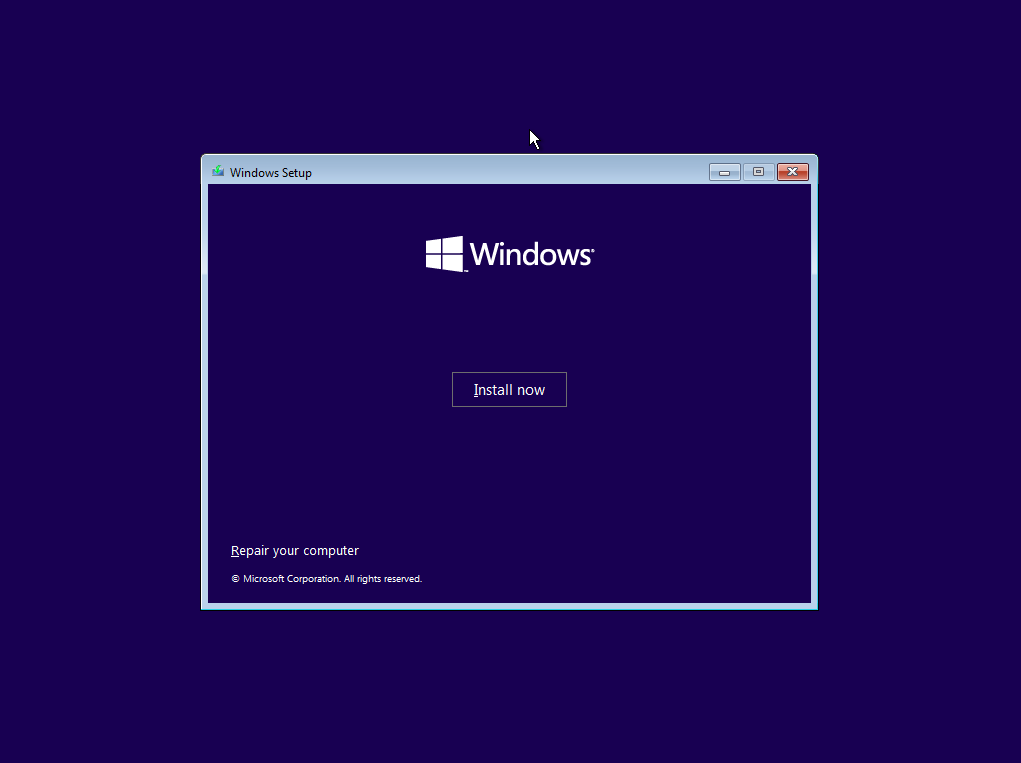
Click the Next button to get this party started.

Click the Install button since it is the only button on the screen.
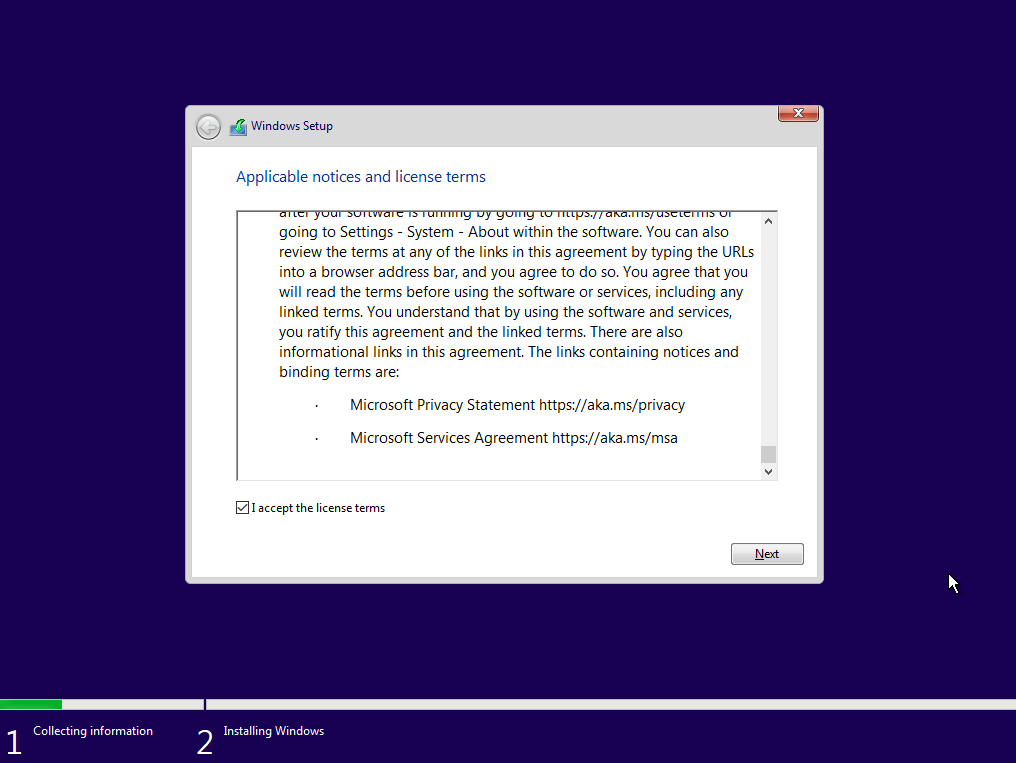
Accept the Microsoft license terms.
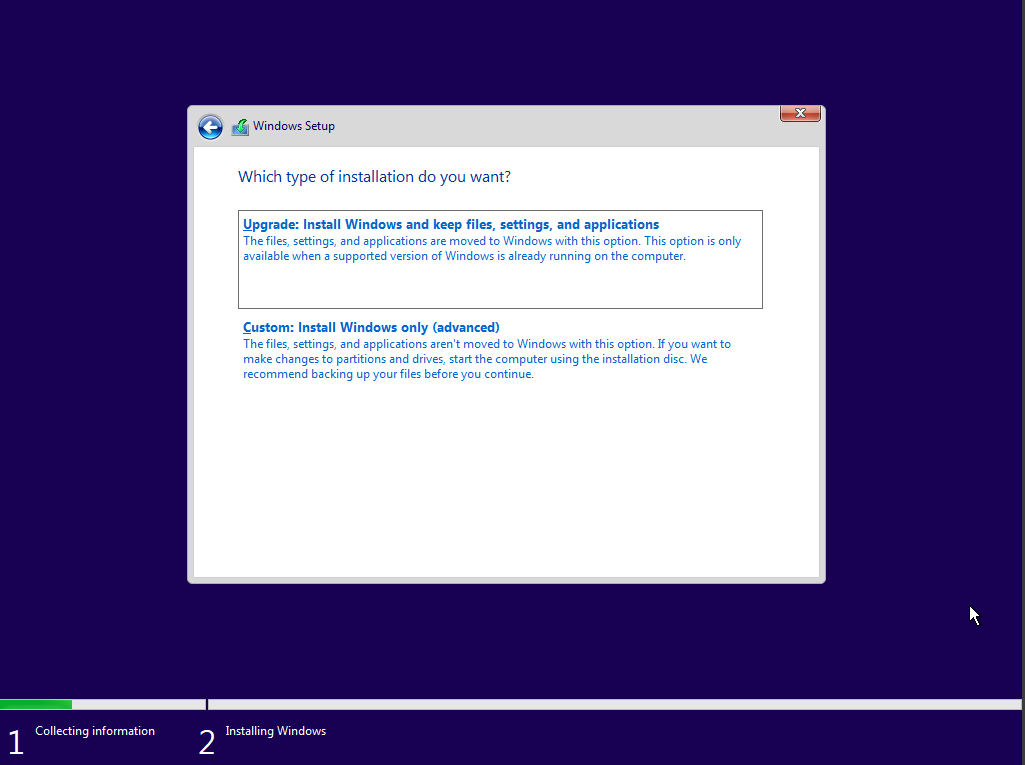
Select the Custom: Install Windows only (advanced) option to do a fresh install since no OS exists.
Click the New to create a new partition.
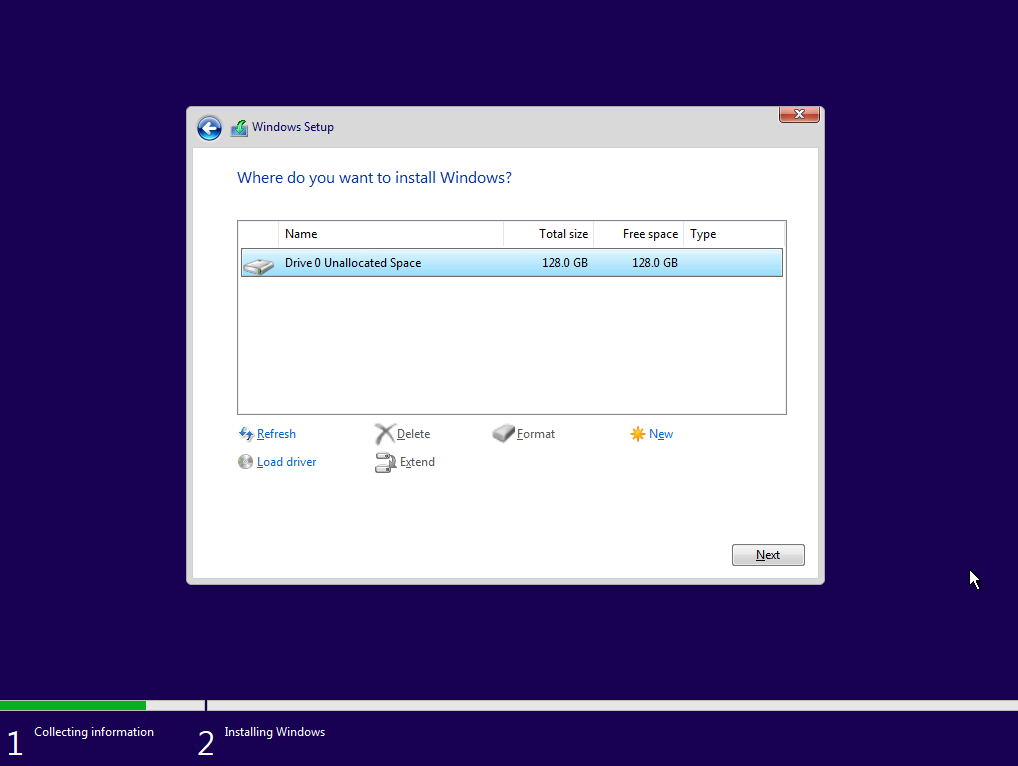
Click Apply to set the partition size.
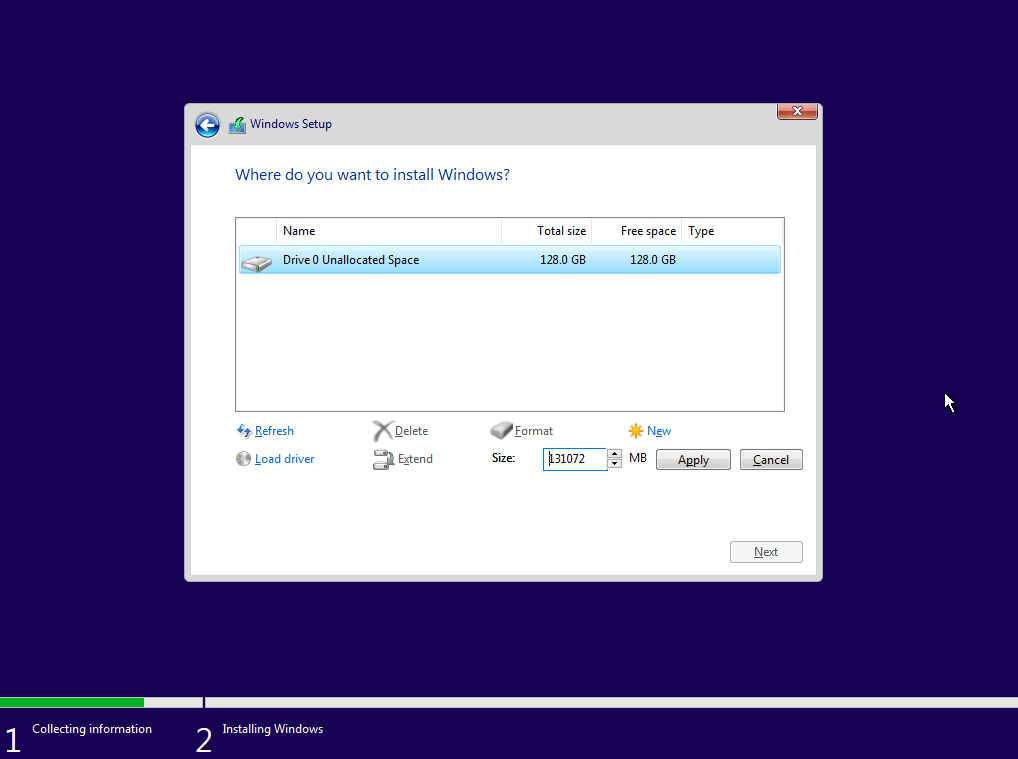
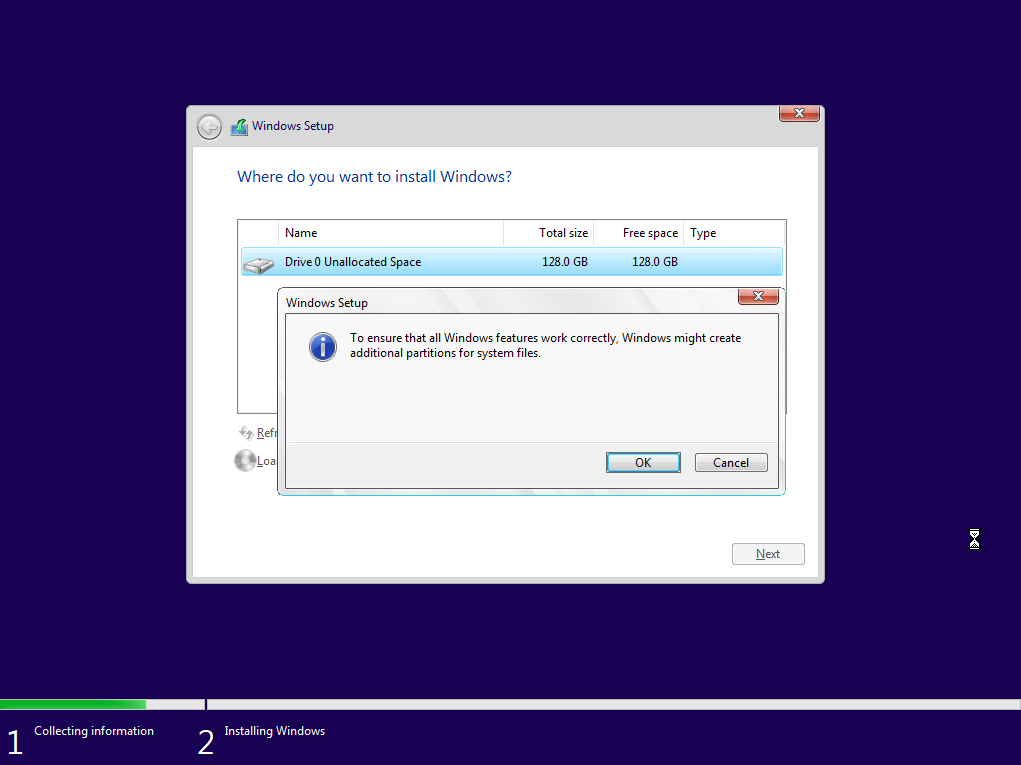
Click OK on the pop-up that explains that the installer will create necessary partitions.
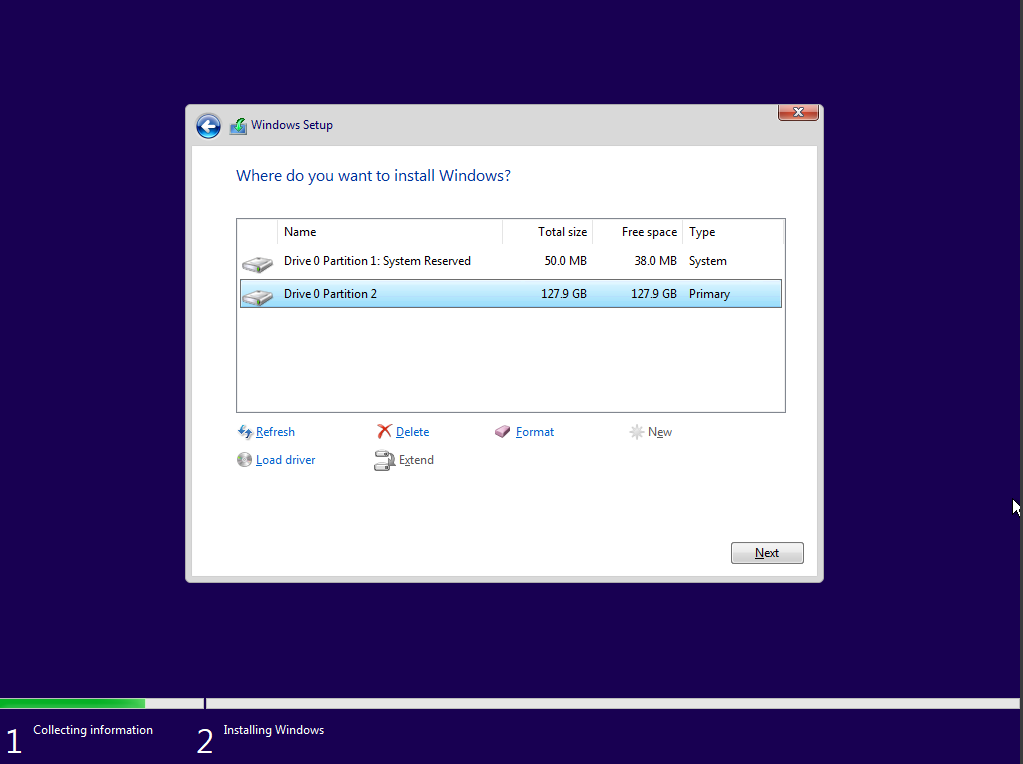
Highlight the partition that was just created and click Next.
The Windows Installer will take over. Wait.
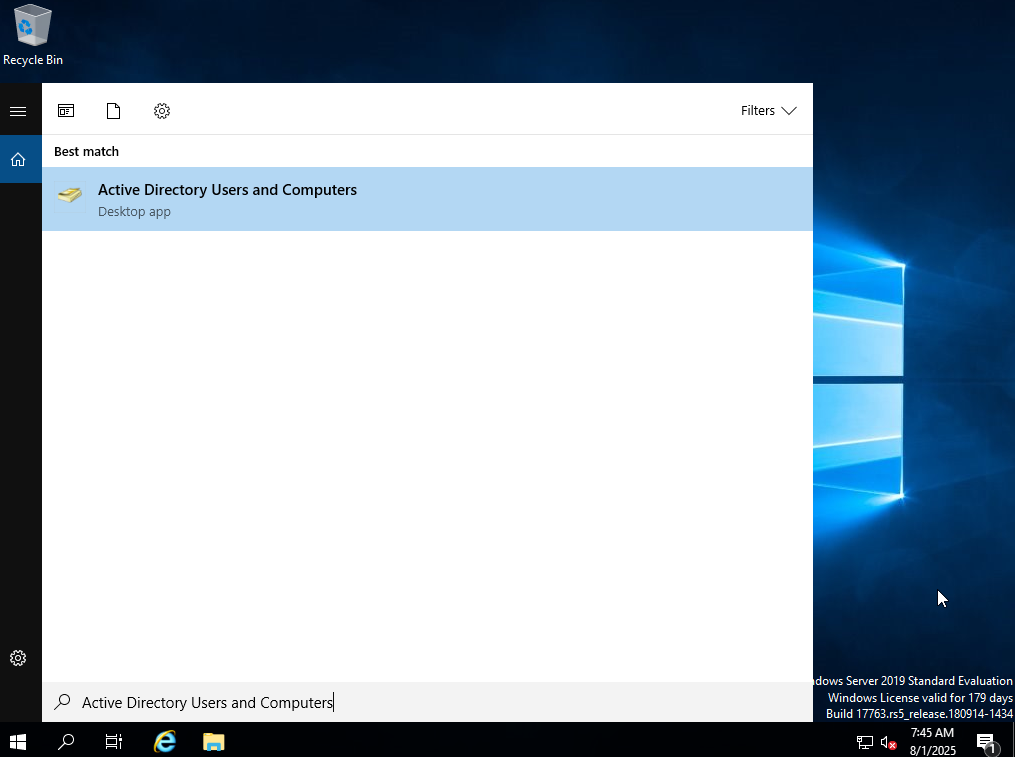
While Windows 10 is installing, switch back to the DC. Open the Active Directory Users and Computers app.
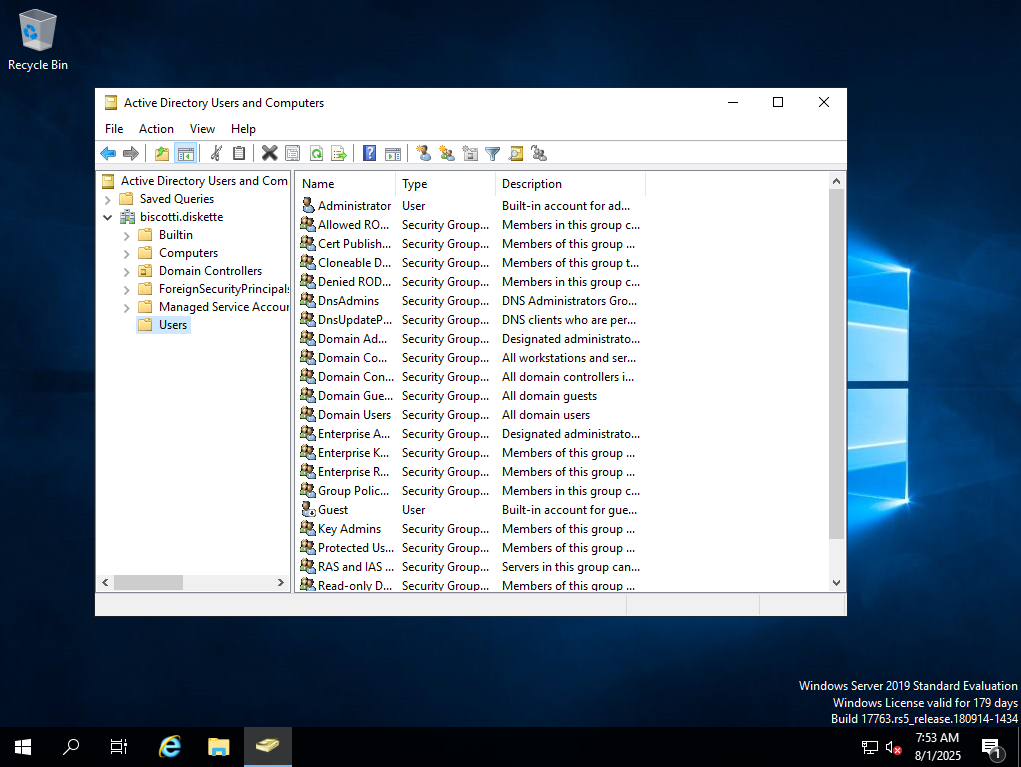
Choose to add a new user to the domain.
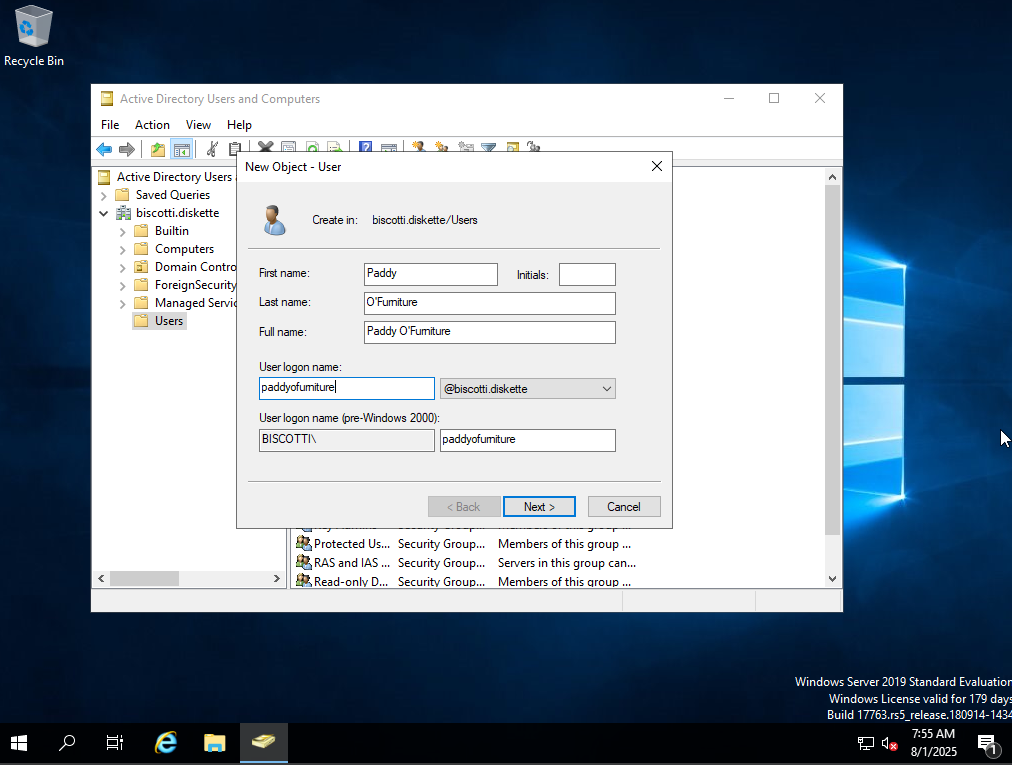
Fill out all of the information for the new Paddy user in the domain.
Create a memorable password and repeat it.

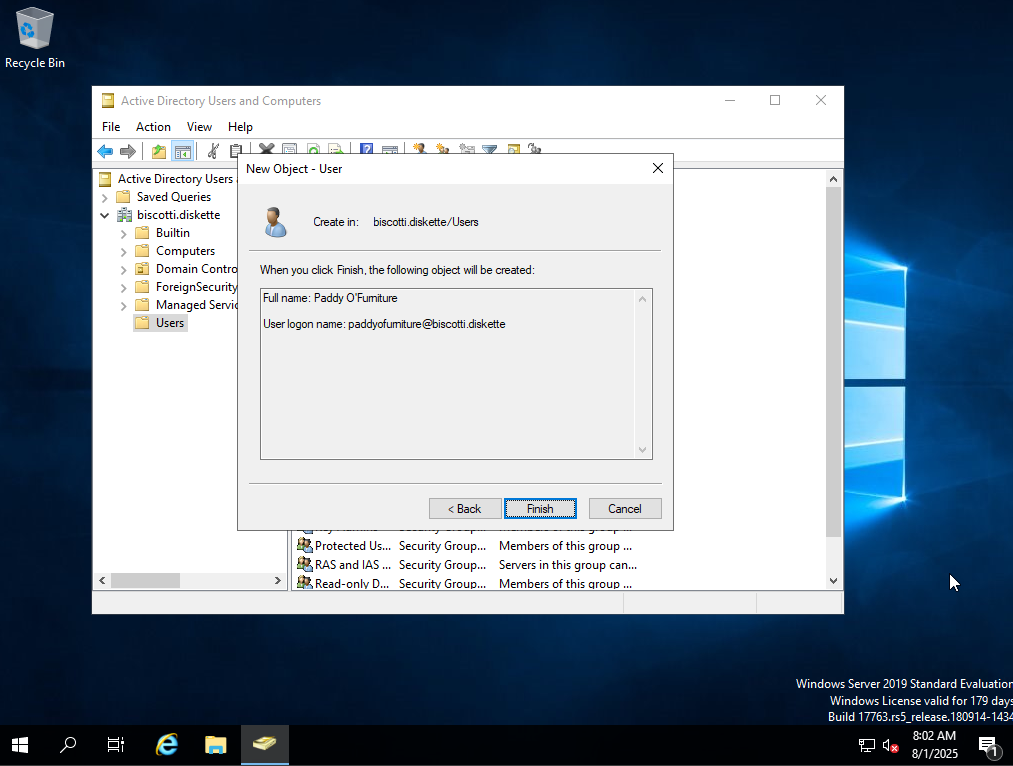
Click Finish to finish up the user creation process.
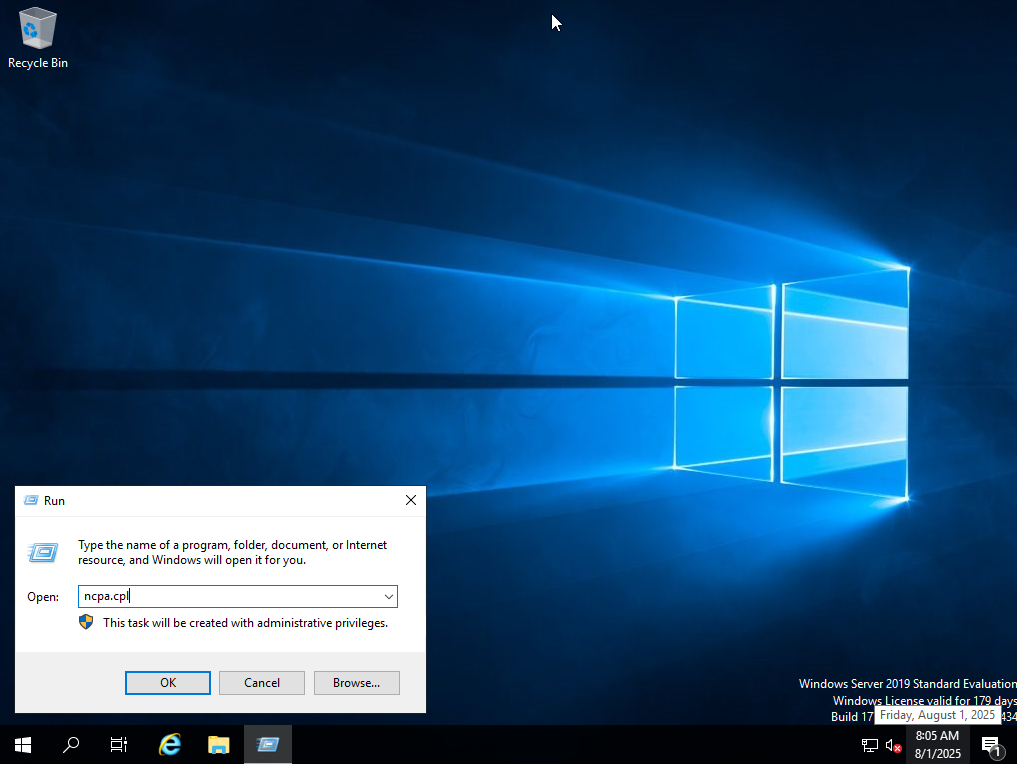
Open the run box and enter ncpa.cpl and click OK.
Right-click on the adapter and select the Properties option.

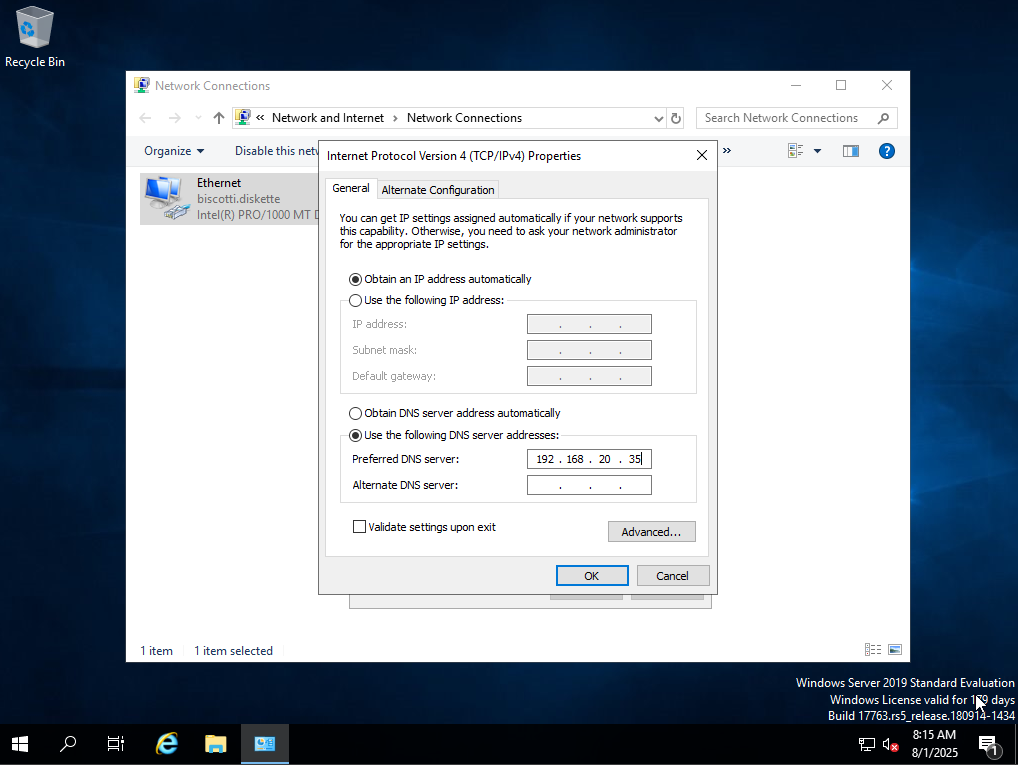
Open the Internet Protocol Version 4 (TCP/IPv4) Properties screen.

Choose the radio button for the Use the following DNS server addresses and enter the Preferred DNS server IP with the IP address of the DC.
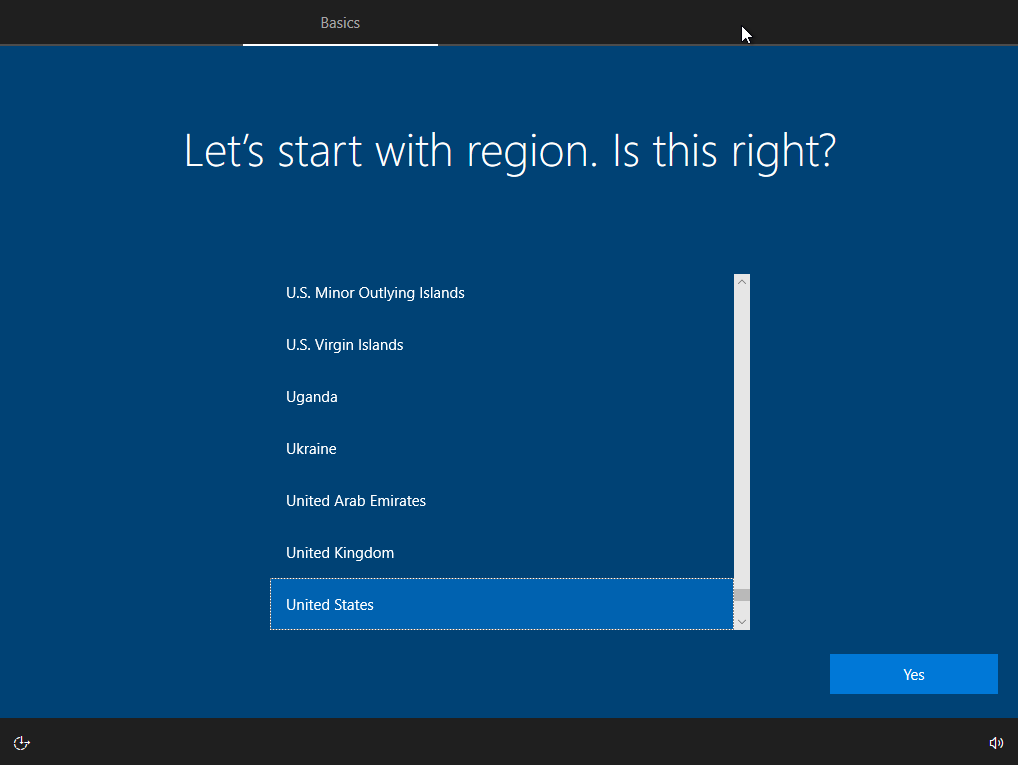
Change back to the Windows 10 machine. Once the automated installation part is over, you will be prompted to choose your region.
Choose your keyboard layout. Skip adding the second layout. Unless you have a second one…I guess.

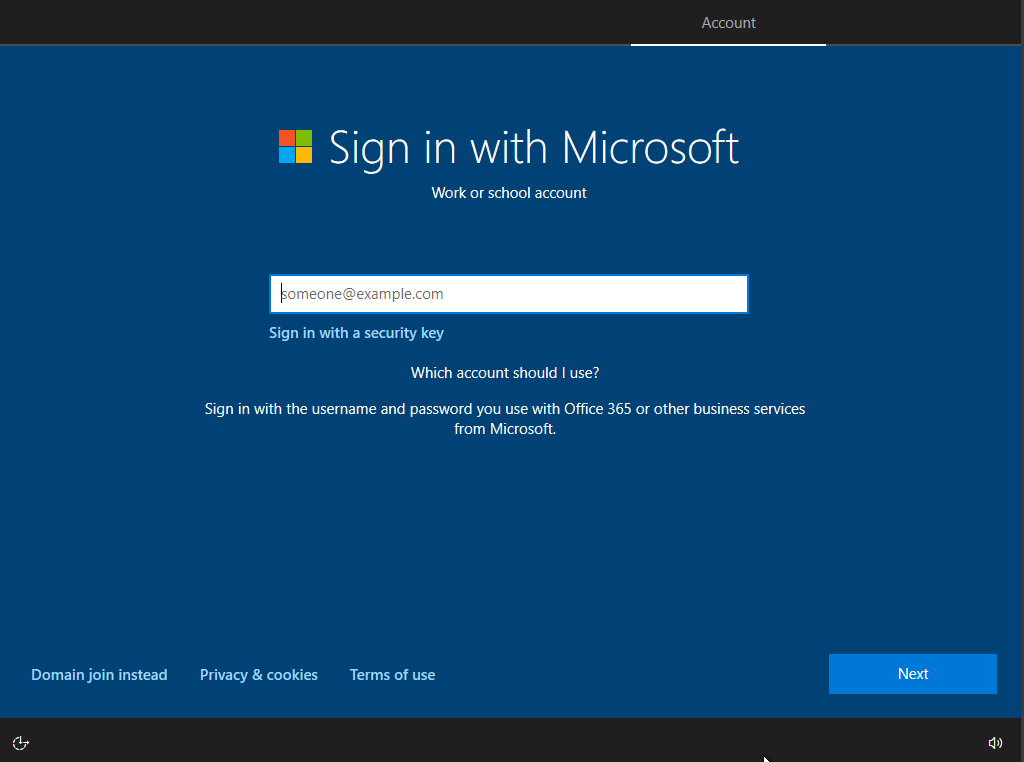
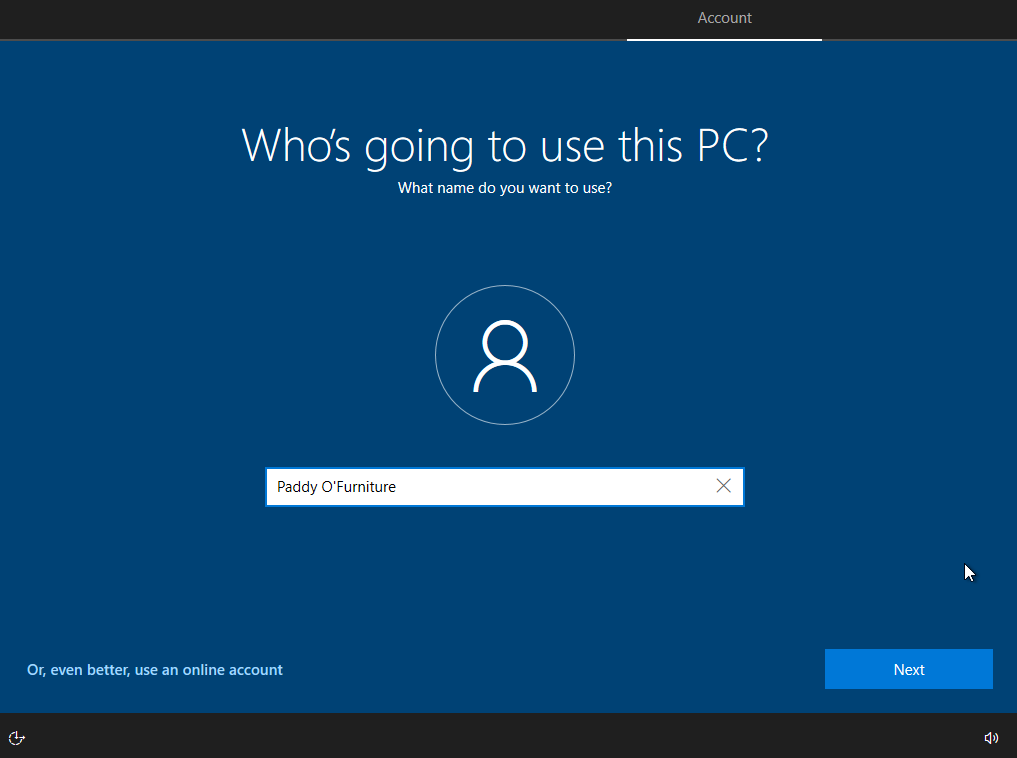
Click domain join instead.
Choose a name.
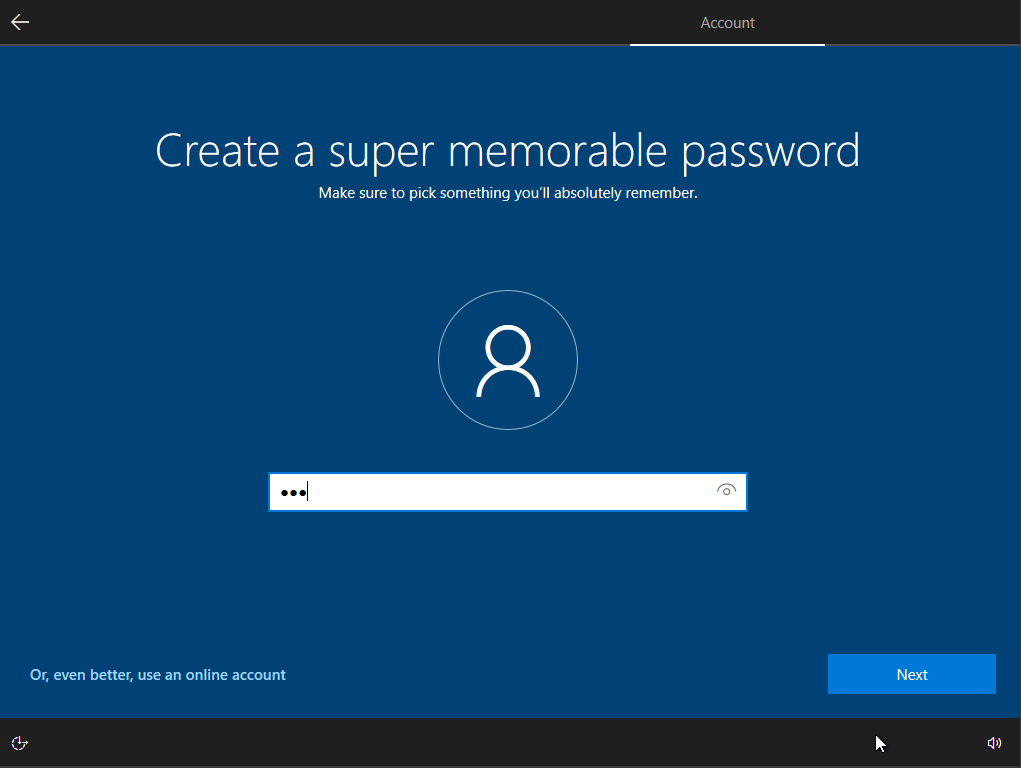
Choose a password. And repeat it in the next screen.
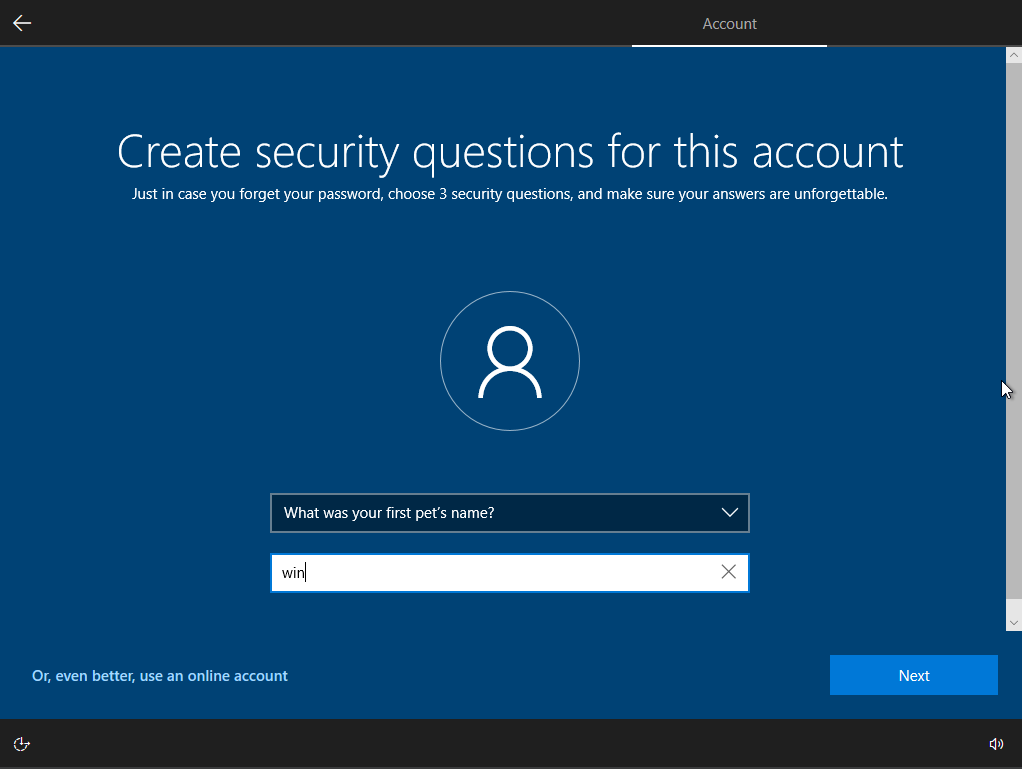
Choose and answer 3 question for security purposes.
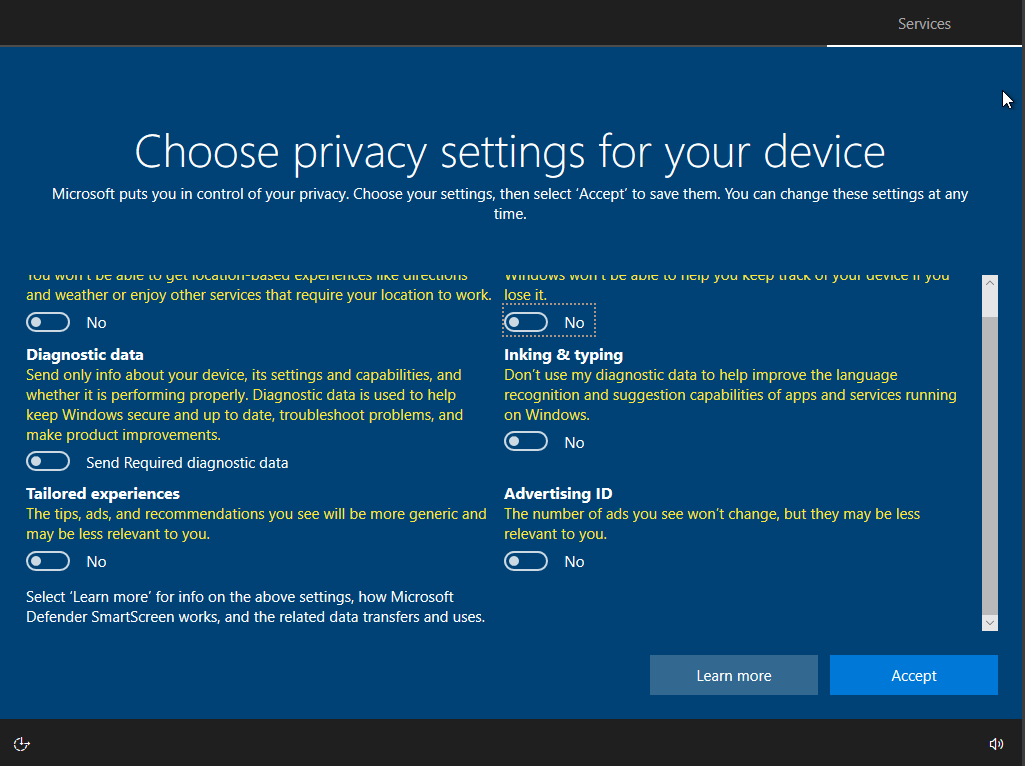
Disable all of the privacy options.
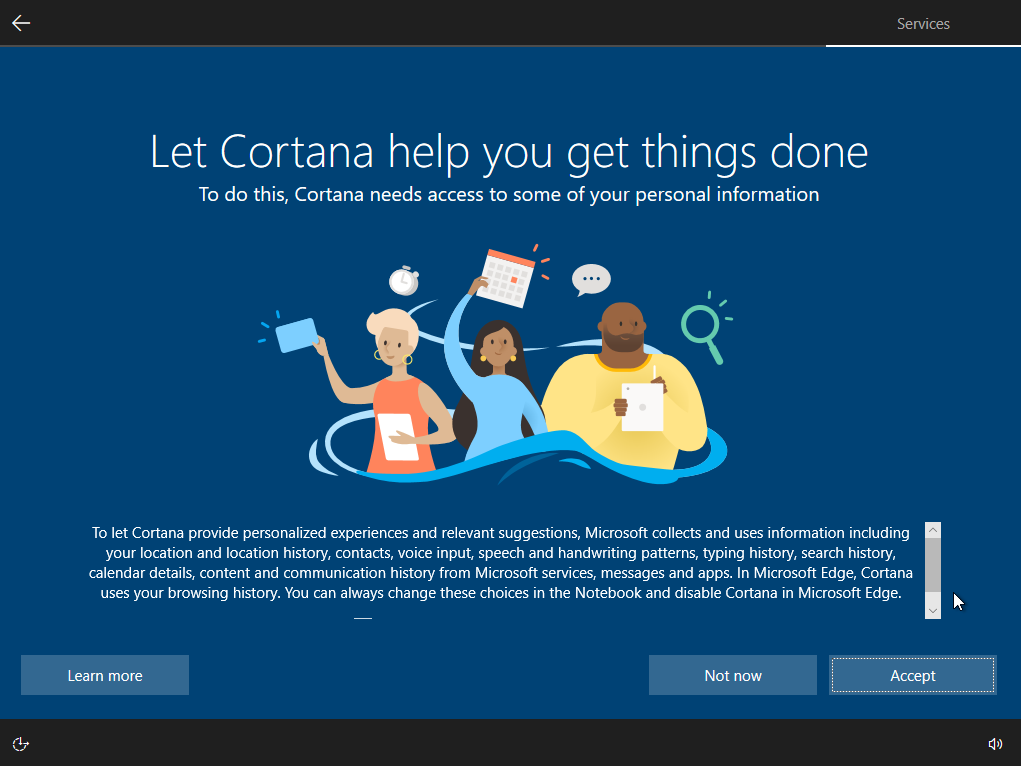
Disable Cortana by clicking on the Not Now button.
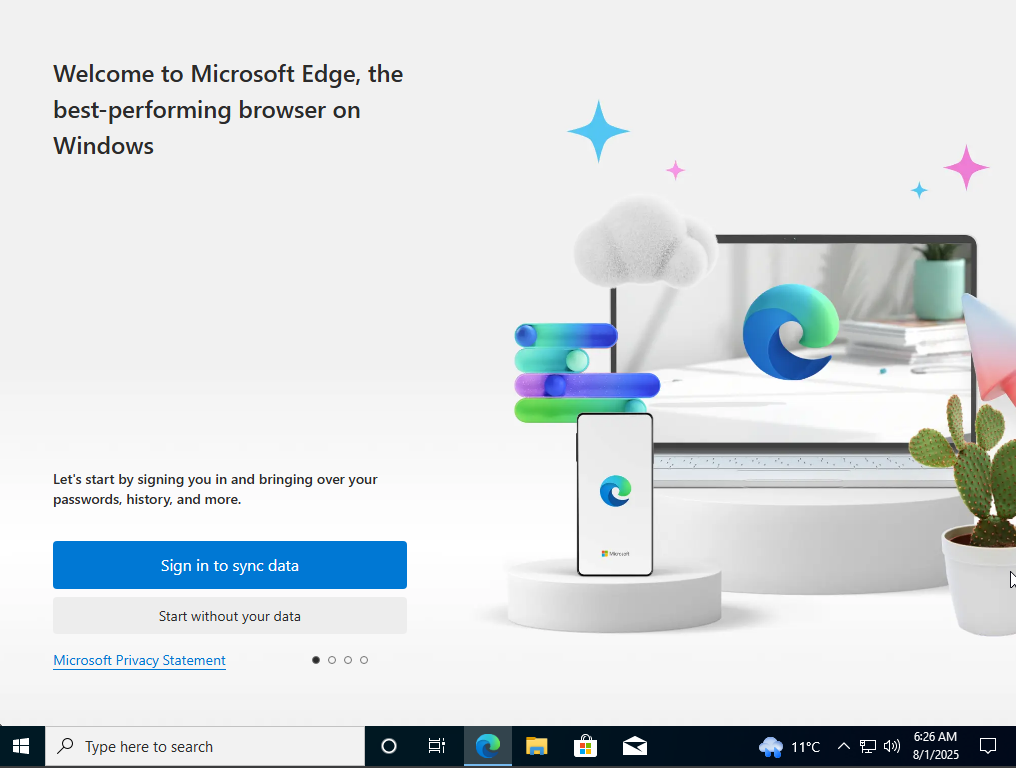
Click on Continue or Start without your data until that irritating pop-up goes away.
Install Chrome, if you want.

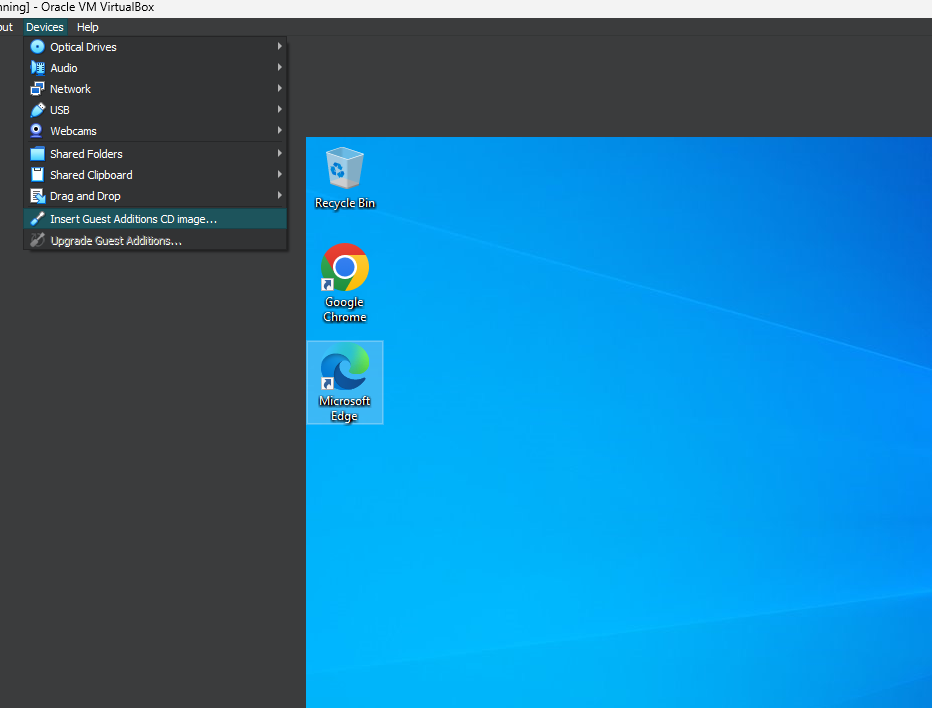
Insert the VirtualBox Guest Additions cd.
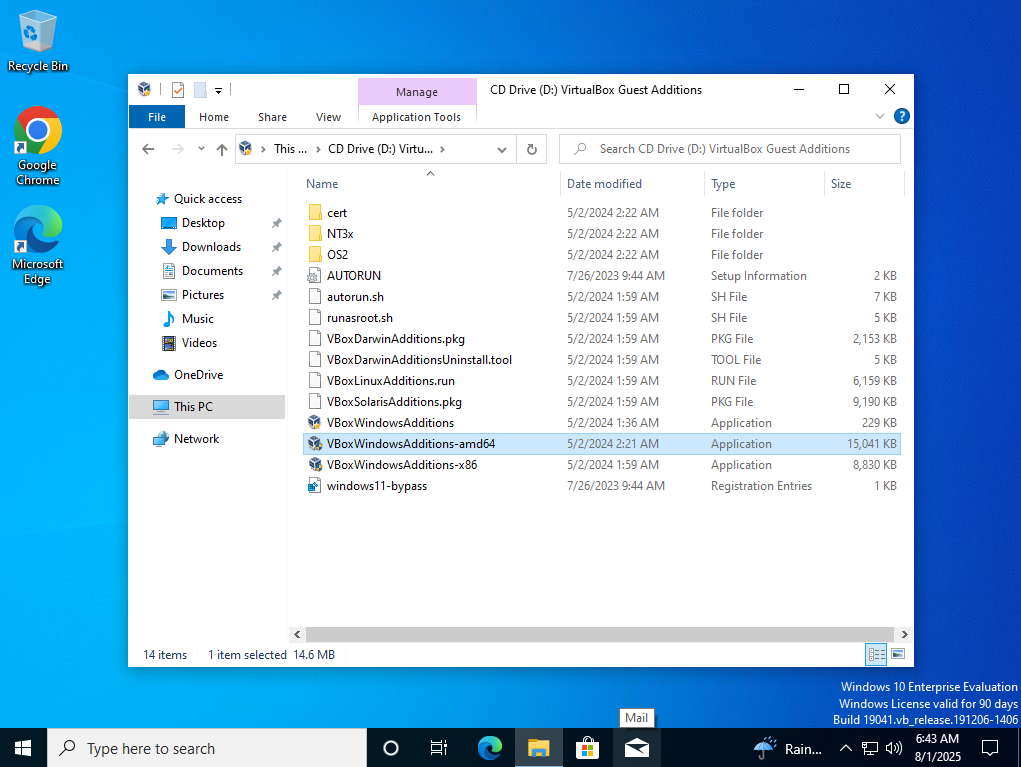
Run the x64 guest additions. It will restart.
Open the Control Panel and click on the Network and Intranet.

Open the Network and Sharing Center part of the Control Panel.
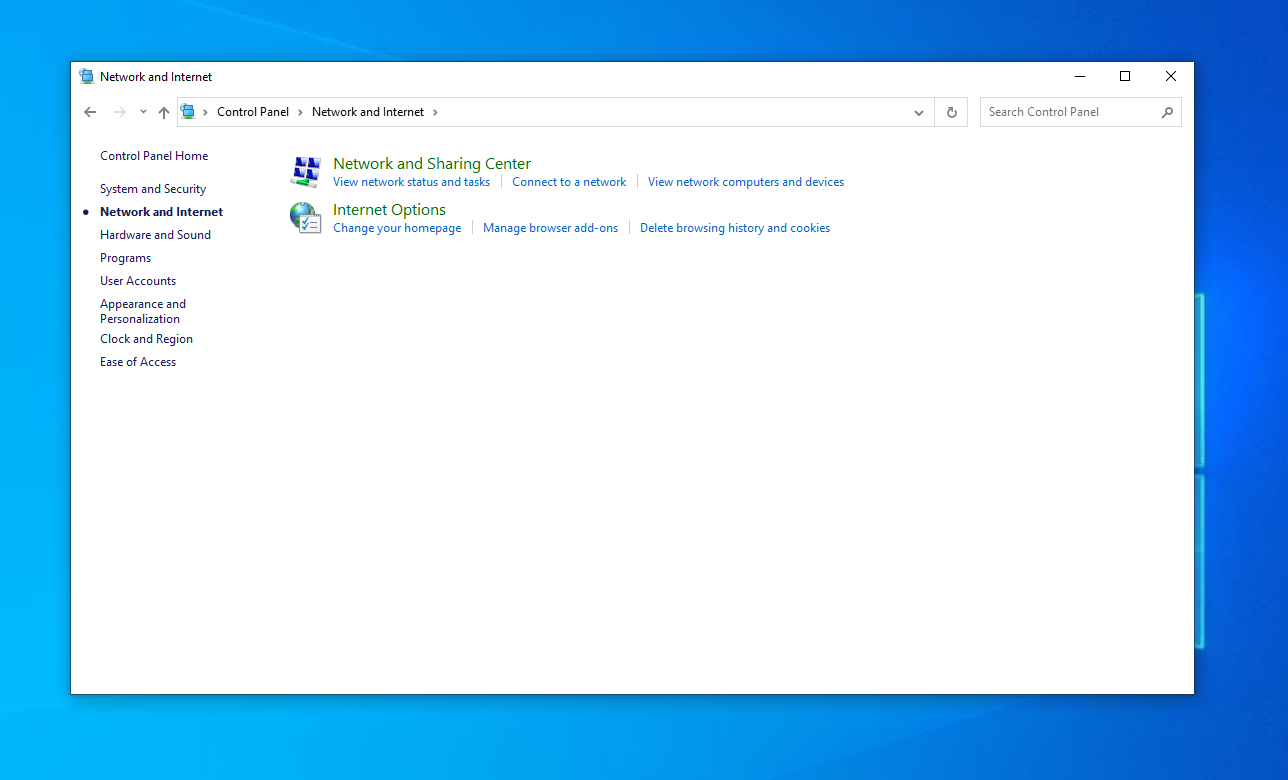
Click on Change adapter settings on the left-hand side.
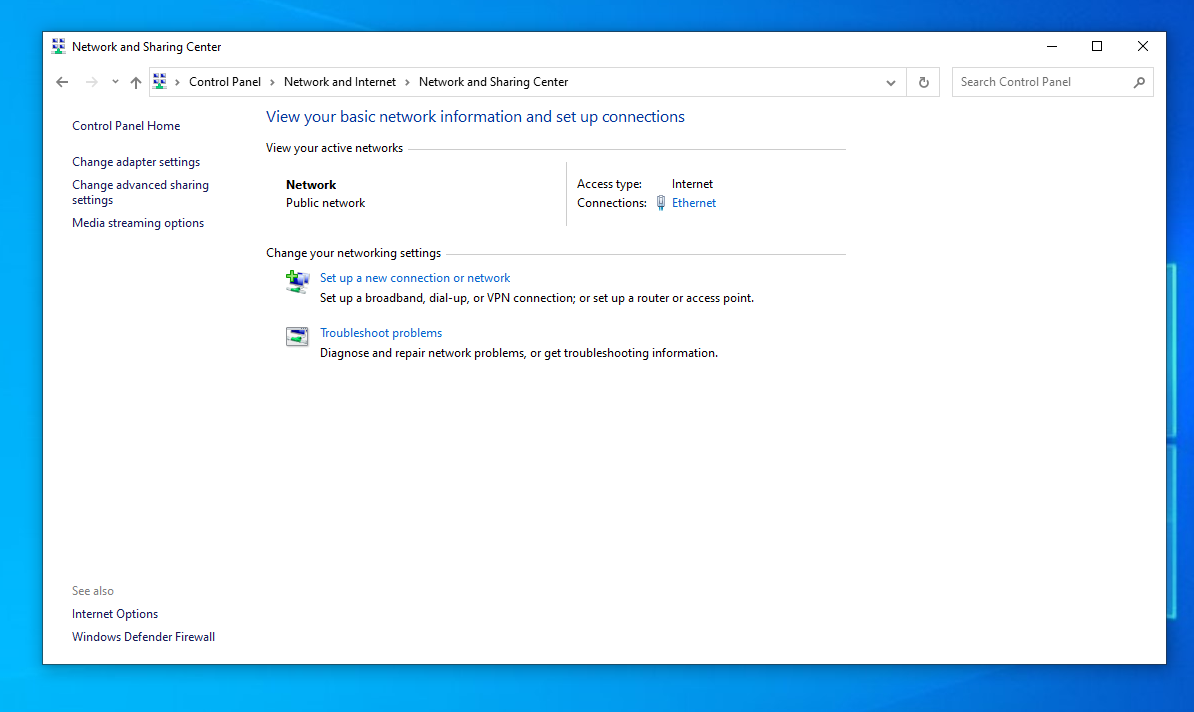
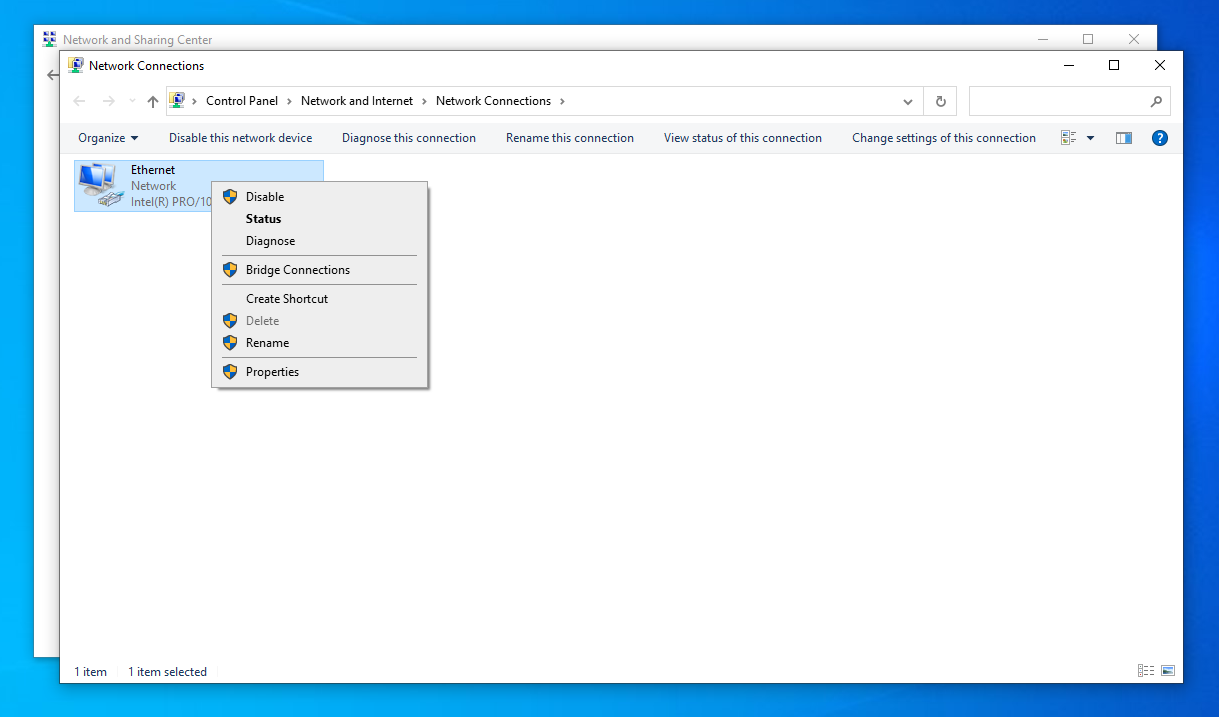
Right-click on the Ethernet0 and select the properties Selection.
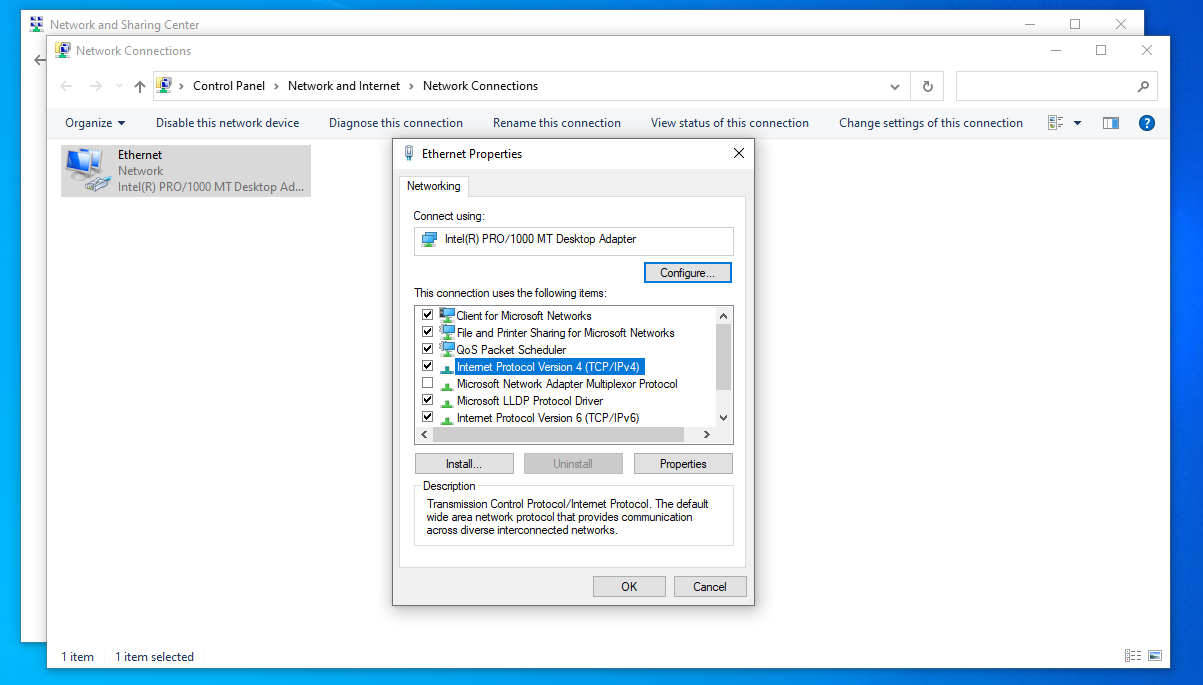
Select the Internet Protocol Version 4 (TCP/IPv4) and click the Properties button.
Choose the radio button for Use the following DNS server addresses: and update the Preferred DNS server with the IP address from the Domain Controller.
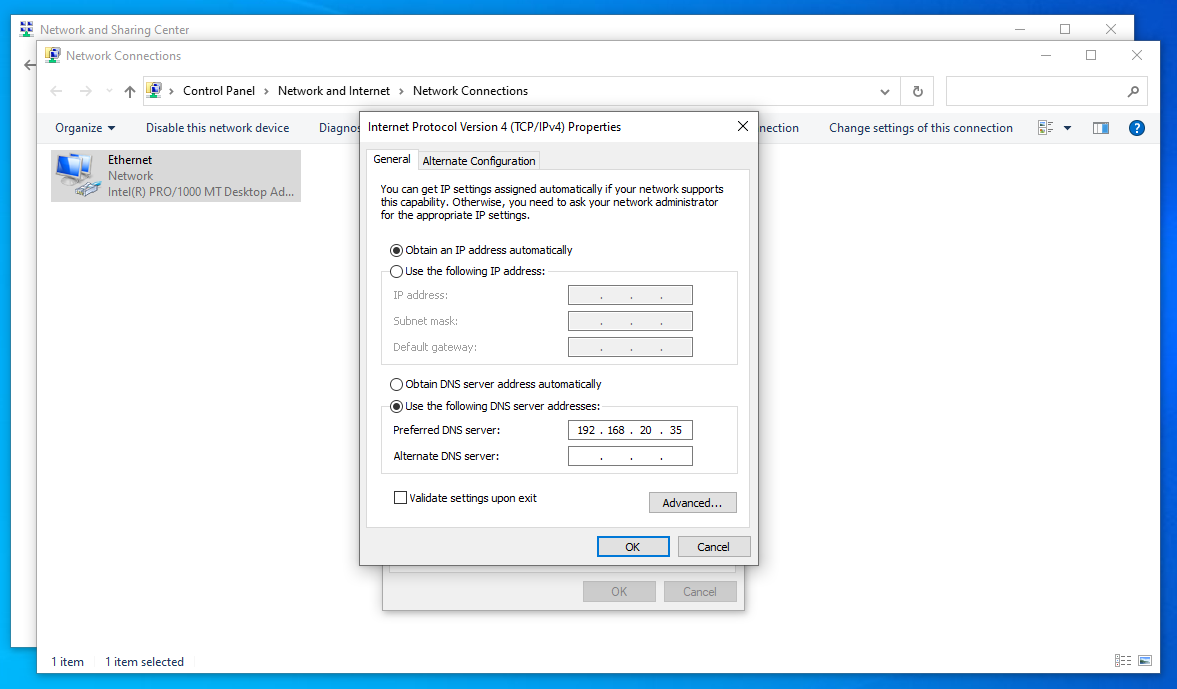
Deselect the Internet Protocol Version 6 (TCP/IPv6).

Open the system settings screen and then open the advance system settings.

Click on the Change… button.
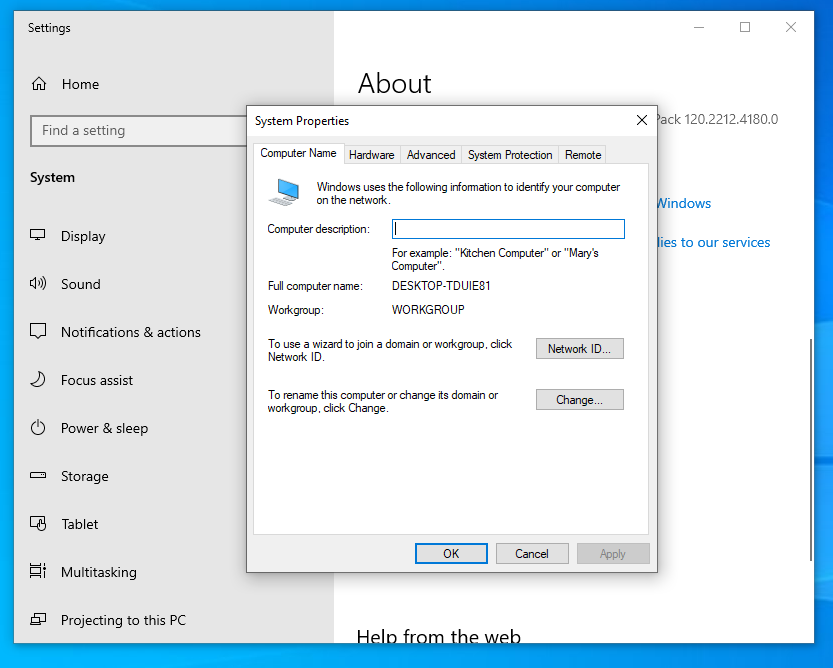
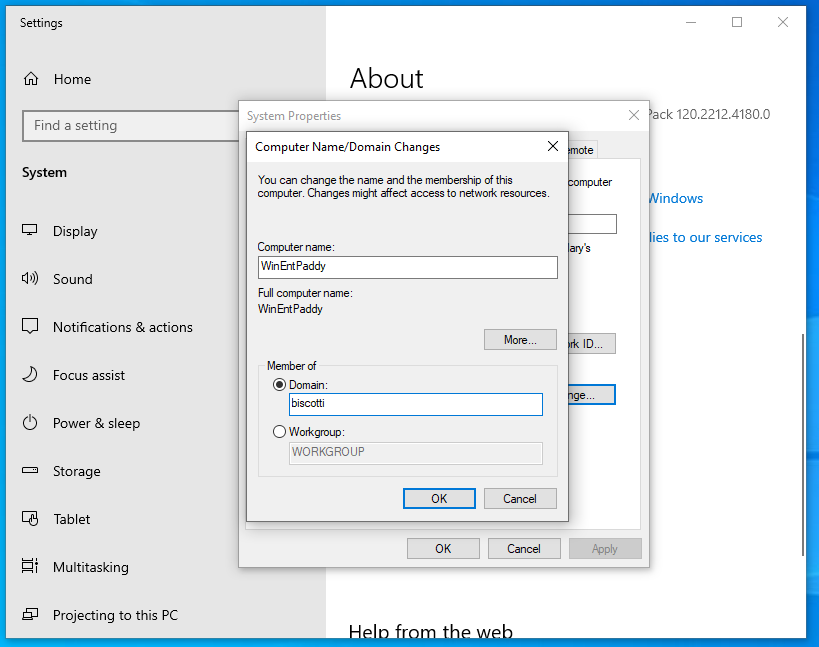
Update the Computer Name and the Domain.
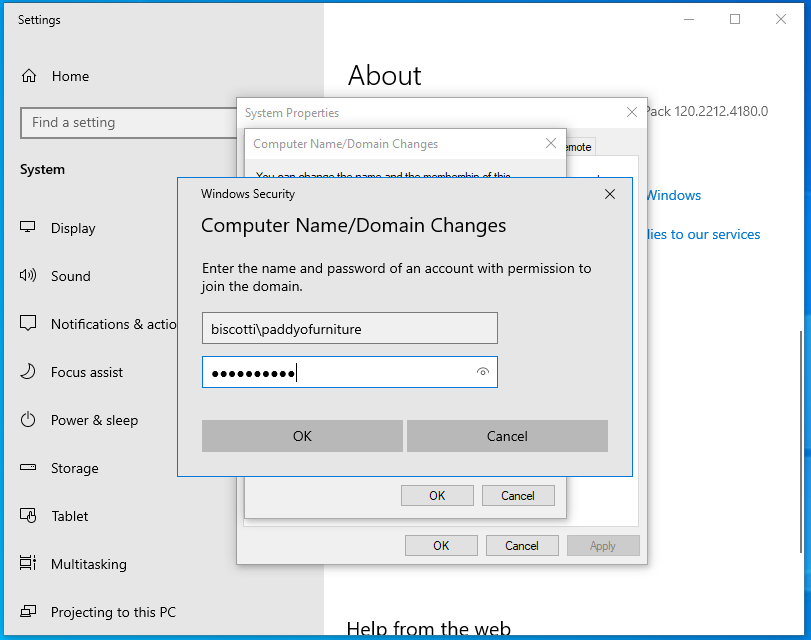
Login with the credentials that we created on the DC.
Welcome to the domain! Wake up, time to work!
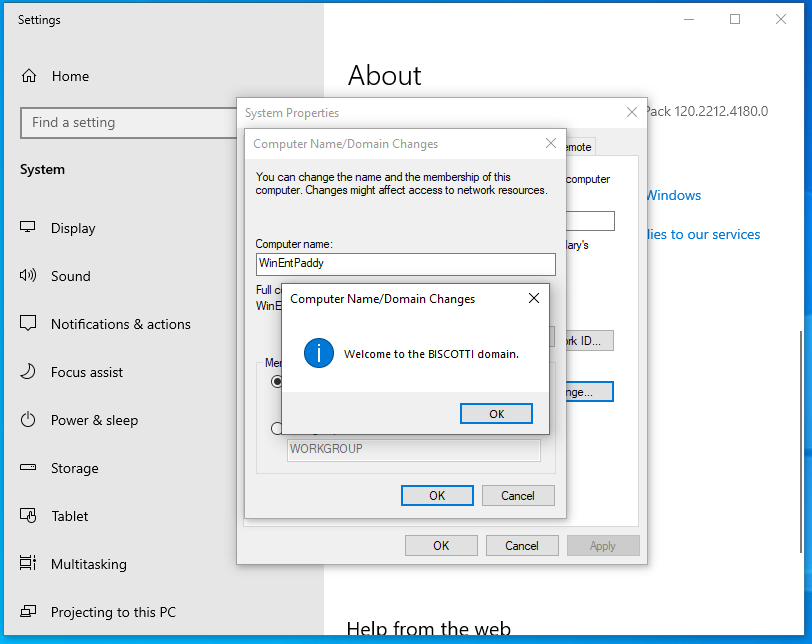
There should be a message box welcoming you to the domain.
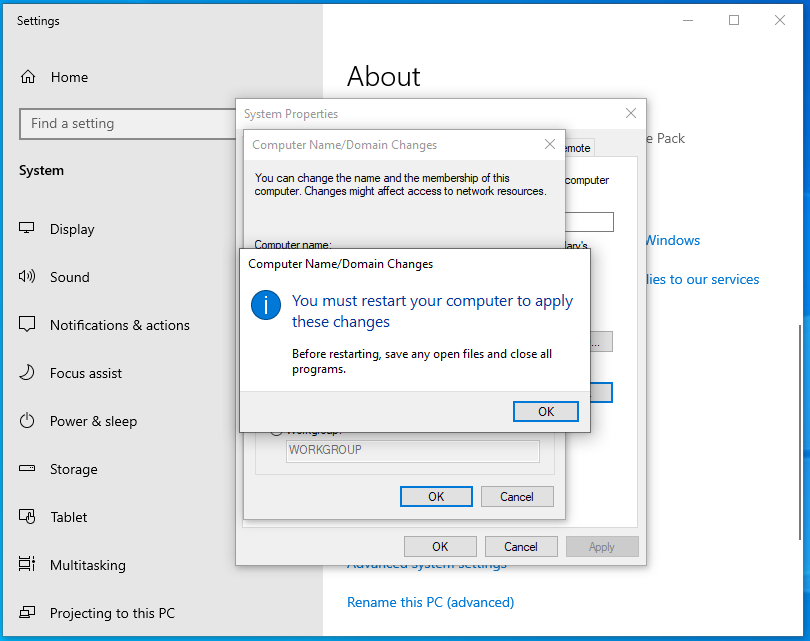
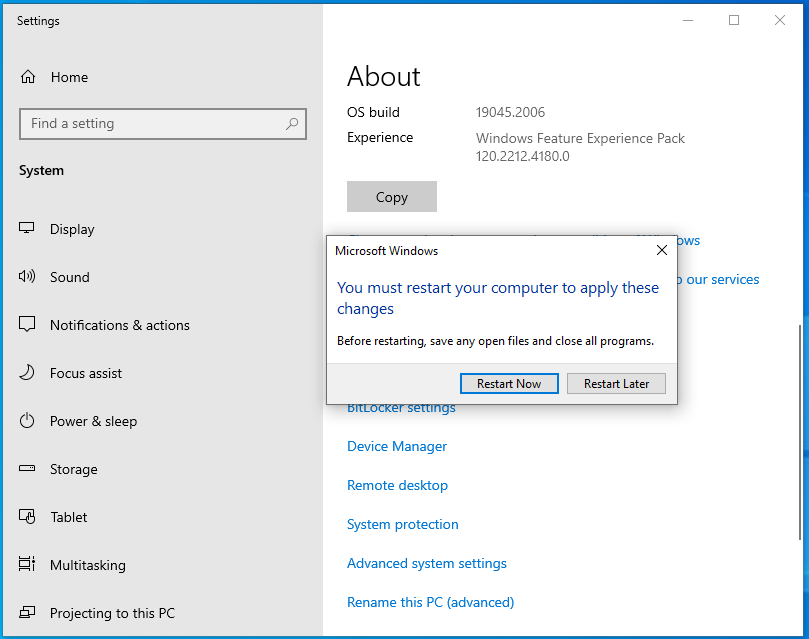
Click on the Restart Now to restart the computer.
Check the Ethernet adapter again and you should see the biscotti.diskette domain.
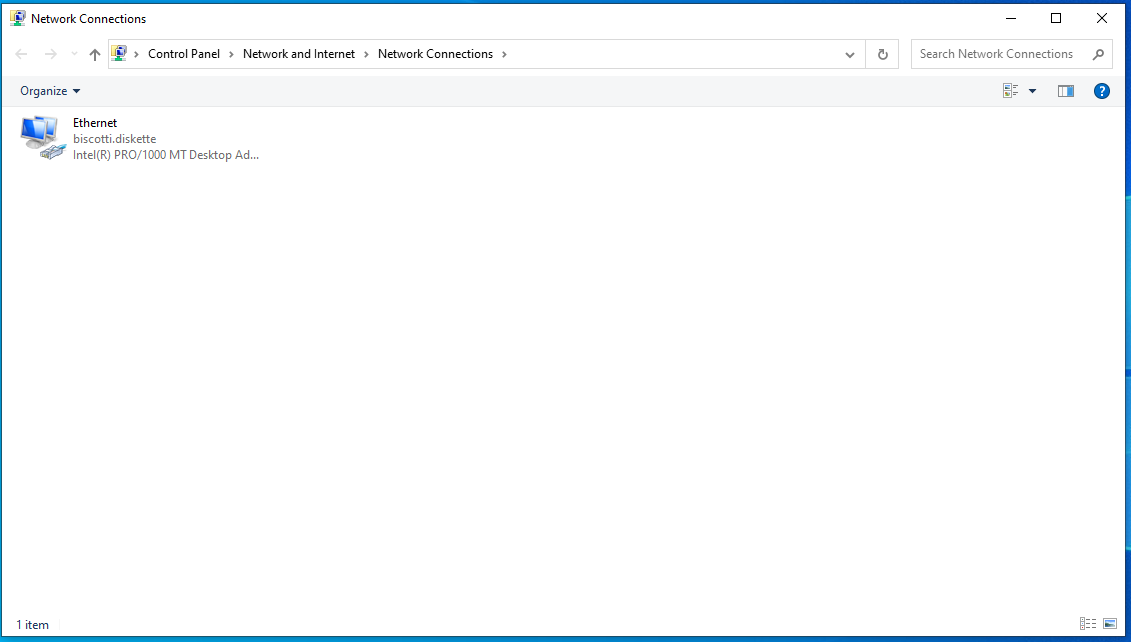
And with that, we are connected to the domain. Hopefully you enjoyed the read. See you in the next one!
References
https://windowsreport.com/windows-cannot-find-the-microsoft-license-software-terms/
https://www.youtube.com/watch?v=pRf_uU0vrMM